How to Take Pictures of Stars - Guide to Astrophotography!
In this tutorial I’m going to show you how to photograph the stars! Plus, I’ll be giving you a free guide to photographing stars so you can get perfect pictures whilst you’re out shooting. We’re going to look at star photography settings, equipment to use, when and where to do it and best practice when it comes to taking pictures of the night sky.
Download the guide below.
Tip 1 - Best locations for taking pictures of the night sky
To get the best pictures of the night sky, choosing the right location is crucial. The number one factor is avoiding light pollution. Artificial lights can overpower the natural light from stars, making them appear dim or even invisible in your images.
Avoid Light Pollution: Head out to rural areas or parks far from city lights. You can use light pollution maps or apps (like Dark Sky Finder) to help identify the darkest areas near you. National parks or high-altitude spots are perfect because they’re often far from urban centres.
Moon Phases Matter: A full moon can brighten the sky too much, making it hard to capture clear stars. For best results, plan your shoot around the new moon (when the moon isn’t visible) or, at the very least, when it’s at or below half. If you do want some soft lighting on your landscape, a thin crescent moon can work but avoid anything brighter.
Sky Conditions: Clear skies are essential! Use weather apps to ensure minimal cloud coverage, and if you can, shoot on nights with low humidity for the sharpest stars.
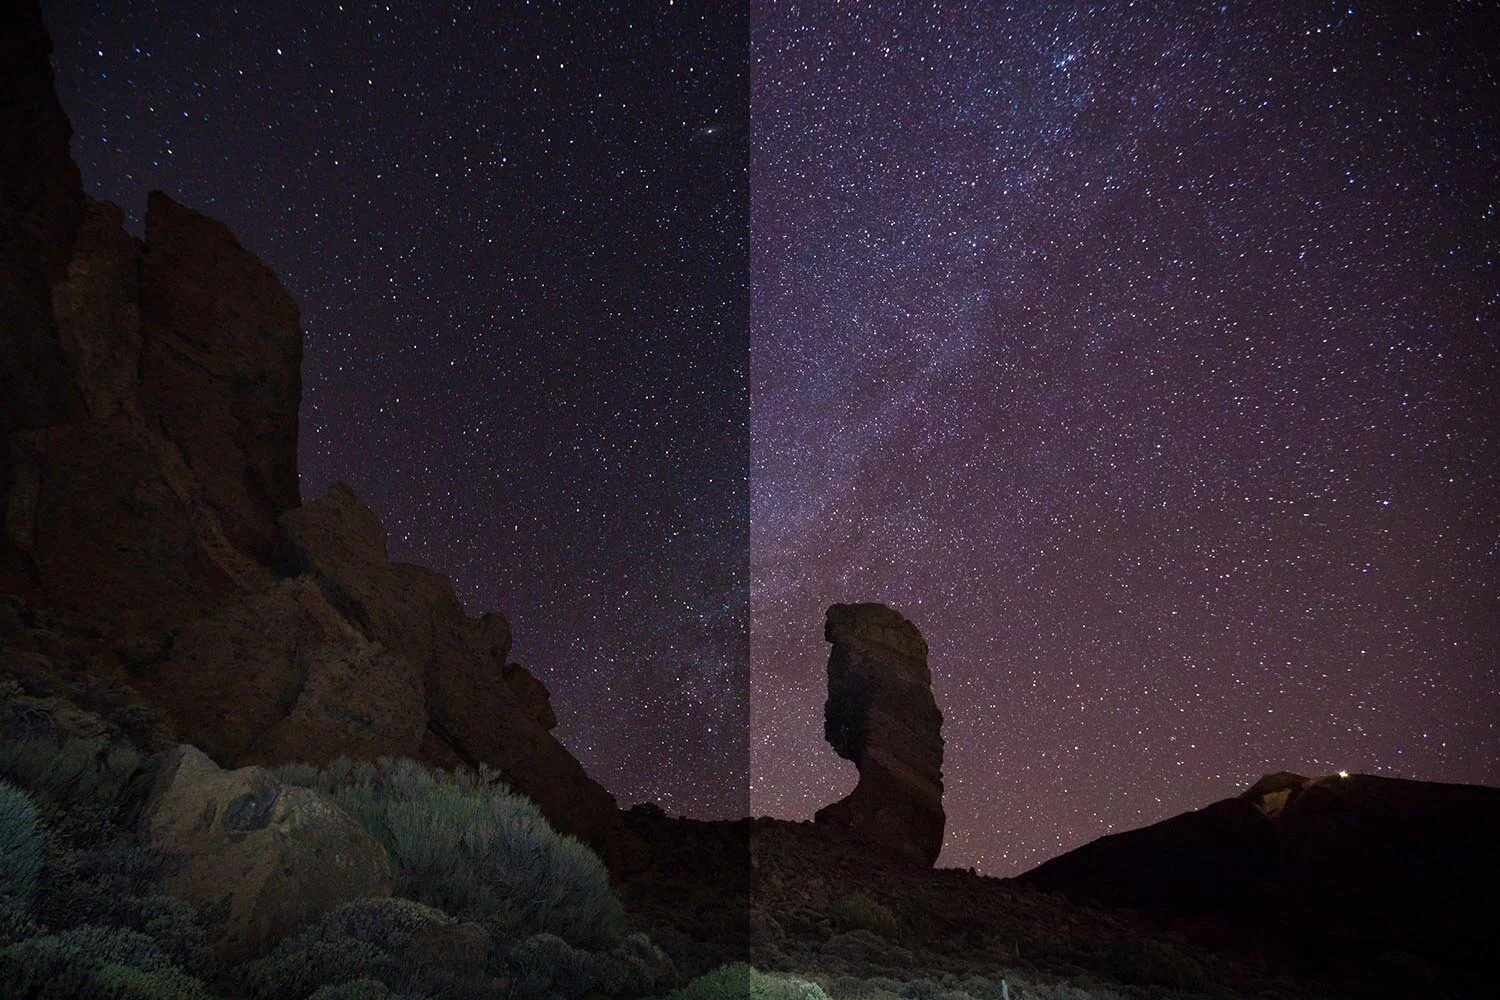
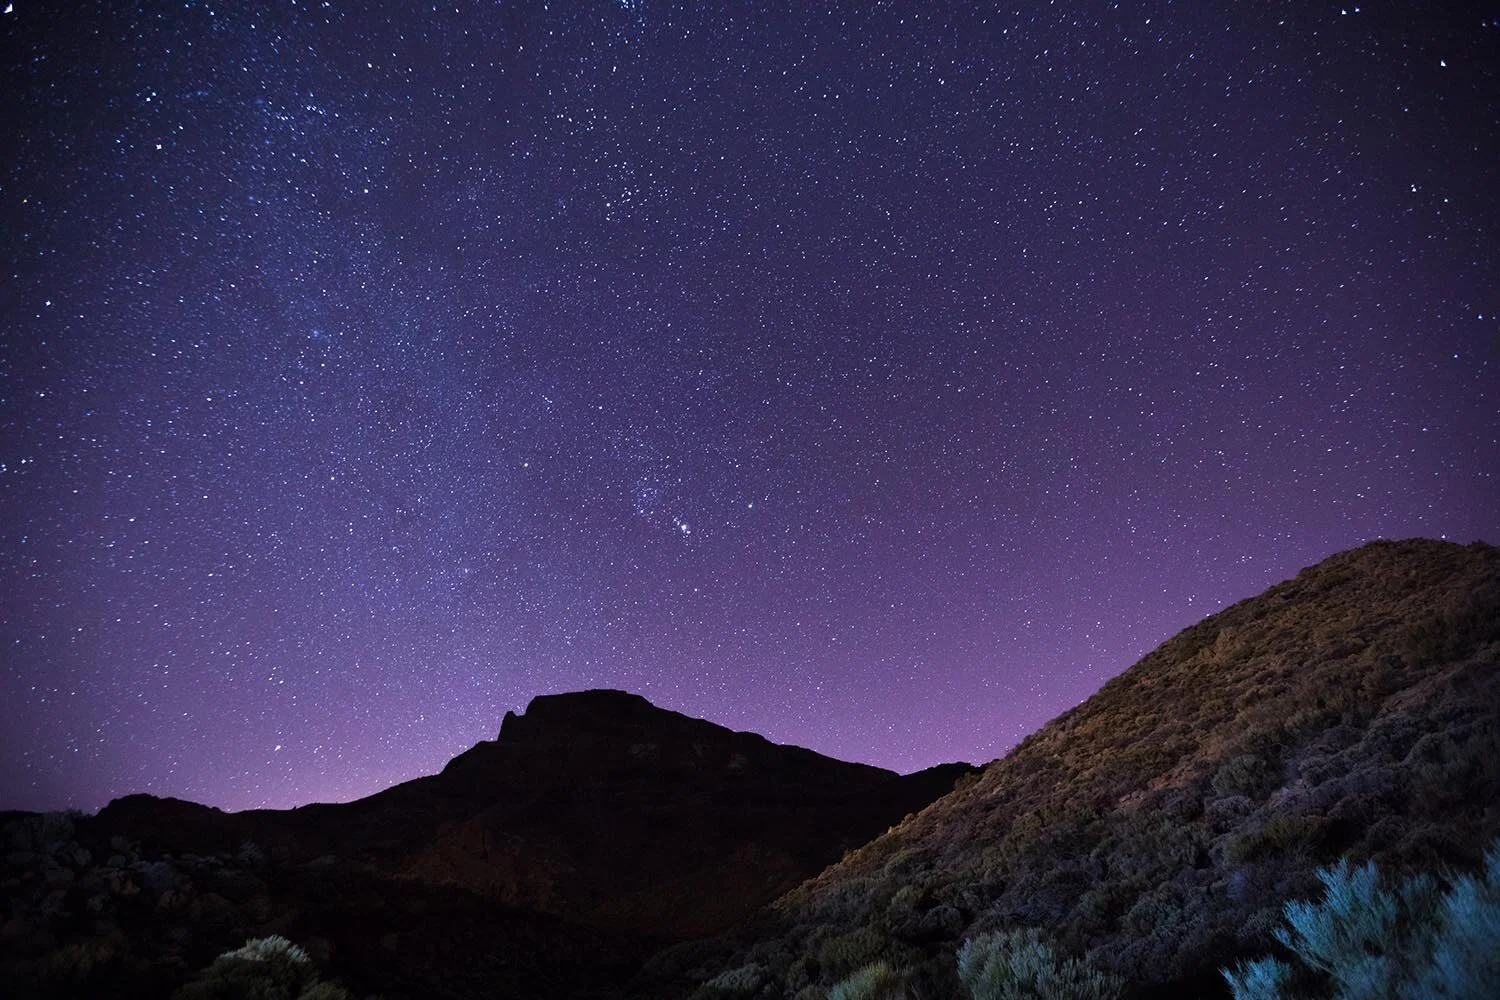
Mount Teidi, Tenerife
Tip 2 - Equipment needed to take pictures of stars
Getting the right equipment is key to capturing the night sky. Here’s a breakdown of what you’ll need:
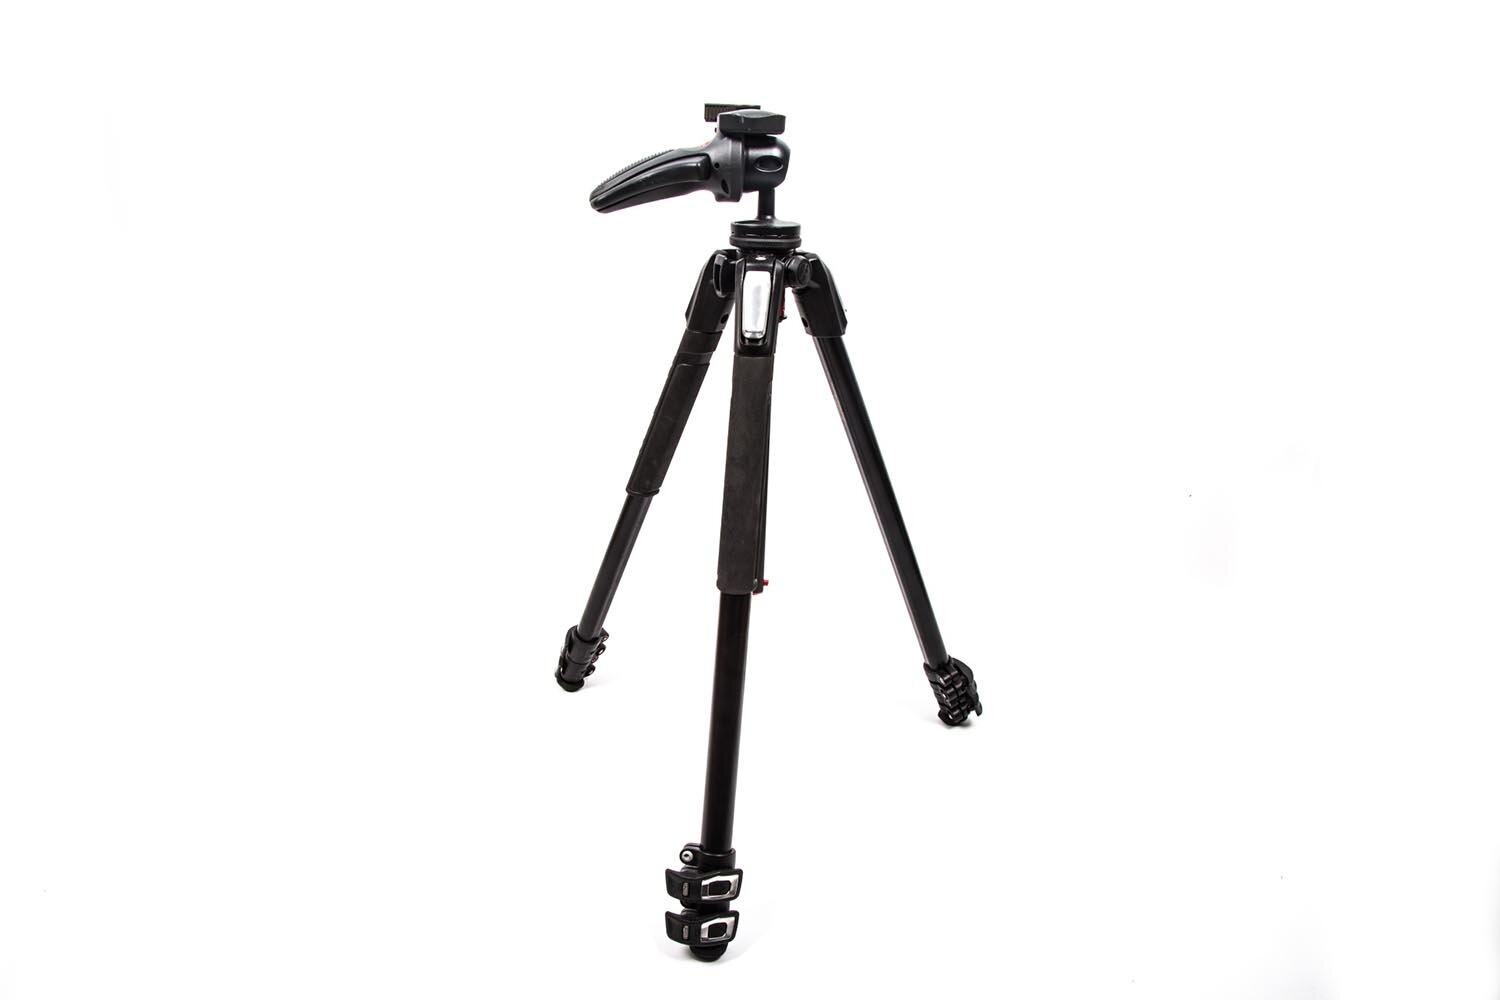
Tripod
You will need a good sturdy tripod to take the weight of your camera. As it’s dark, exposure times shooting the night sky will be long, therefore your camera needs to be dead still. Avoid using cheap flimsy tripods as these could cause your camera to move in the wind or make your set up top heavy.
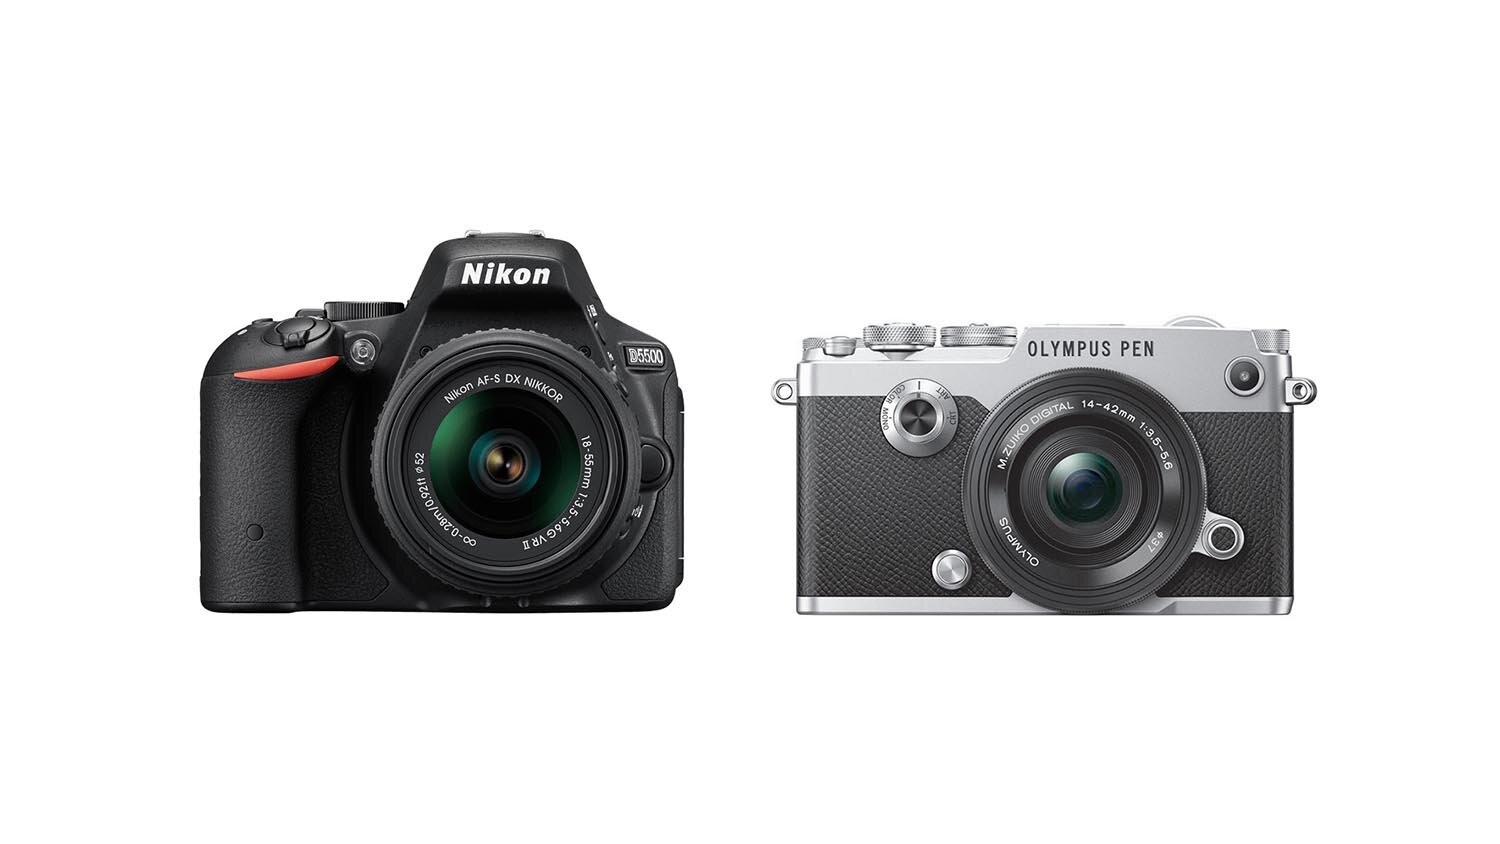
DSLR or Mirrorless camera
Taking pictures of stars requires you to work fully manual, therefore you will need a camera that is capable of that. A good camera to use would be a DSLR or mirrorless camera that has a fully manual setting. To learn how to use your camera in fully manual mode click here.
Remote trigger or cable release
Whist your taking pictures of stars you cannot touch the camera as you will get camera shake. To enable this you will need a remote trigger or a cable release, this will enable you to fire off the camera without touching it.
Alternatives: If you don’t have a remote, you can use your camera’s built-in self-timer, but it’s not as efficient as a remote or cable release.
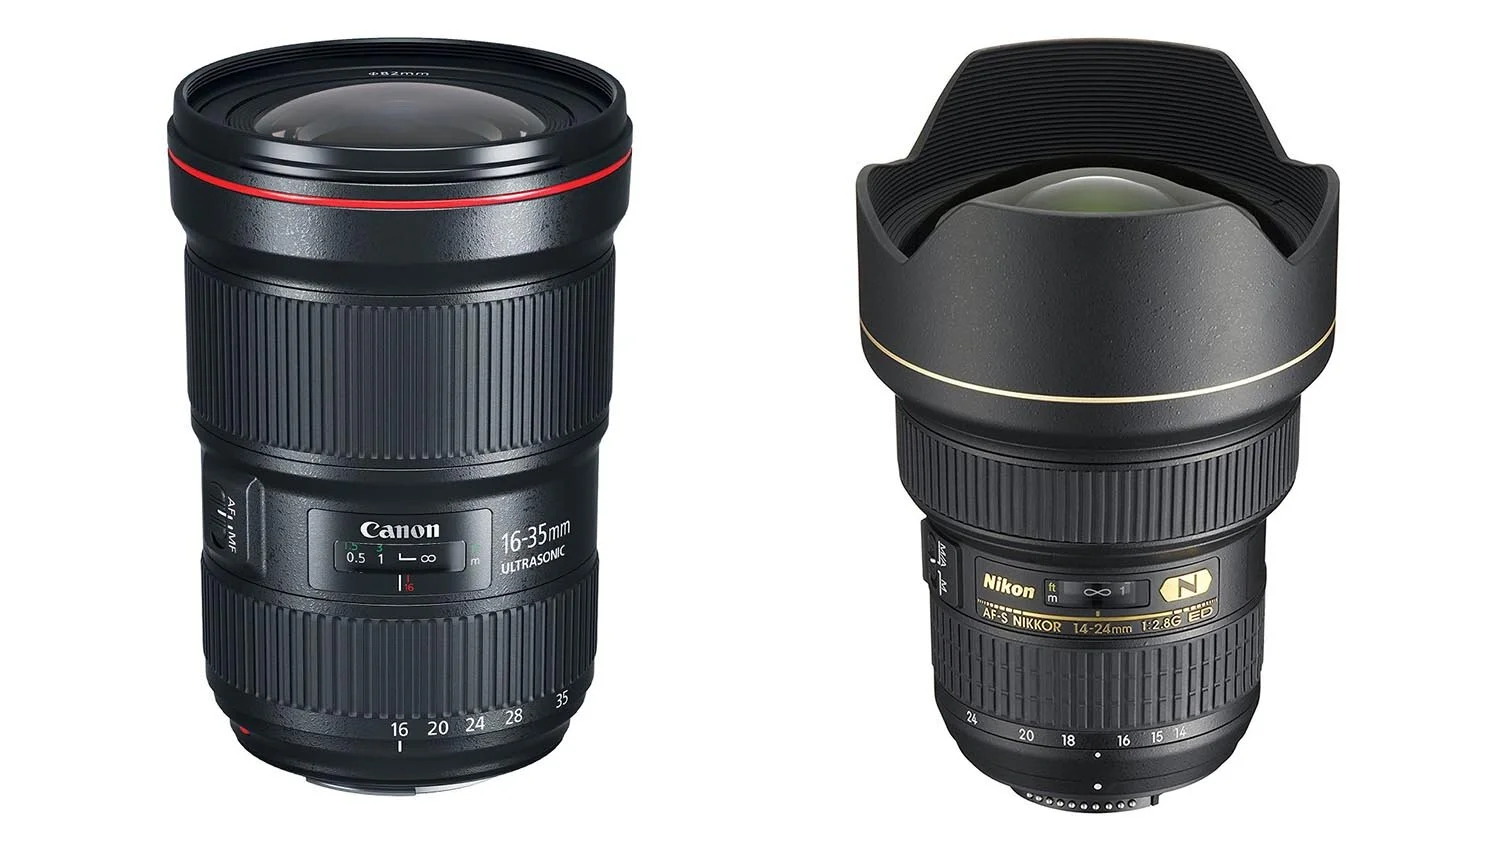
Wide Angle Lens
It’s a good idea to use what’s called an ultra-wide angle lens so you can photograph as much of the night sky as possible. On a Full frame camera this will be a focal length of 16-24mm, on a crop sensor camera it will be 11- 17mm and on a micro 4:3 camera it will be a focal length of 8-12mm.
If possible, it’s a good idea to have a lens with a wide aperture such as f2.8 or below to let in much light in as possible.
To learn more about apertures and focal lengths click here.
Get access to ALL our online courses - 1000’s of videos, worksheets, critiques of students work, personalised support and much more with our monthly membership.
Tip 3 - Star Photography Settings
There’s no one-size-fits-all setting for star photography because every night sky situation is different. However, these base settings will give you a great starting point, and you can adjust as needed:
Aperture: Set your aperture to f/2.8 (or wider if your lens allows). This ensures that the lens lets in as much light as possible, critical for photographing stars in the dark.
ISO: A good starting ISO is between 1600 and 3200. Be careful not to go too high with ISO, as this can introduce noise (graininess) into your image. For night photography, noise is more noticeable, so it’s essential to keep it under control. Noise Reduction Tip: Shooting in RAW format will allow you to reduce noise in post-processing.
Shutter Speed: Aim for a shutter speed of around 25 seconds. This long exposure allows the camera to absorb enough light from the stars, making them visible in your image. However, the longer the exposure, the more star trails (the movement of stars across the sky) you’ll capture, so adjust accordingly.
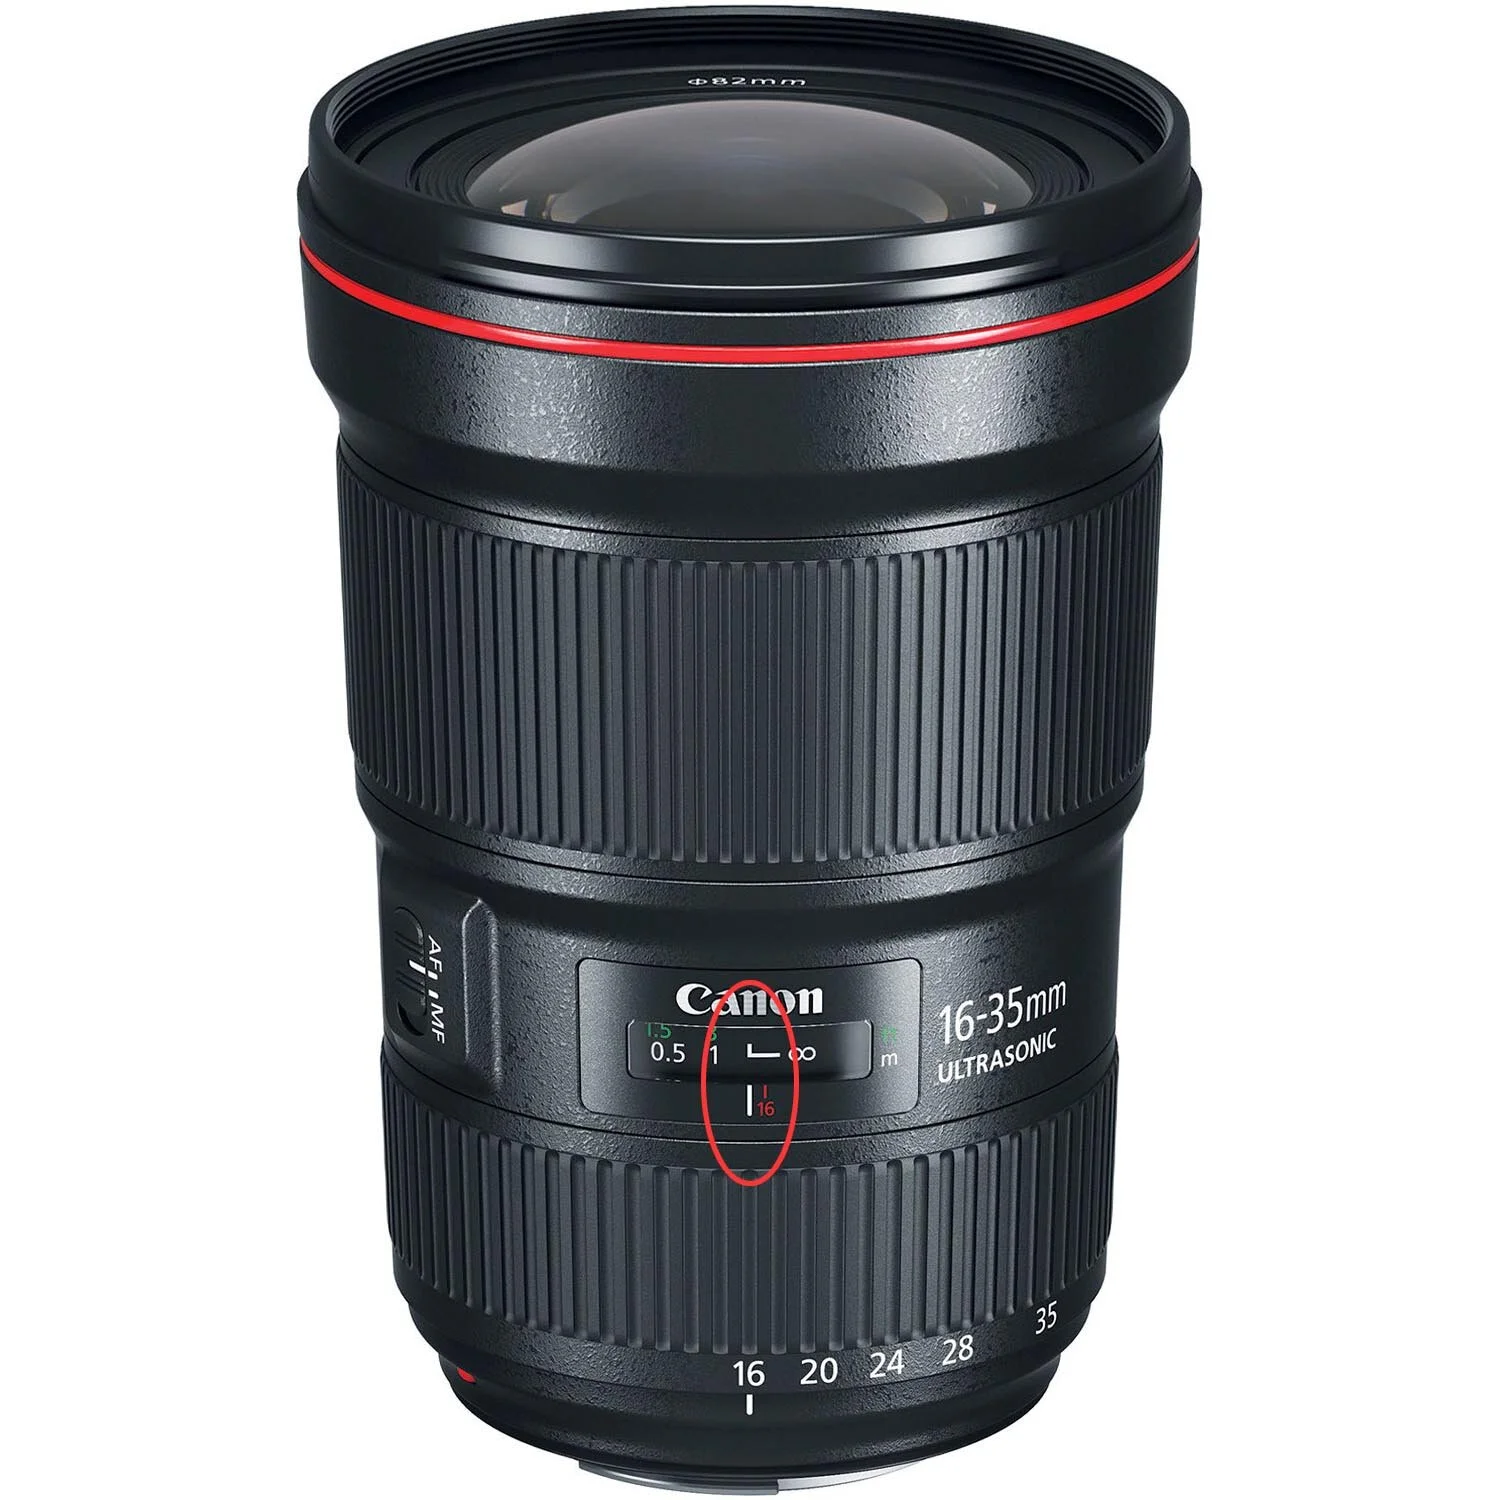
Focus: Set your lens to manual focus and adjust the focus to infinity. Stars are far away, and automatic focus often struggles in low light, so focusing manually is a must.
RAW Format: If possible, shoot in RAW. It’s a larger file format that retains more information, which is crucial for post-processing. RAW files allow you to adjust exposure, reduce noise, and bring out details in the stars that JPEG files simply don’t capture as well. If you don’t know how to post process photography come to our Lightroom course where we teach you all about it.
Camera lens set to Manual and infinity focus
Before and after post processing a star photograph
To learn comprehensively how to master astrophotography click here
Tip 4 - Location & Test shot
Finding the right location is essential for a striking composition. Look for places with interesting foreground elements, such as mountains, trees, or lakes, to add depth and context to your star photos.
Foreground Interest: Adding something in the foreground creates a more dynamic image and gives a sense of scale to the stars.
Test Shots: Before settling into a long exposure session, take a few test shots to see how your camera settings are working in the current conditions.
Adjust as Needed: If your test shot looks too dark, try increasing the ISO or extending the shutter speed. If it’s too bright, reduce the ISO or shorten the shutter speed. Always check for sharpness and avoid overexposing the stars.
To learn more about ISO, click here.
A good idea is to have rocks in the foreground in your star photography
Tip 5 - Post-Processing Tips
Editing is essential in astrophotography to bring out the best in your images:
Reducing Noise: Software like Lightroom or Photoshop have tools to reduce noise, which is common in high-ISO night photography.
Increasing Contrast and Clarity: Slight adjustments in contrast, clarity, and white balance can make stars pop and highlight details in the Milky Way.
Experimenting with Highlights: Bring down highlights slightly to prevent stars from becoming too bright and losing their natural colour.
Tip 6 - Pack Smart and Prepare for the Cold
Since star photography is typically done at night, conditions can get chilly.
Dress Warmly: Wear layers, even in warmer months, as night-time temperatures can drop.
Pack Extra Batteries: Cold weather drains batteries faster. Bring spares and keep them in a warm pocket.
Lens Cleaning Kit: Moisture buildup on the lens is common, especially in humid or cold conditions, so have a microfiber cloth handy.
Photo by Kace Rodriguez on Unsplash
Extra batteries
Cleaning kit
Tip 7 - Respect the Environment
Night-time landscapes can be sensitive environments, and it’s essential to protect them while enjoying their beauty.
Avoid Bright Lights: If you’re with other photographers, be mindful of light sources that might interfere with their shots.
Leave No Trace: Take any waste with you and avoid disturbing wildlife, as night animals are active during your shoot.
Final Pictures of Stars
20 Seconds - F2.8 - ISO 1600 - 16mm Focal Length (Full frame camera)
20 Seconds - F2.8 - ISO 1600 - 16mm Focal Length
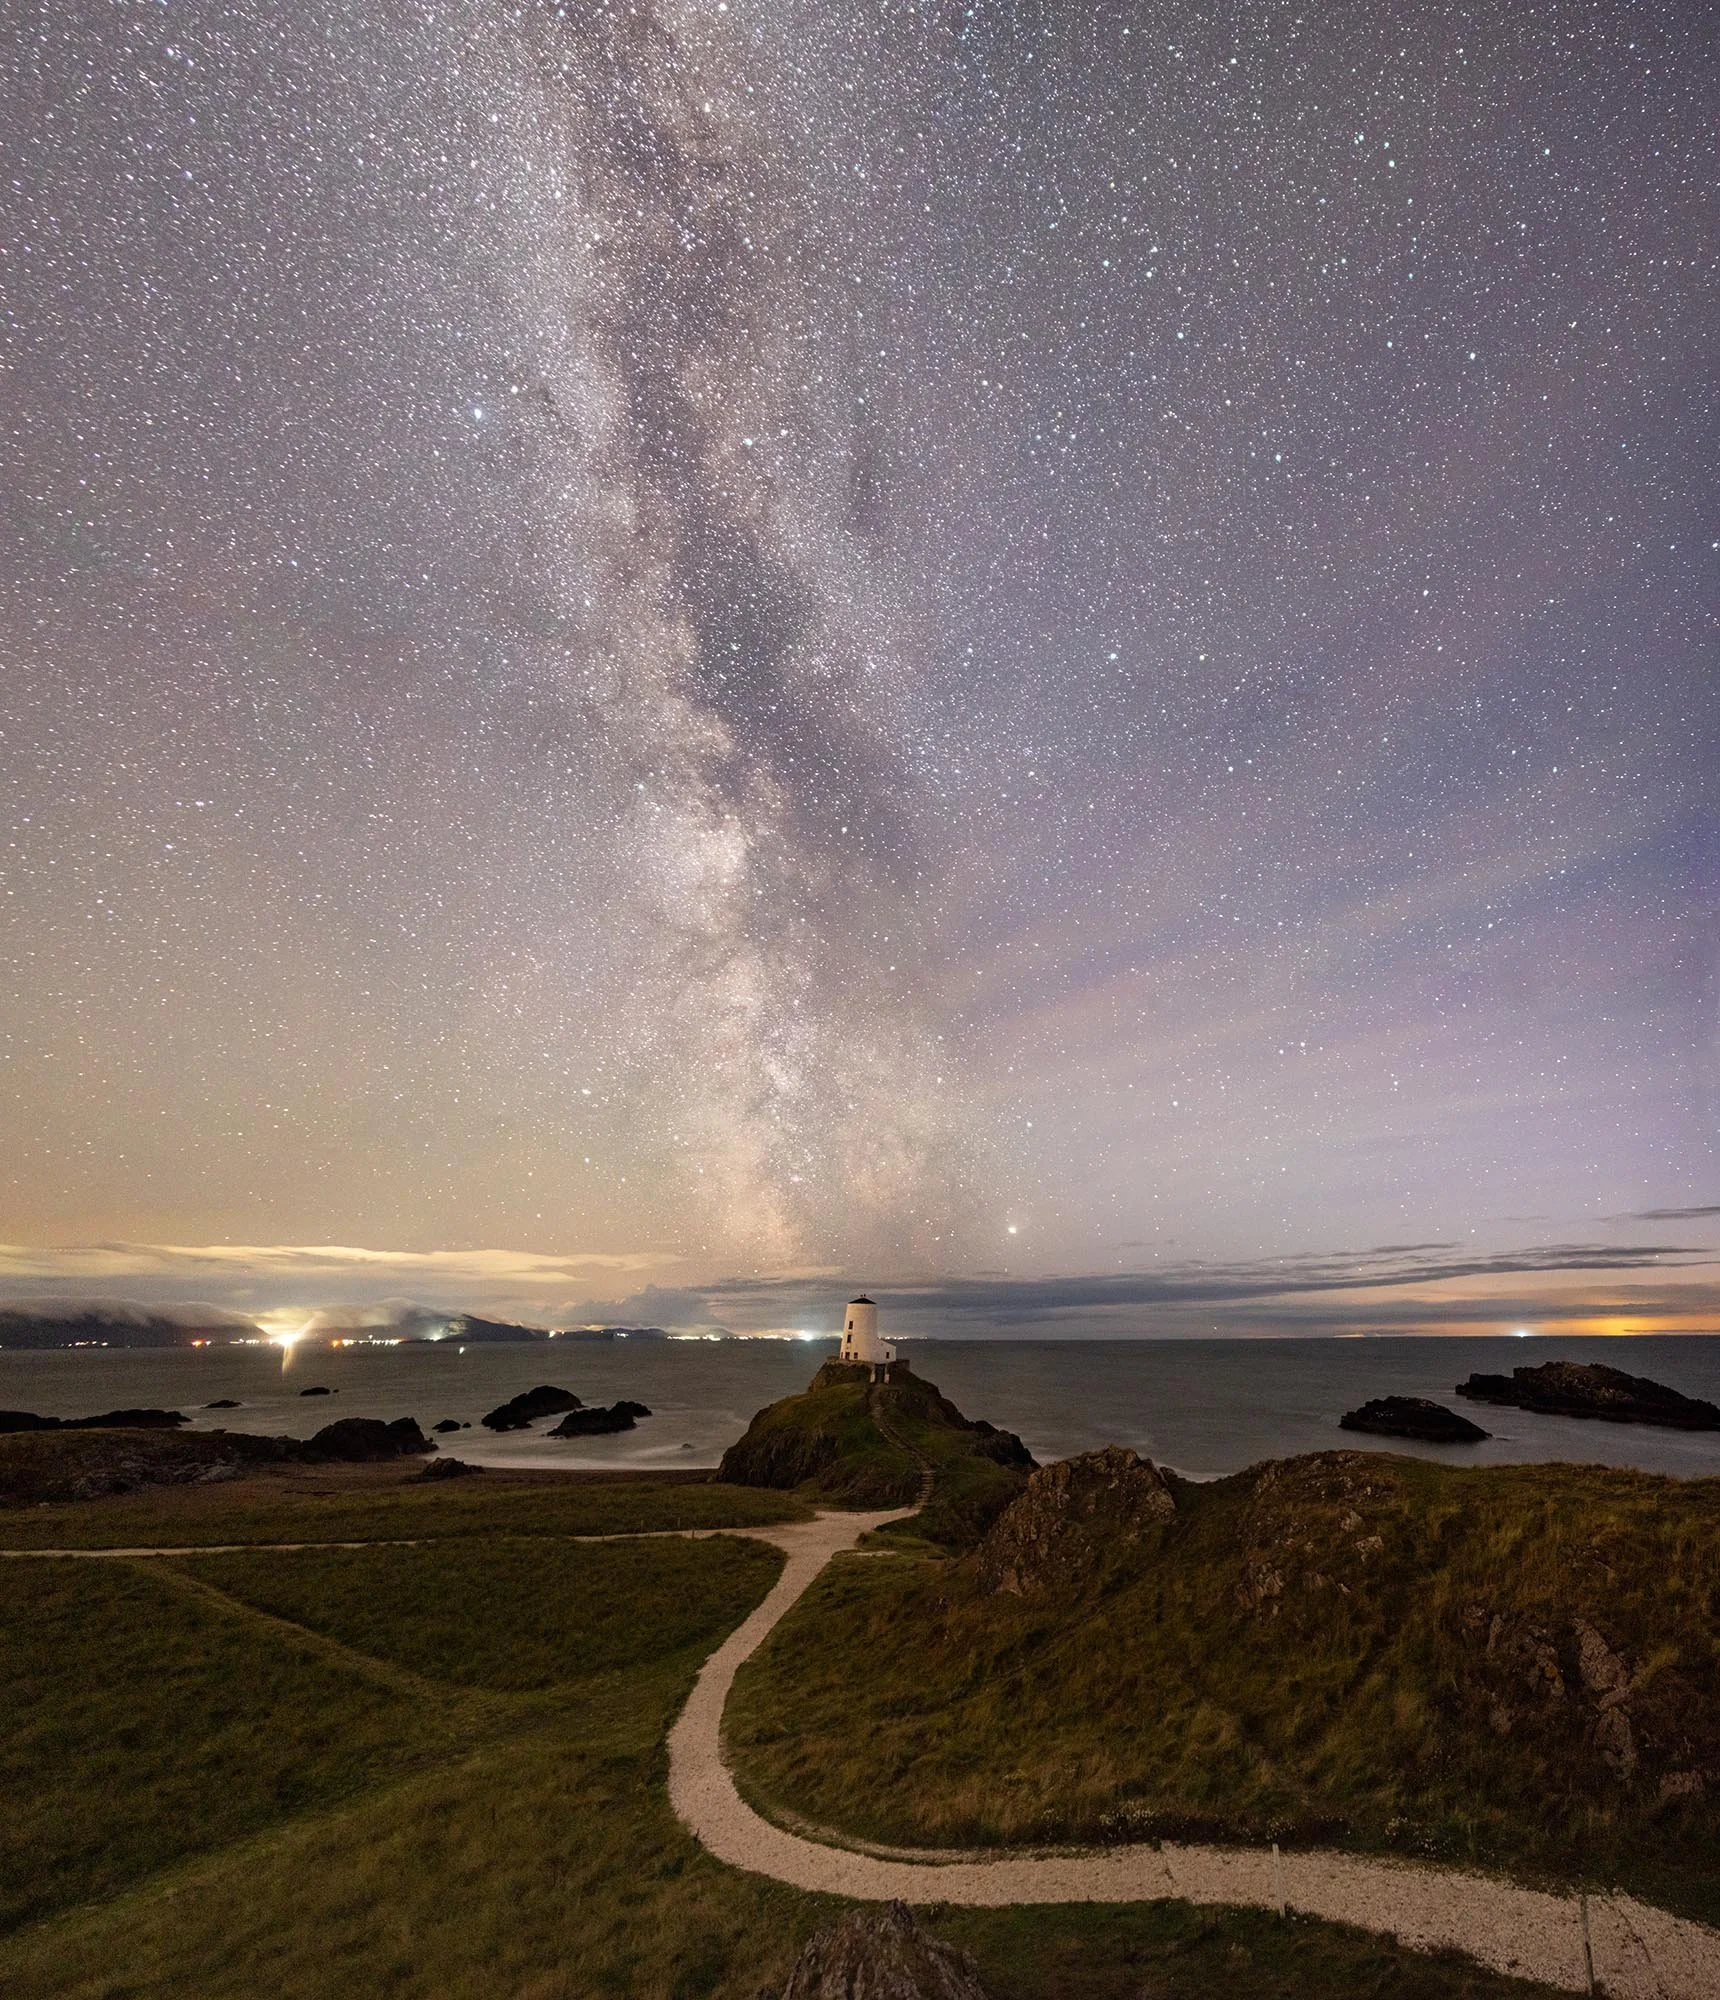
Picture of the milky way in the night sky.
This Example has no light on the foreground which has caused a silhouette. This enhances and draws attention to the milky way.
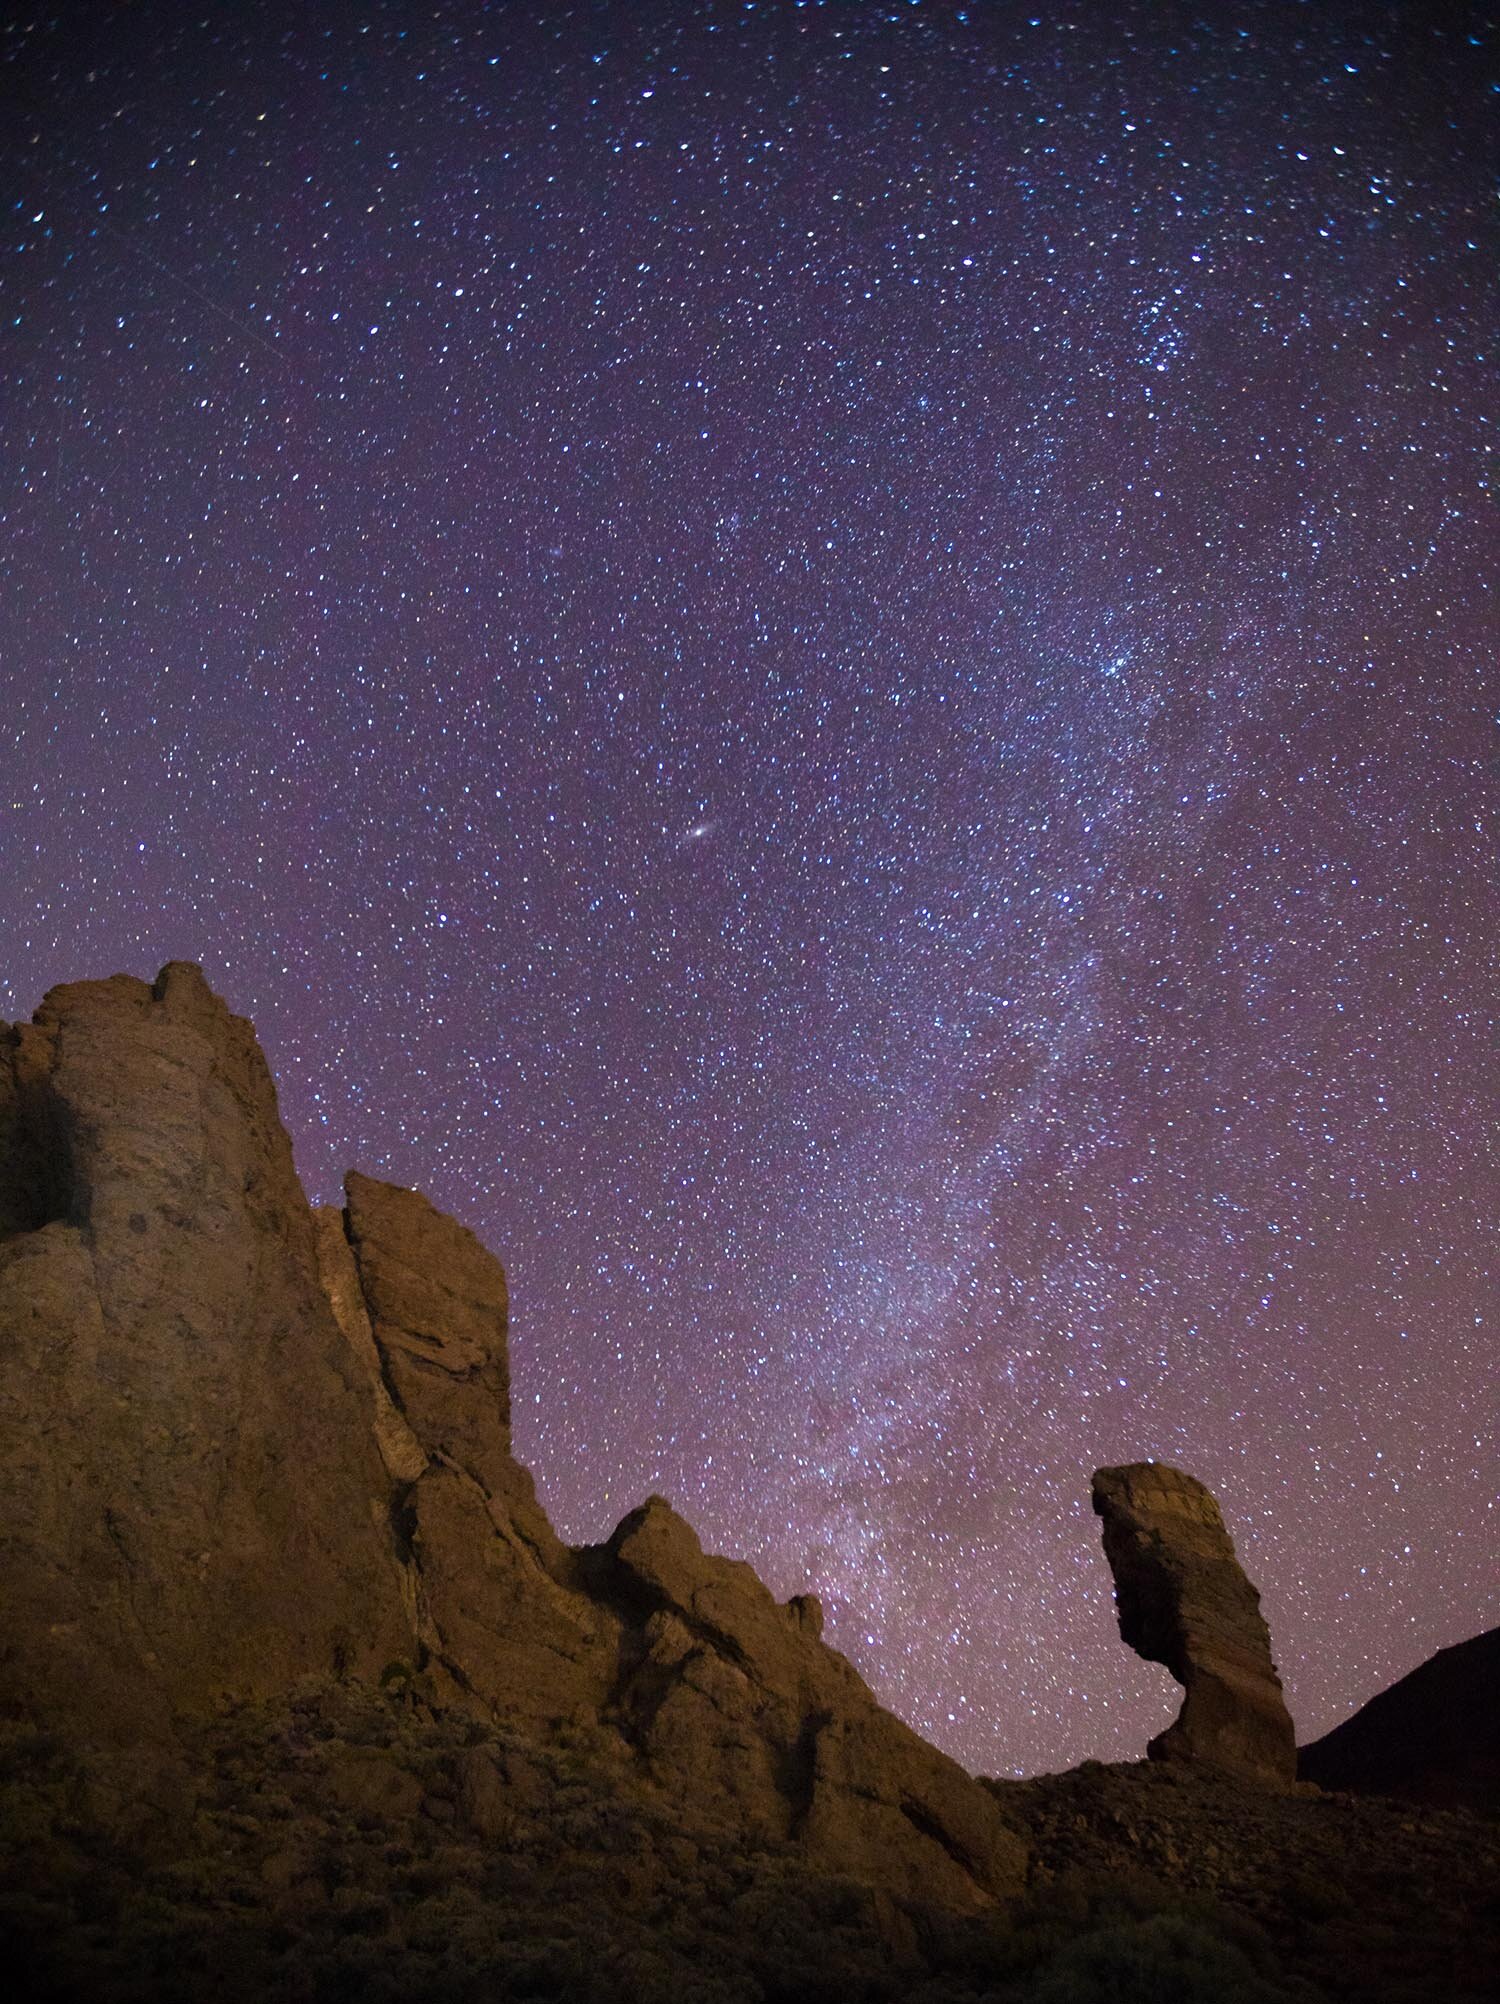
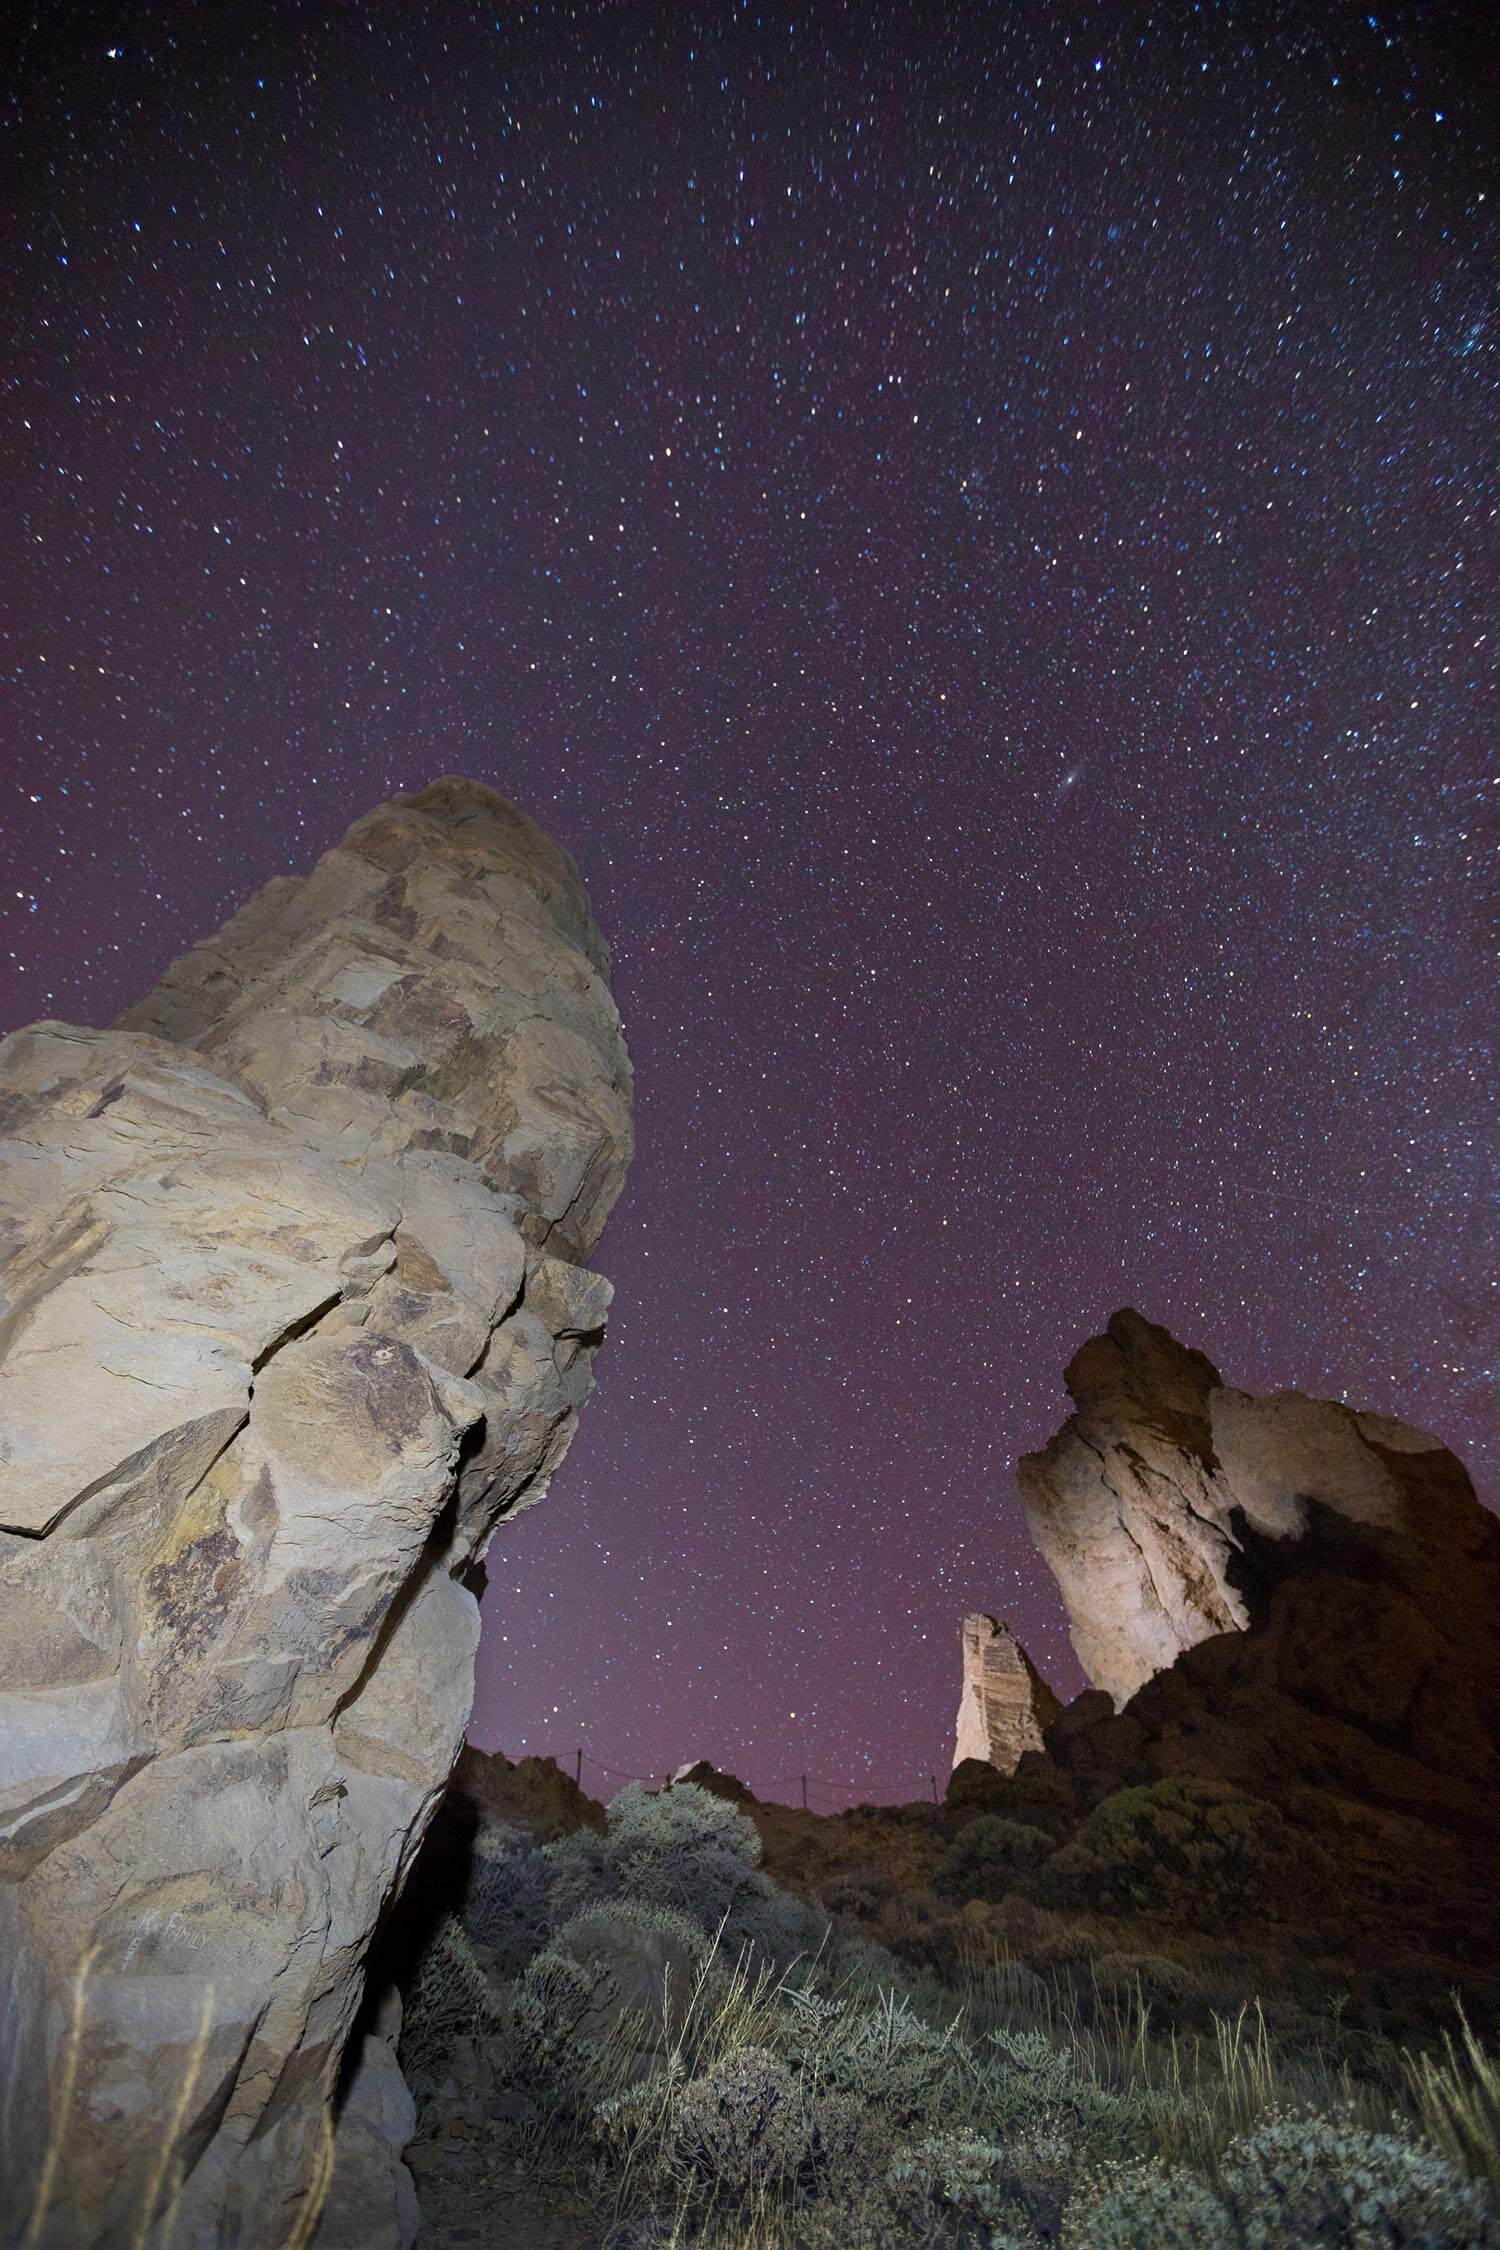
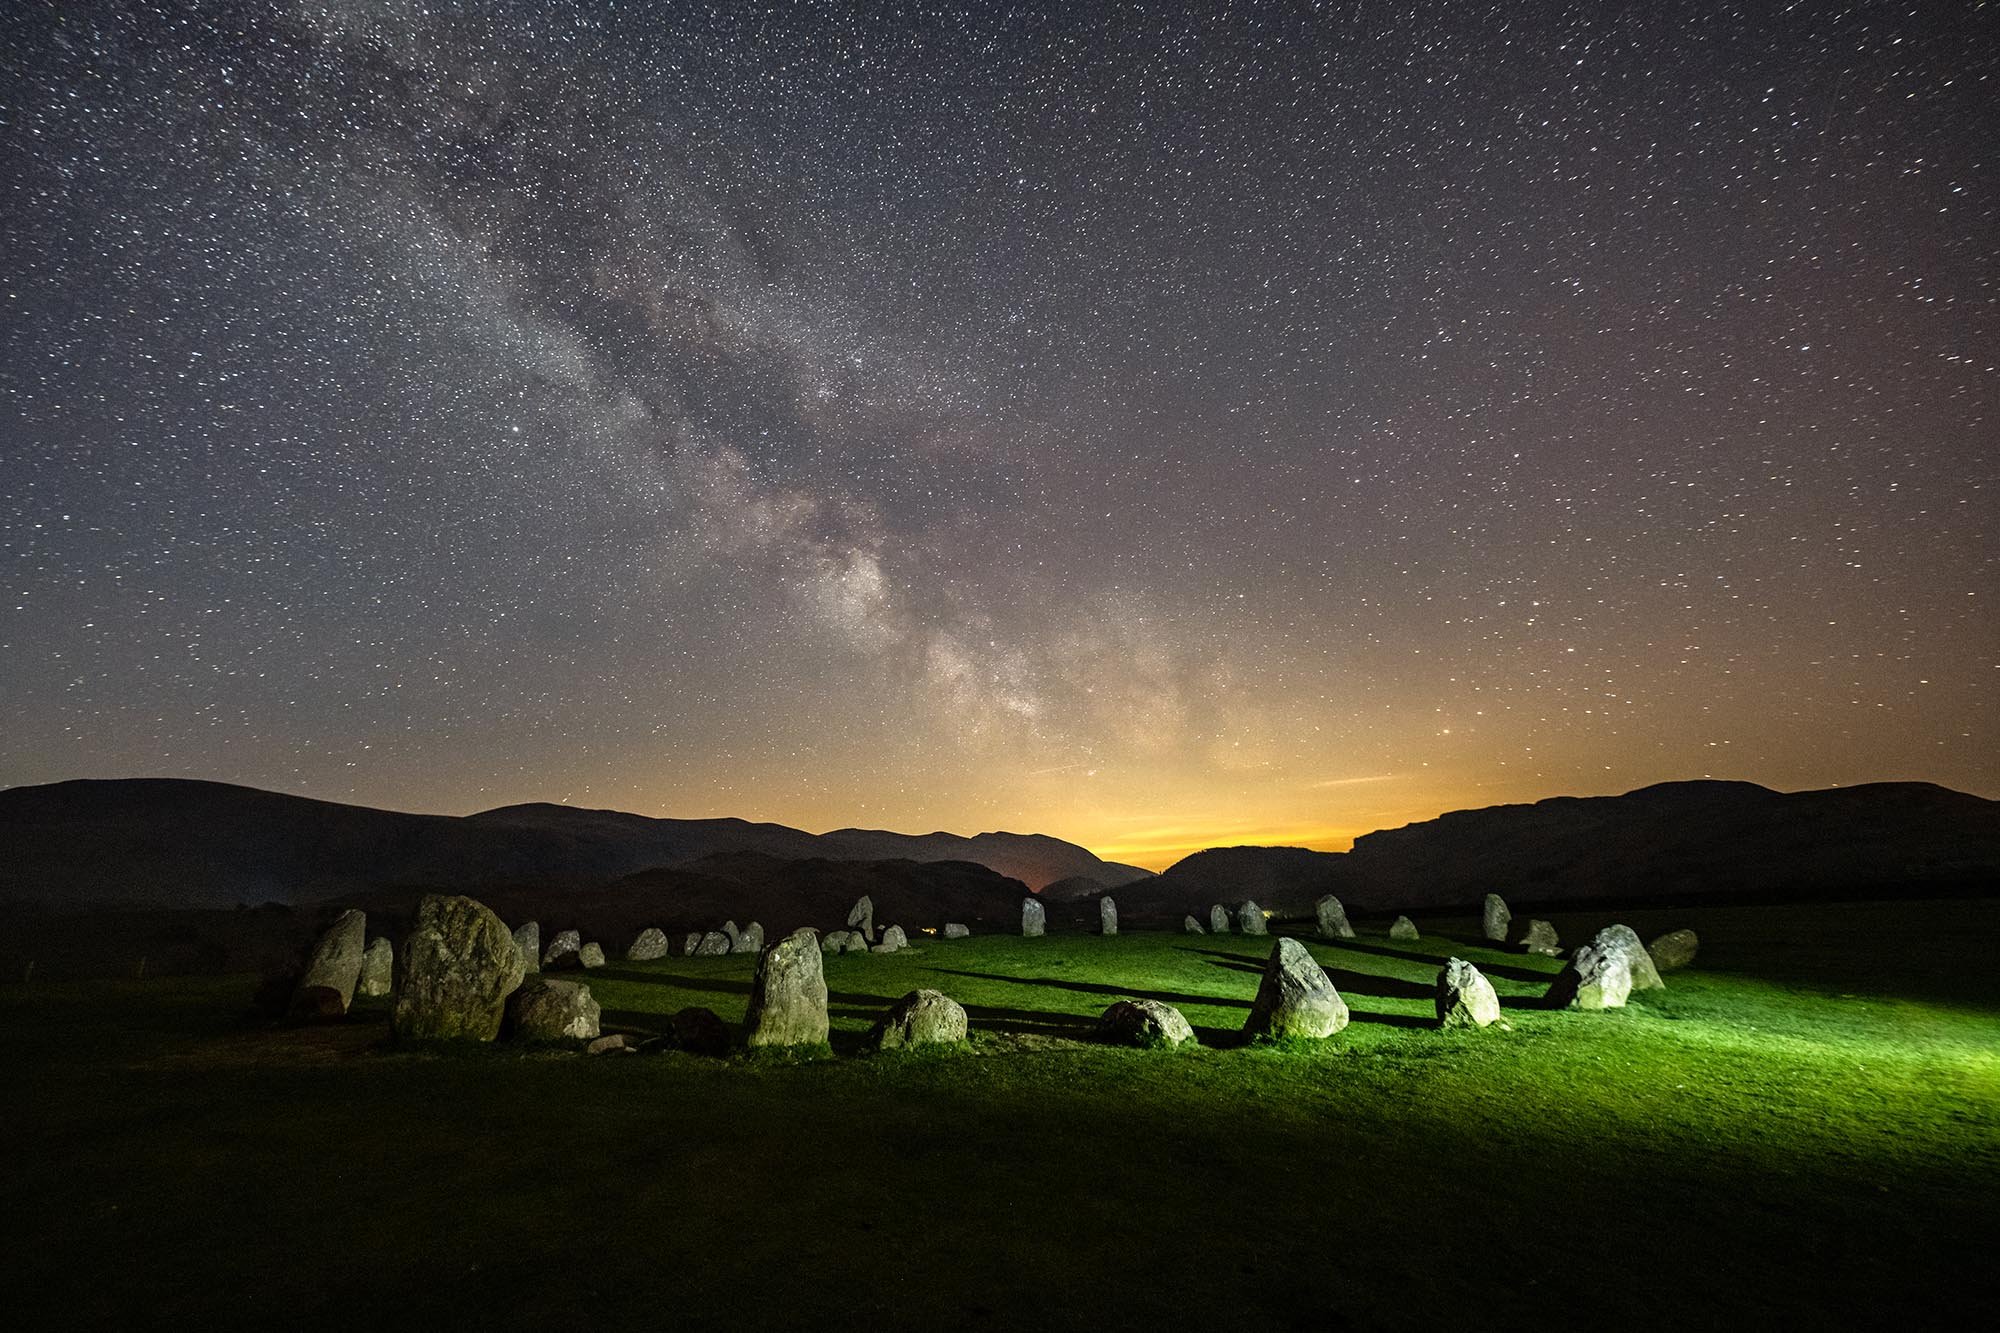
In these shots the foreground has been lit up with a torch. This technique is a bit hit and miss but it’s really good to get a sharp detail of the foreground of your shot.
Astrophotography Course
Images taken from our Astrophotography course with Ben Bush.
Conclusion
With these tips and the right equipment, you'll be well on your way to taking stunning photos of the stars. Be patient, practice your settings, and enjoy the beauty of the night sky!
Happy Photographing!
Like this? - Check out similar tutorials below
Take your Star Photography to the next level by becoming a member of TSOP
I hope you liked this tutorial, please leave us a comment and support us by sharing it with your friends and subscribe to our newsletter at the bottom of this page for more.
We also have an excellent learning community on social media so please join us there as well.
Thanks for watching and remember – Learn more at The School of Photography.


