Exposure bracketing in Photography – Beginners Guide
Exposure Bracketing in photography – What is it? Why should you do it? And how is bracketing in photography achieved? Also, with raw files as good as they are these days, do you actually need it?
Exposure bracketing is a photography technique that helps you capture the perfect exposure, especially when the light is tricky. Whether you're a beginner or have experience, learning about exposure bracketing can really improve your photography and in this beginner’s guide, we’re going to go through the A-Z of what, why and how!
What is exposure bracketing in Photography?
Let’s begin with the “what?”. Exposure bracketing is taking a series of images, of the same subject at different exposures. E.g. a bright exposure, a medium exposure, and a dark exposure of the scene. In other words, you are creating a bracket of bright and dark exposures around your middle exposure. Exposure bracketing is the most common form of bracketing in photography, used to capture multiple exposures of the same scene.
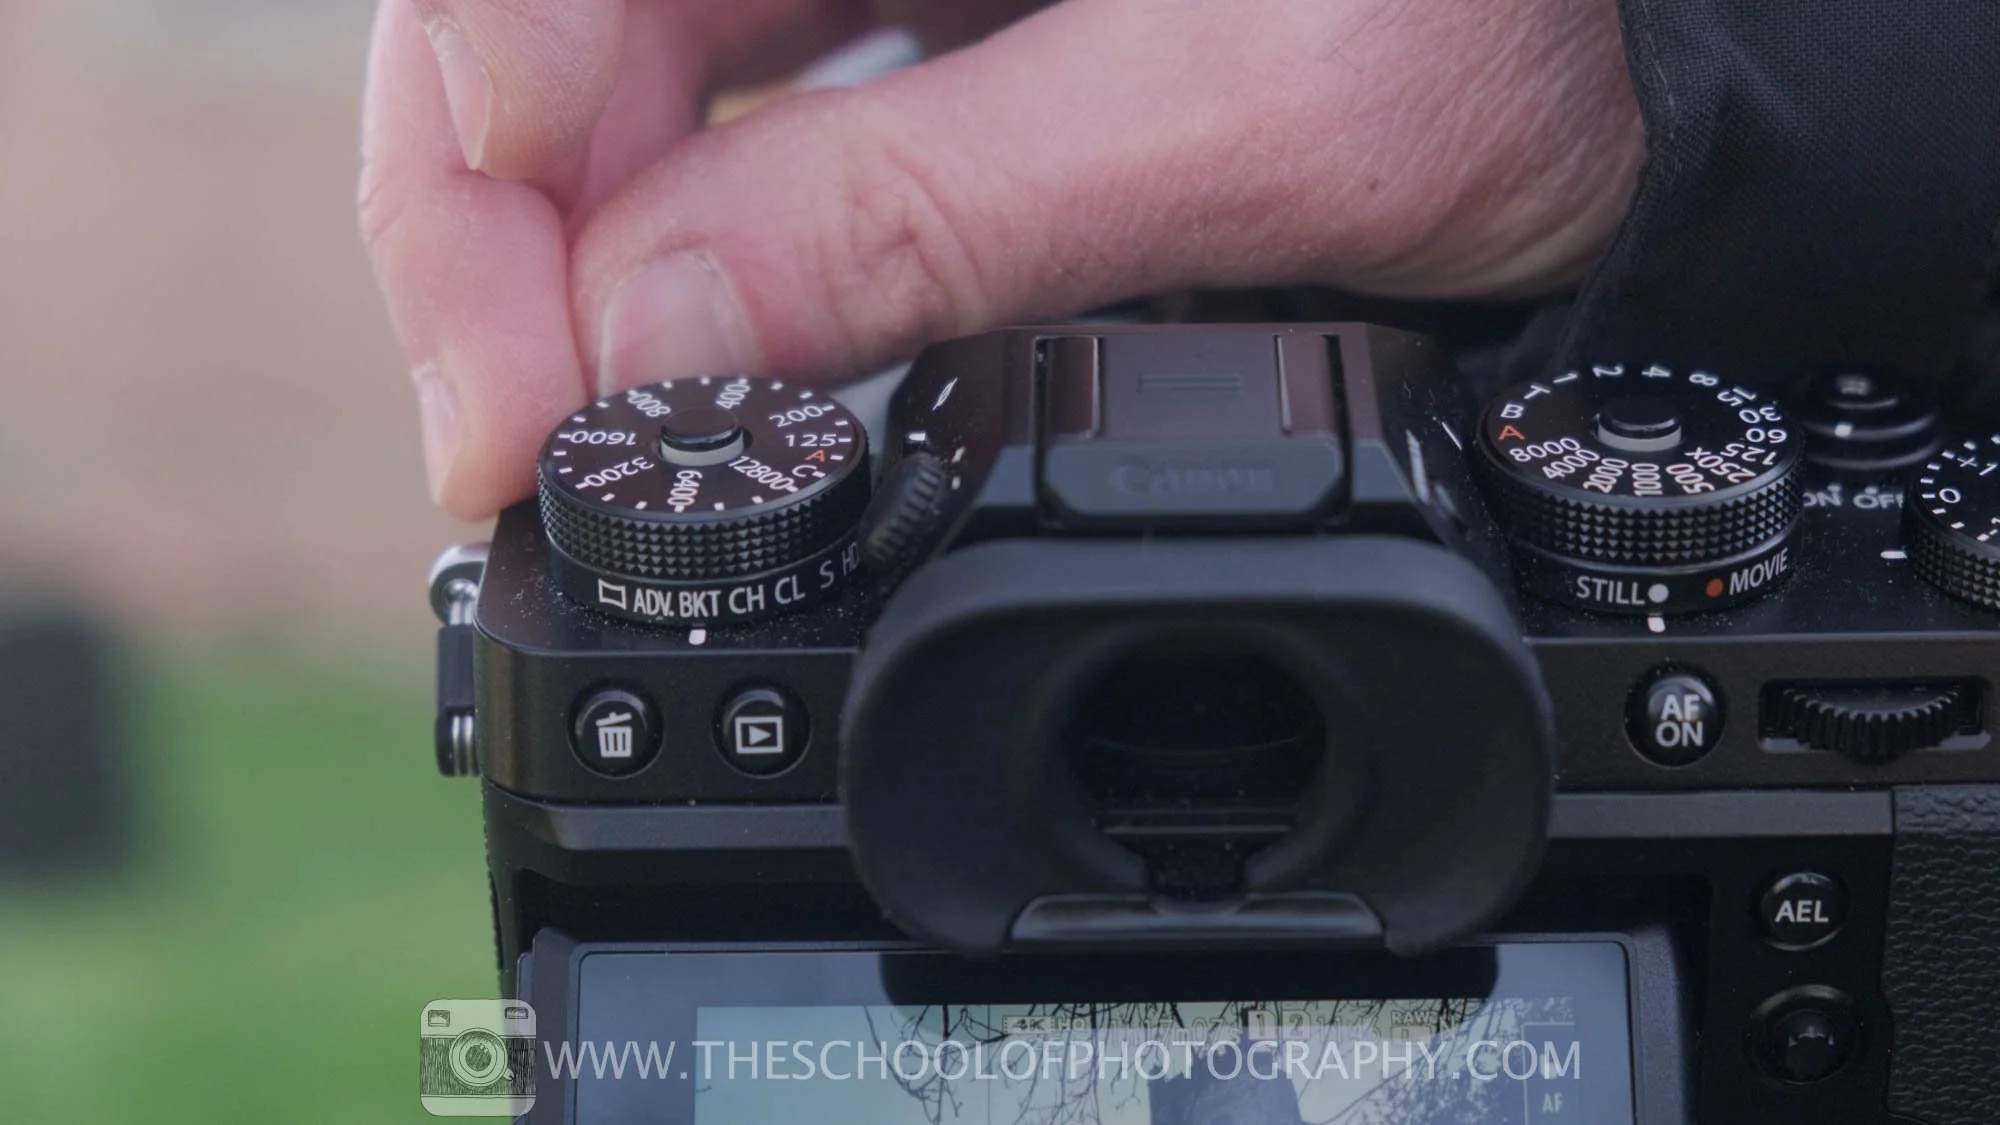
Auto exposure bracketing setting on mirrorless camera.
Get access to ALL our online courses - 1000’s of videos, worksheets, critiques of students work, personalised support and much more with our monthly membership.
Why would you bracket an exposure of a scene?
Historically, the practice of exposure bracketing comes from the film photography days. There were no digital screens to show you the shot you got! So, you’d take shots of the same scene at a series of different exposures to ensure you ended up with a properly exposed image once you got back to the darkroom, hence a ‘bracketed’ image.
When it comes to digital photography, exposure bracketing is pretty much done for the same reason. You take multiple exposures of the same scene but instead of taking them back to a darkroom, you take them into a digital program like Lightroom and choose the best exposure to process from there.
The difference between exposure bracketing for digital photography is the post-processing options you have available. In programs like Lightroom, you’re able to HDR merge your bracketed exposures or blend the sky into the ground to get a more balanced exposure. With bracketing in digital photography, you’re able to get the maximum details out of all areas of your shot. E.g. you can get the maximum detail out of the shadows, highlights, colours, texture and so on.
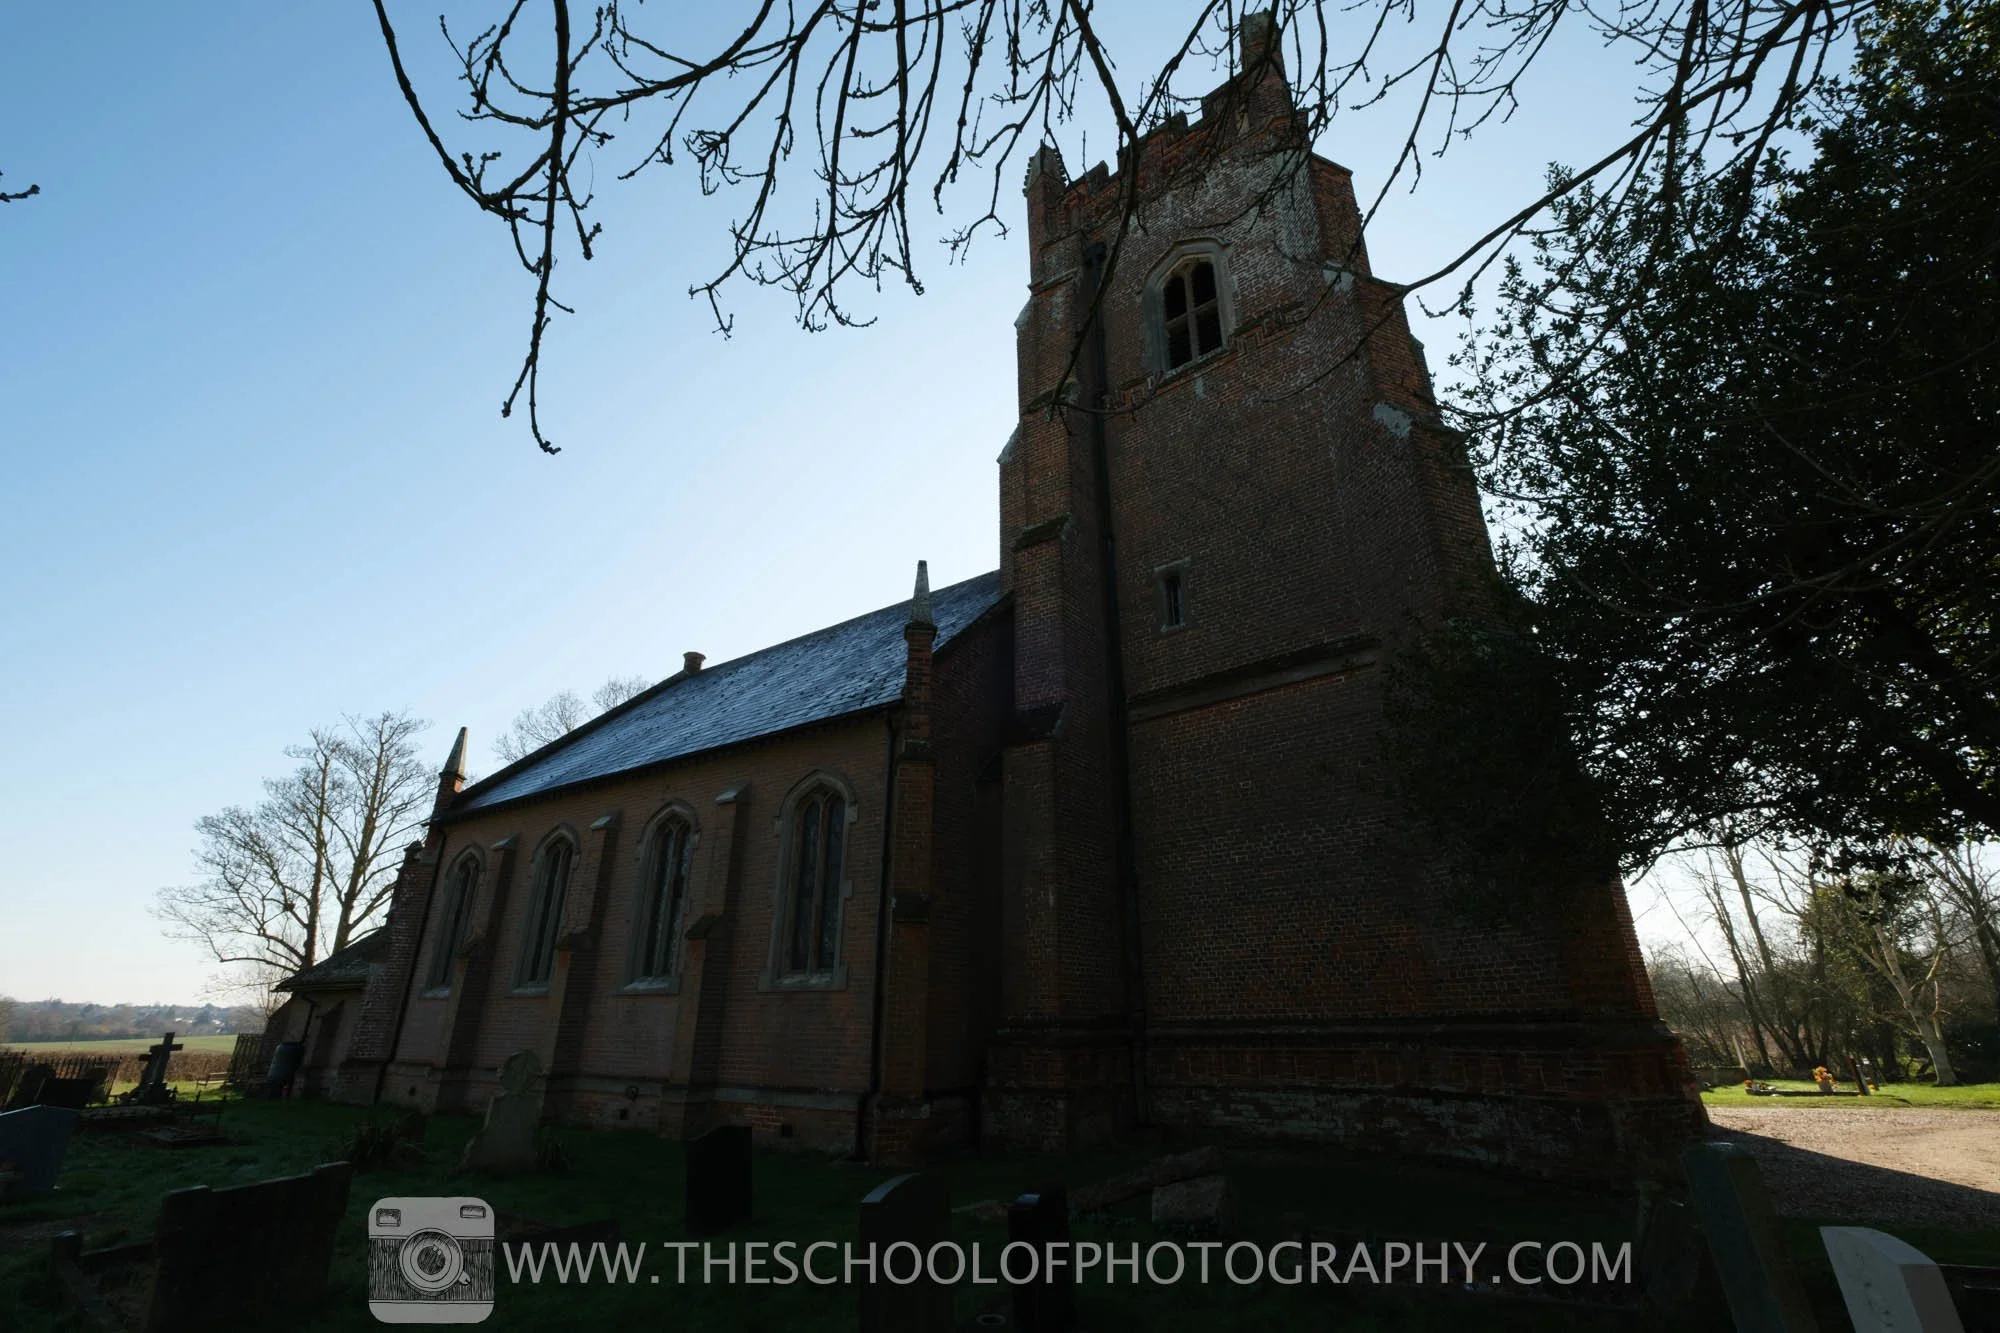
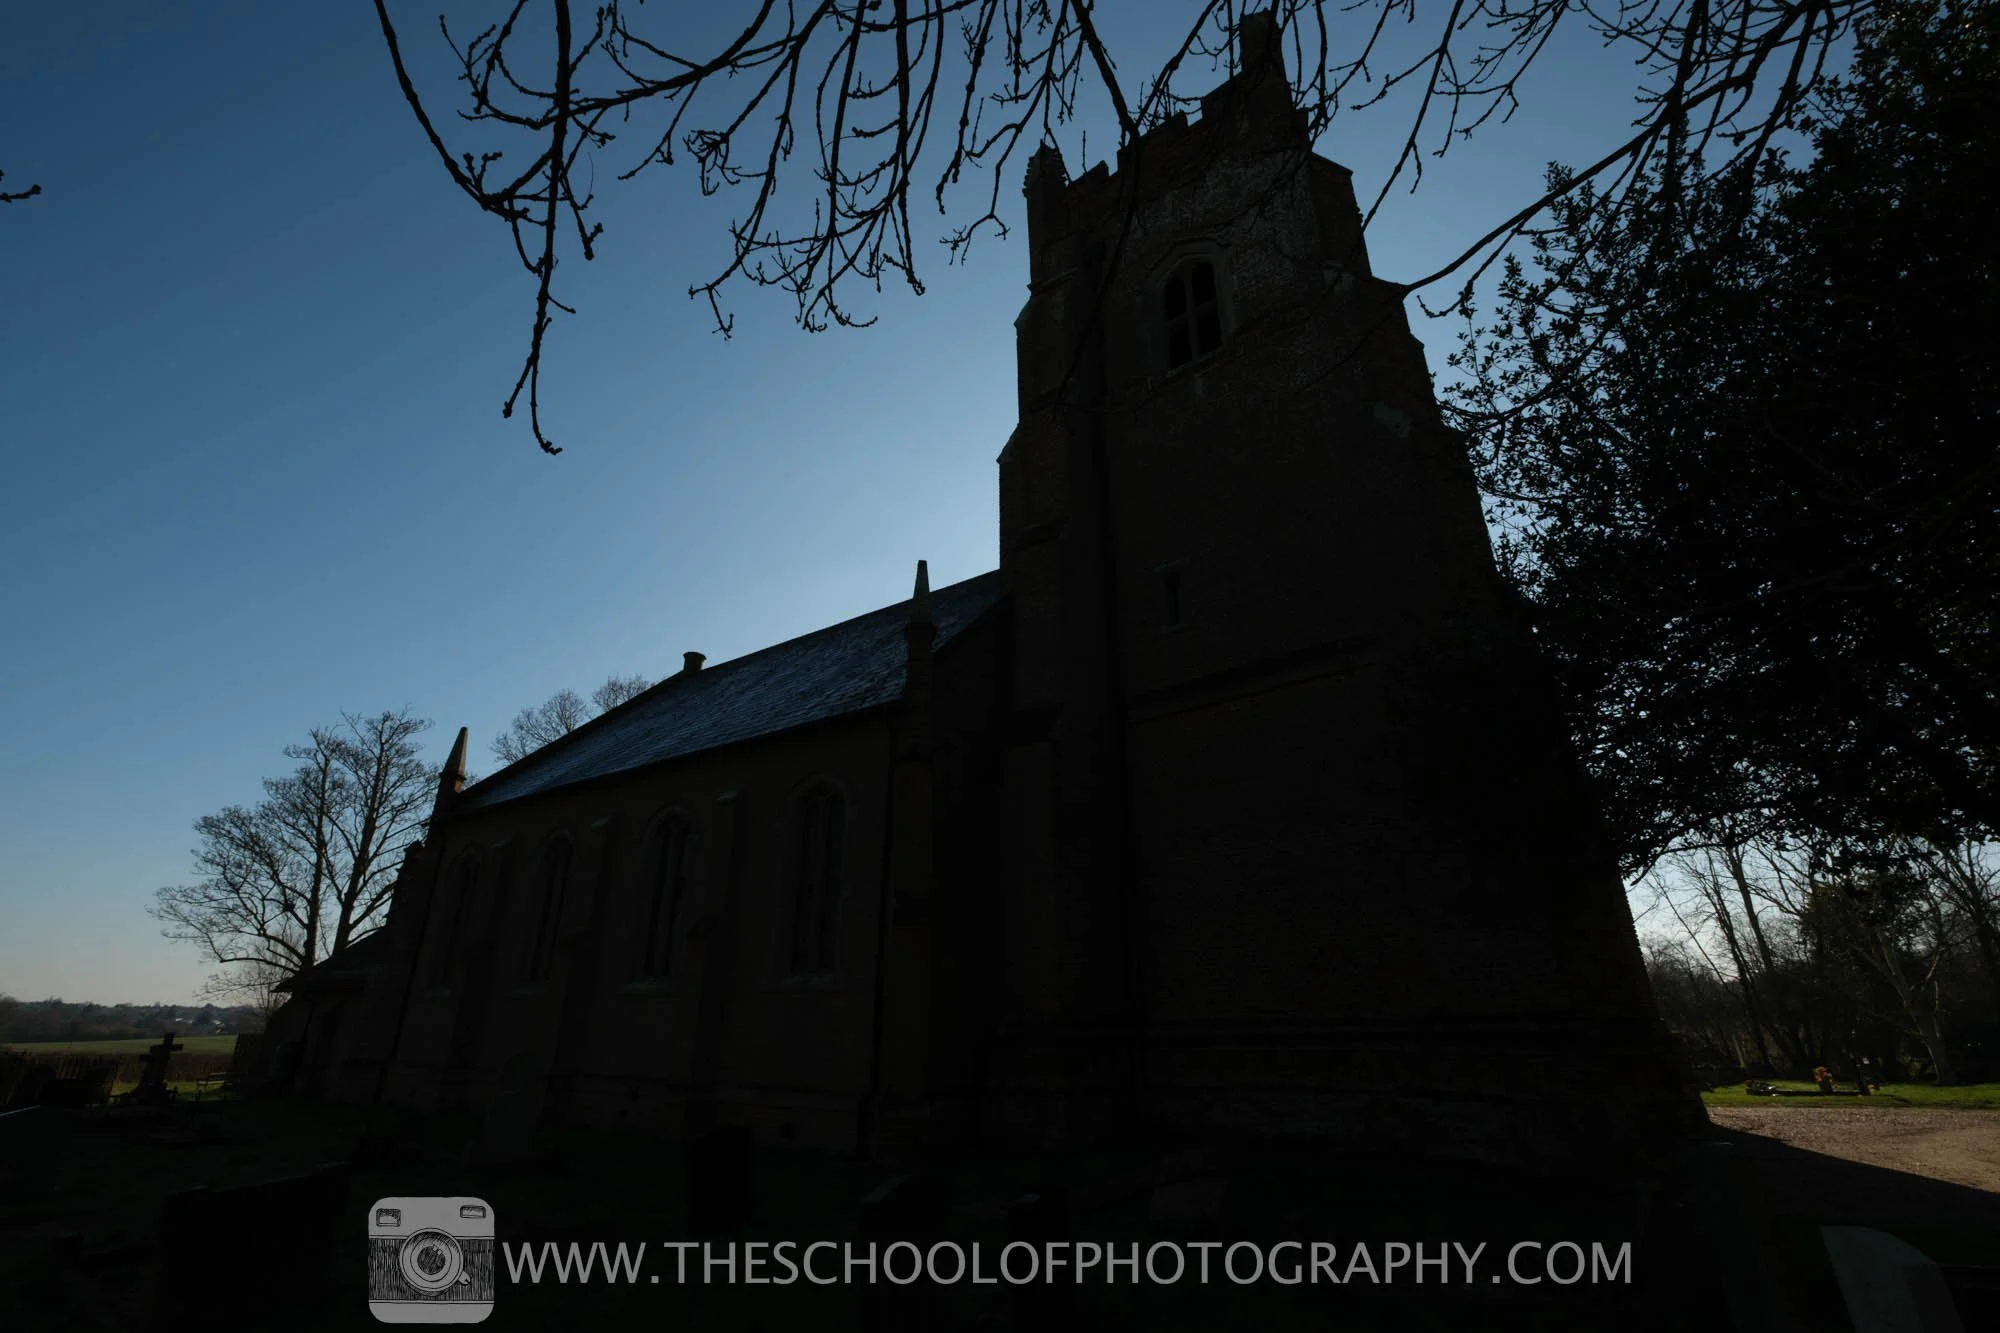
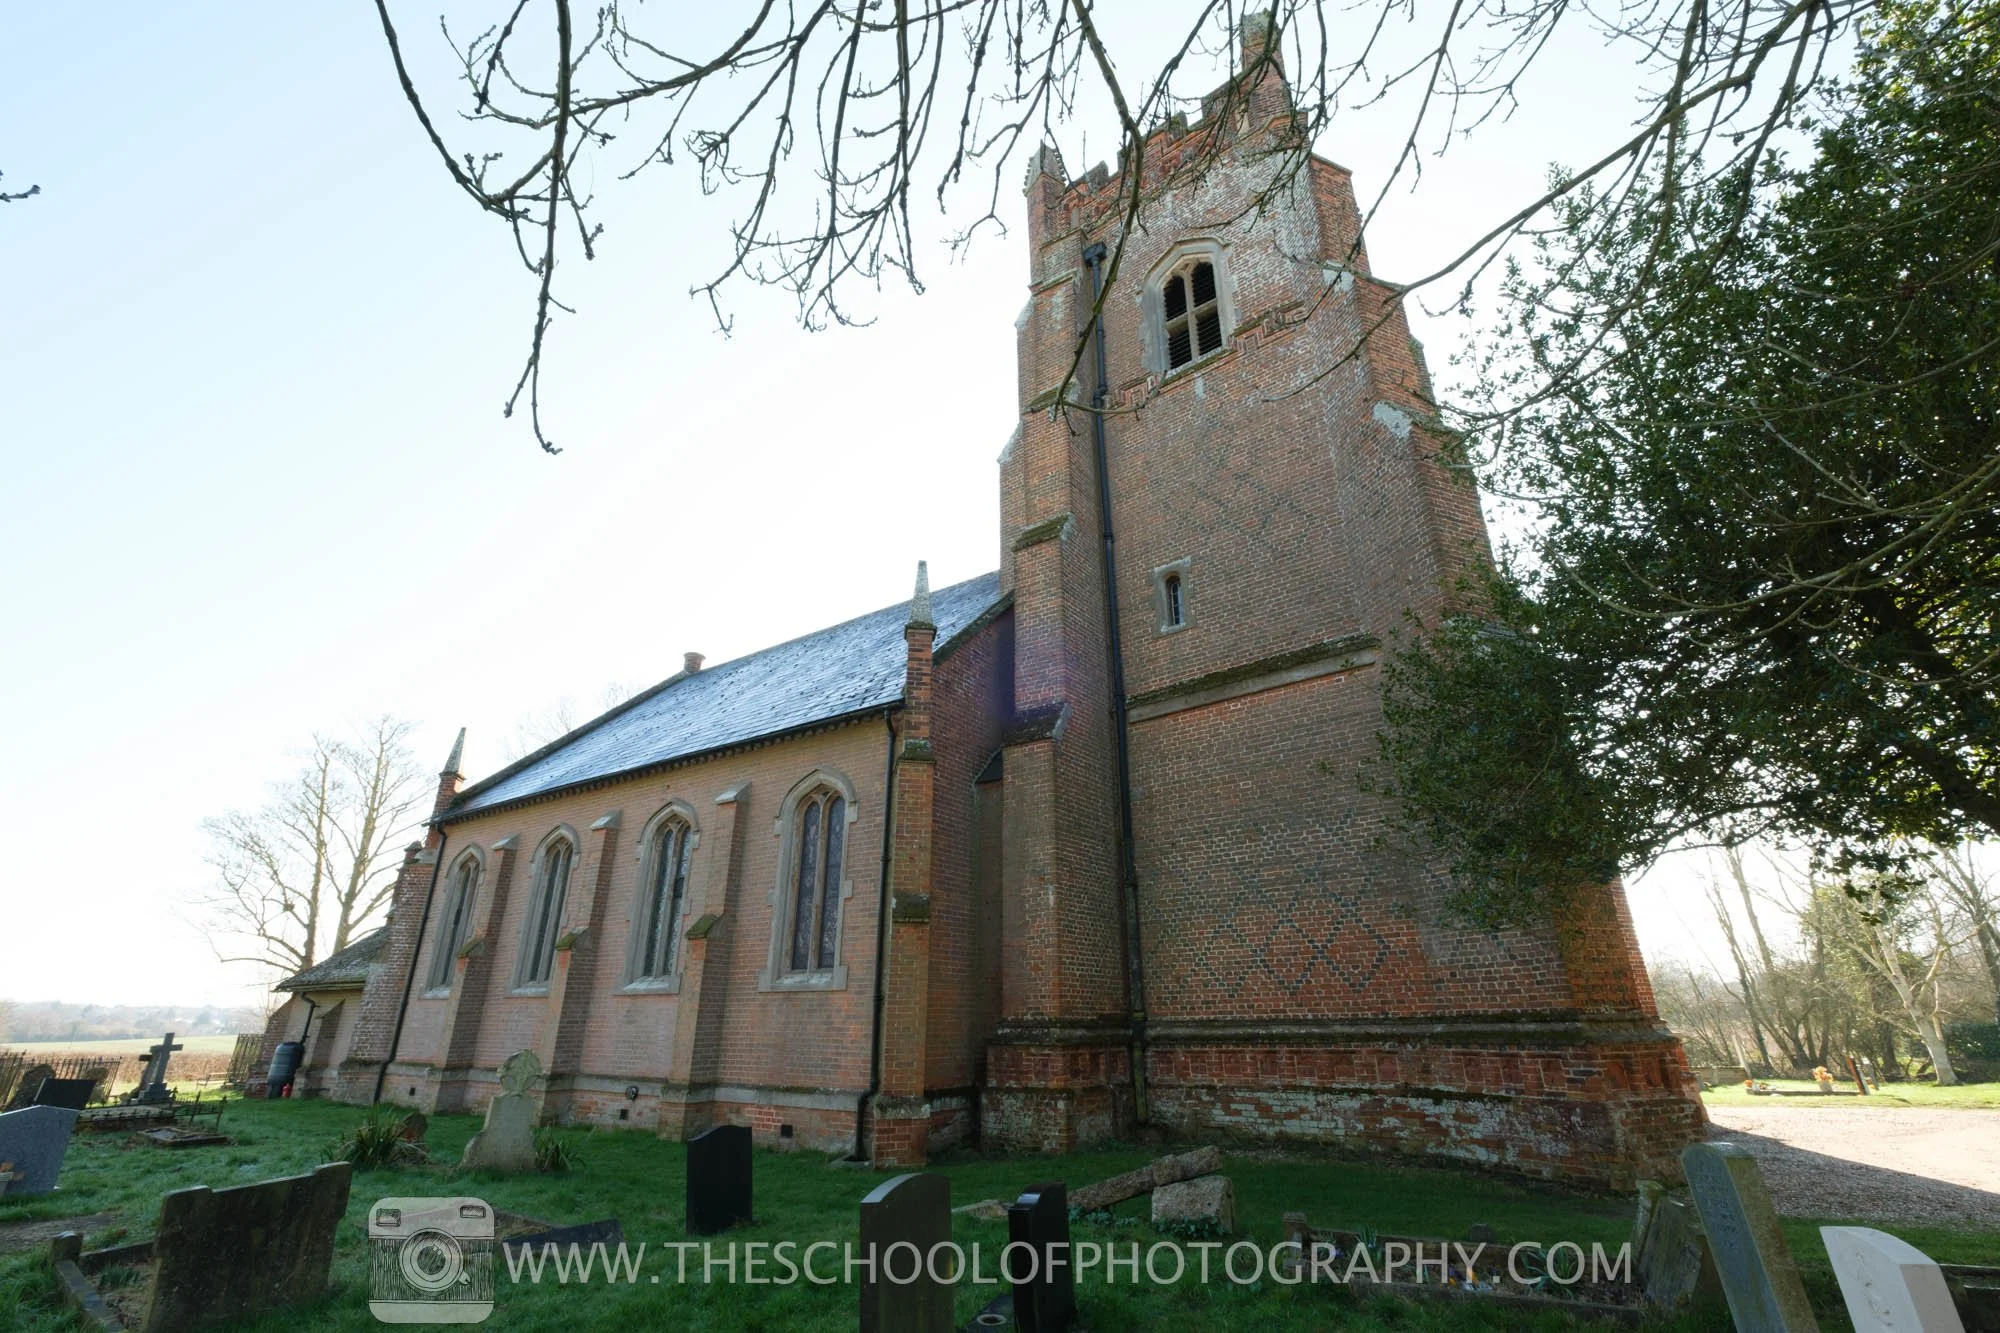
In the example video, I’m shooting the dark side of the church on a very bright day. This will give me maximum contrast in a scene – and this is where exposure bracketing can really help you out.
A high-contrast scene is where exposure bracketing can help.
How to use exposure bracketing
The method to bracket your images is actually really simple. There are two common ways to do it. The first way to bracket is to do so manually.
Technique 1 - Manual exposure bracketing
Firstly, get your composition the way you want, focus the scene and take an exposure reading. With manual exposure bracketing, you want to keep your aperture and ISO fixed for each bracketed image. It’s best if only use the shutter speed changes. You can do it by adjusting the ISO and aperture, but just using the shutter speed as a way of changing your exposure gives the best results. But, the scene will have to be still between each exposure.
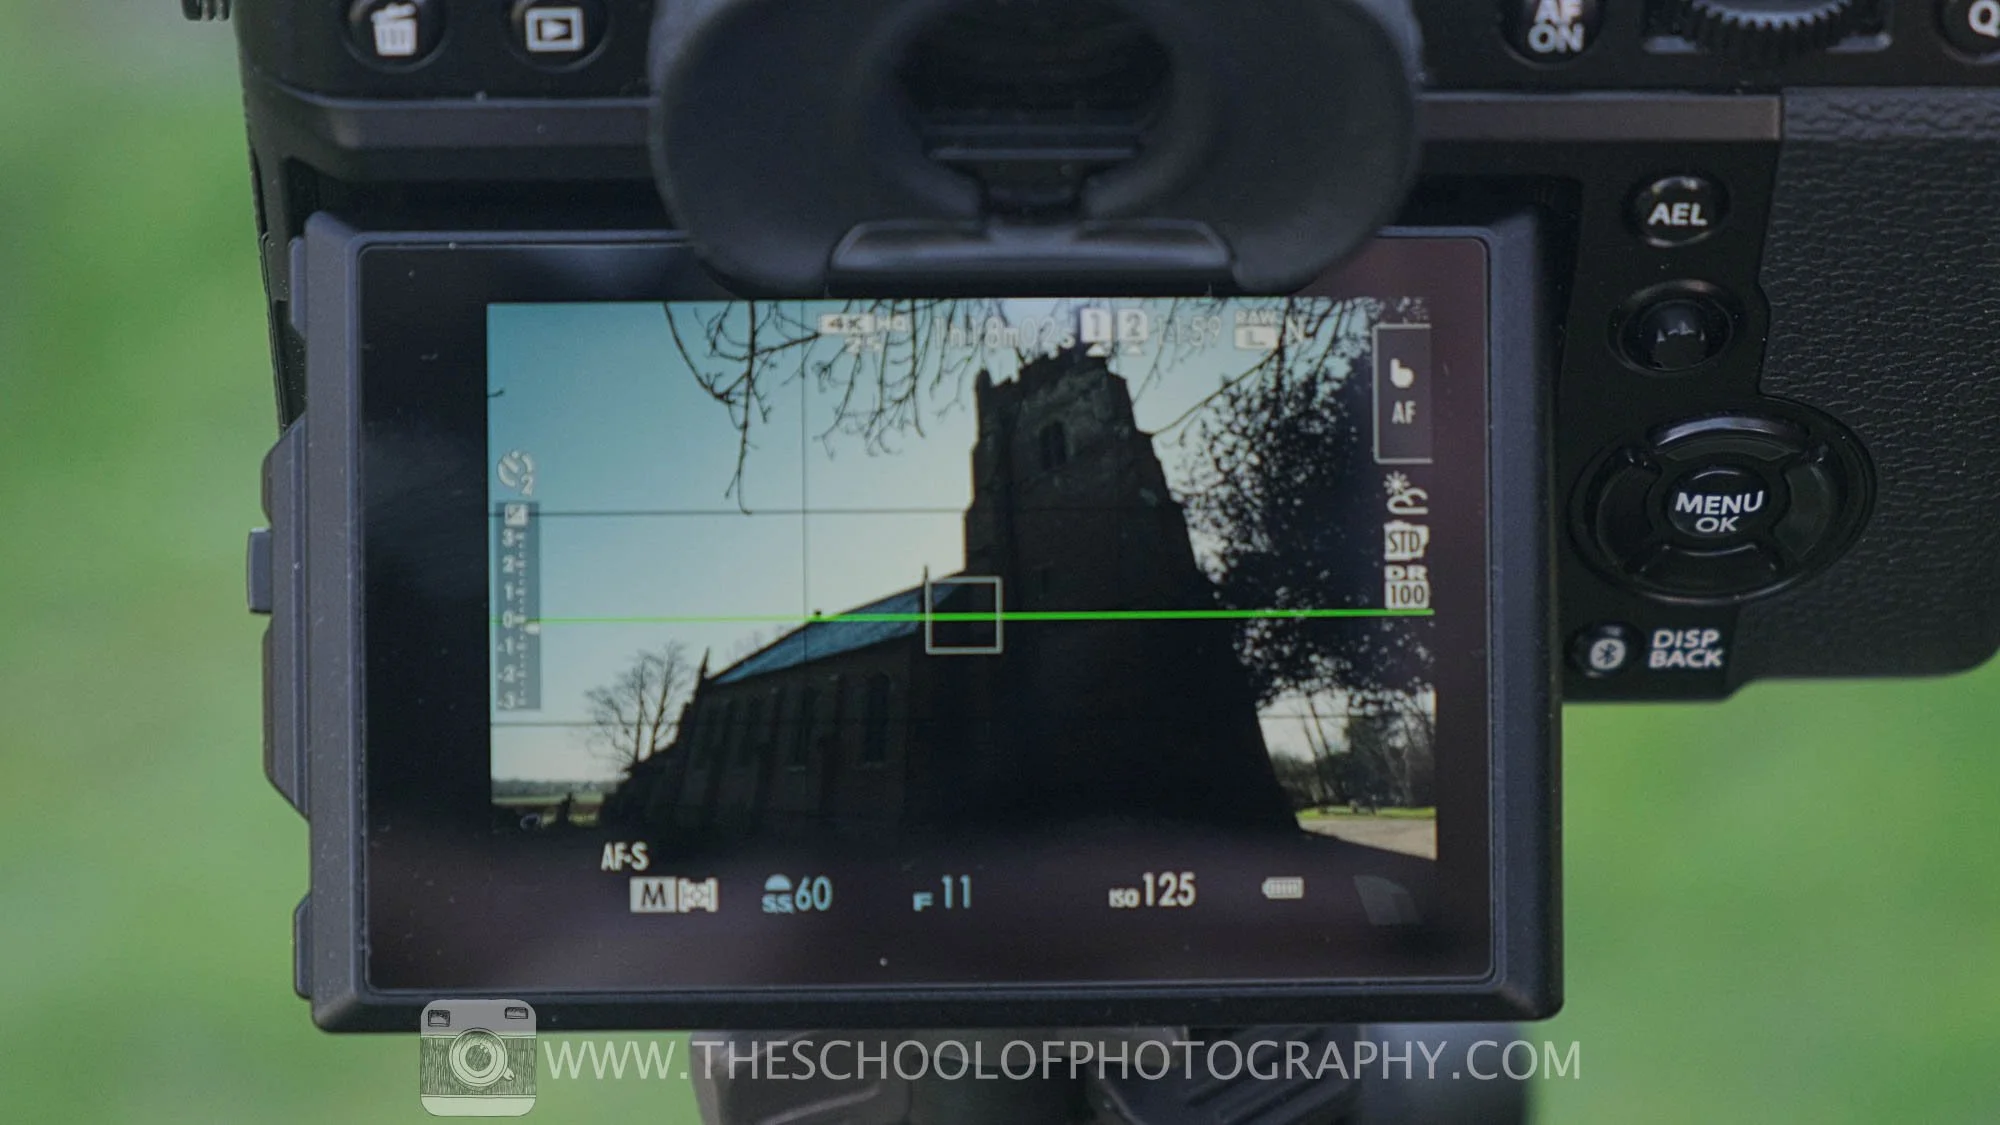
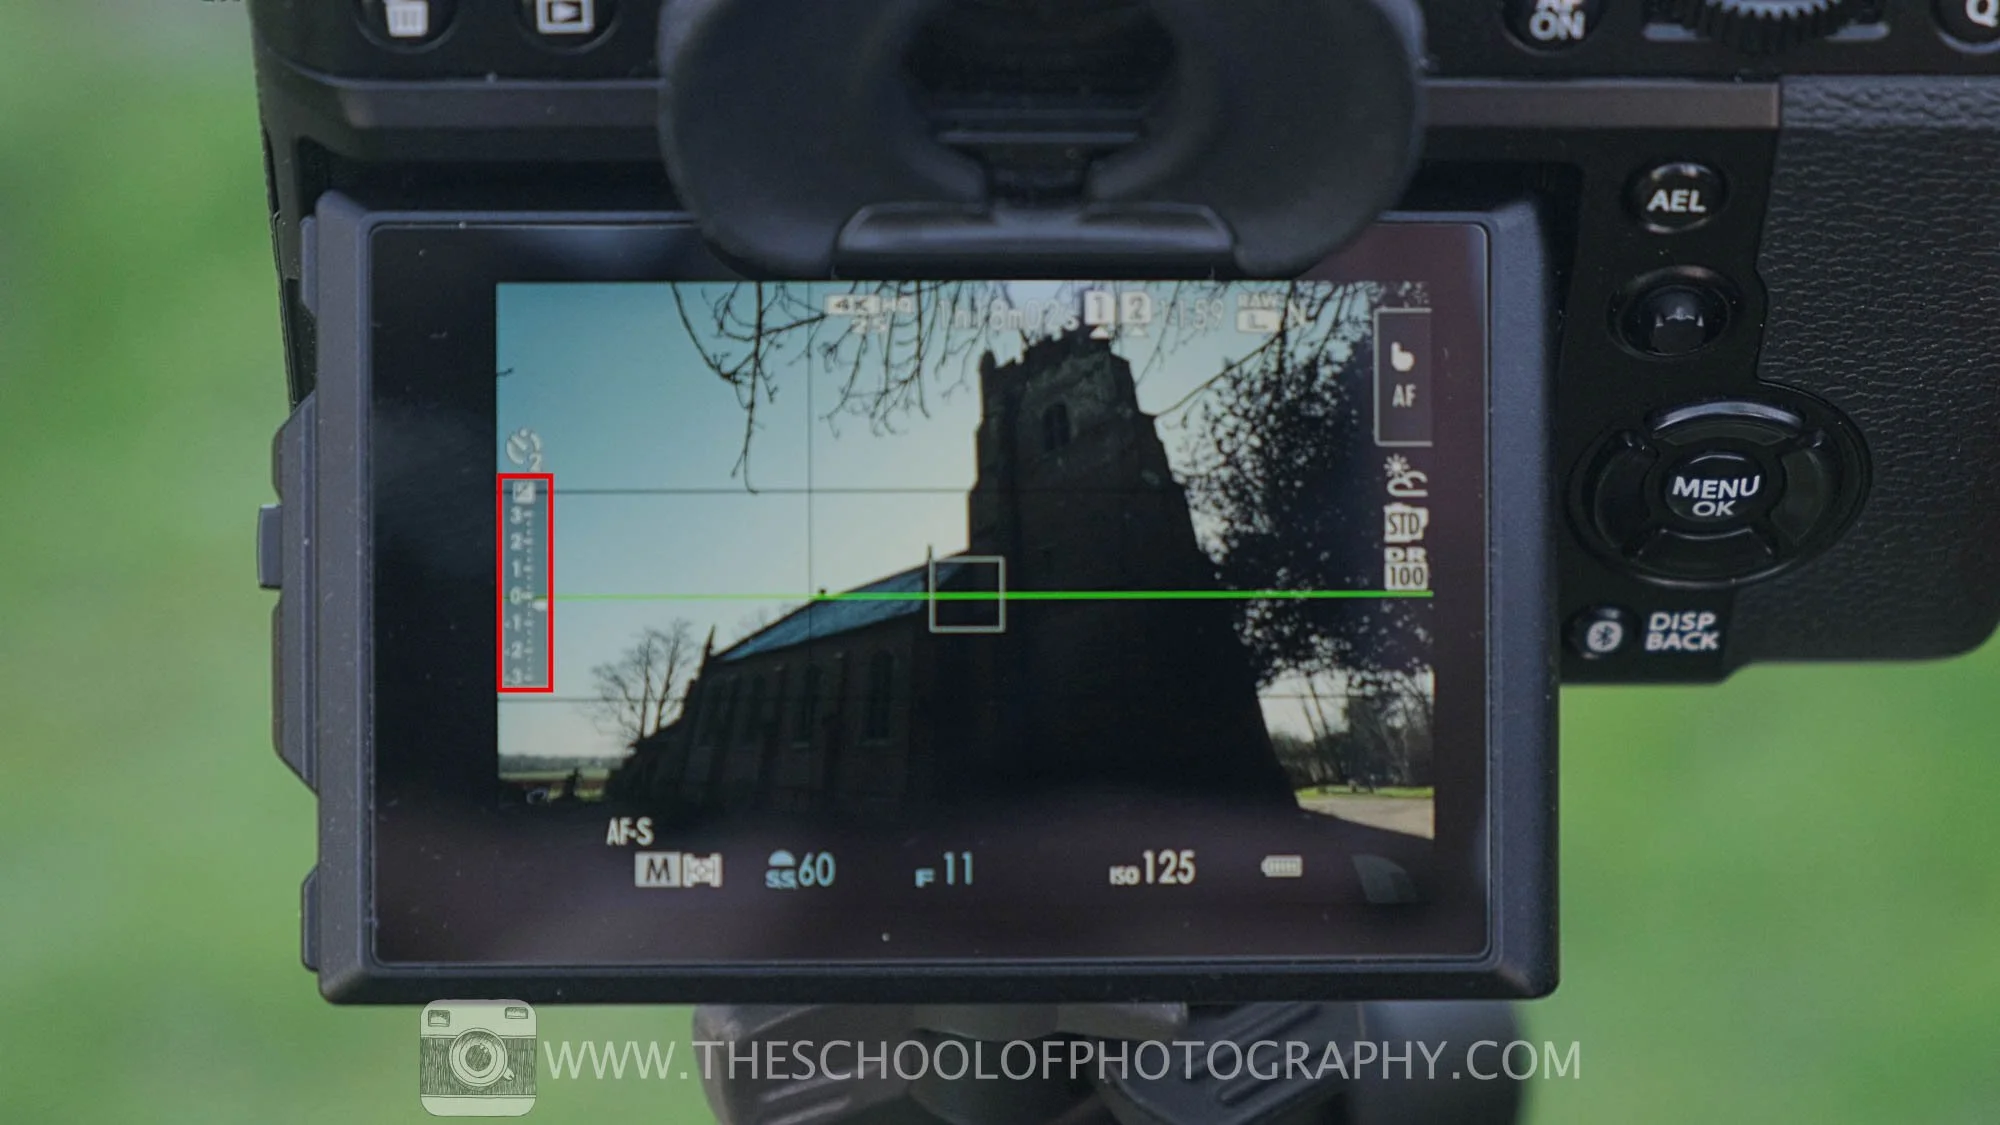
To get an exposure reading, focus in on your scene and choose your aperture and ISO for the visual effect you want. This is a landscape shot, so I’m going to put the camera, on F11 to ensure things are sharp and clear from the foreground to the background, and I will set the cameras lowest native ISO to give minimum noise which is ISO 125. Then to get an exposure reading, I change the shutter speed until my exposure meter reads zero.
Use your camera’s exposure meter to get a base exposure.
For this particular scene, we’ve got a shutter speed of 1/60th Second, which puts the meter reading just under zero. Using the 2-second timer to avoid any camera shake when I press the shutter, I’m going to take an exposure of the scene. This will be correctly exposed, as per the camera’s light meter.
For this image, I’m going to take a three-shot, two-stop bracket.
I’m going to take my next shot two stops darker, which is a shutter speed of 1/250th second. Then I take another shot which is two stops brighter, which is a shutter speed to 1/15th second.
What I have here is now three pictures of the same scene, one is a ‘base’ exposure, one two stops brighter and one two stops darker - that is a bracketed shot of the scene.
Base exposure: f/11, 1/45th Second, ISO 125
-2 Stops: f/11, 1/180th Second, ISO 125
+2 Stops: f/11, 1/20th Second, ISO 125
Learn about stops in photography here.
Technique 2 - Auto exposure bracketing (AEB)
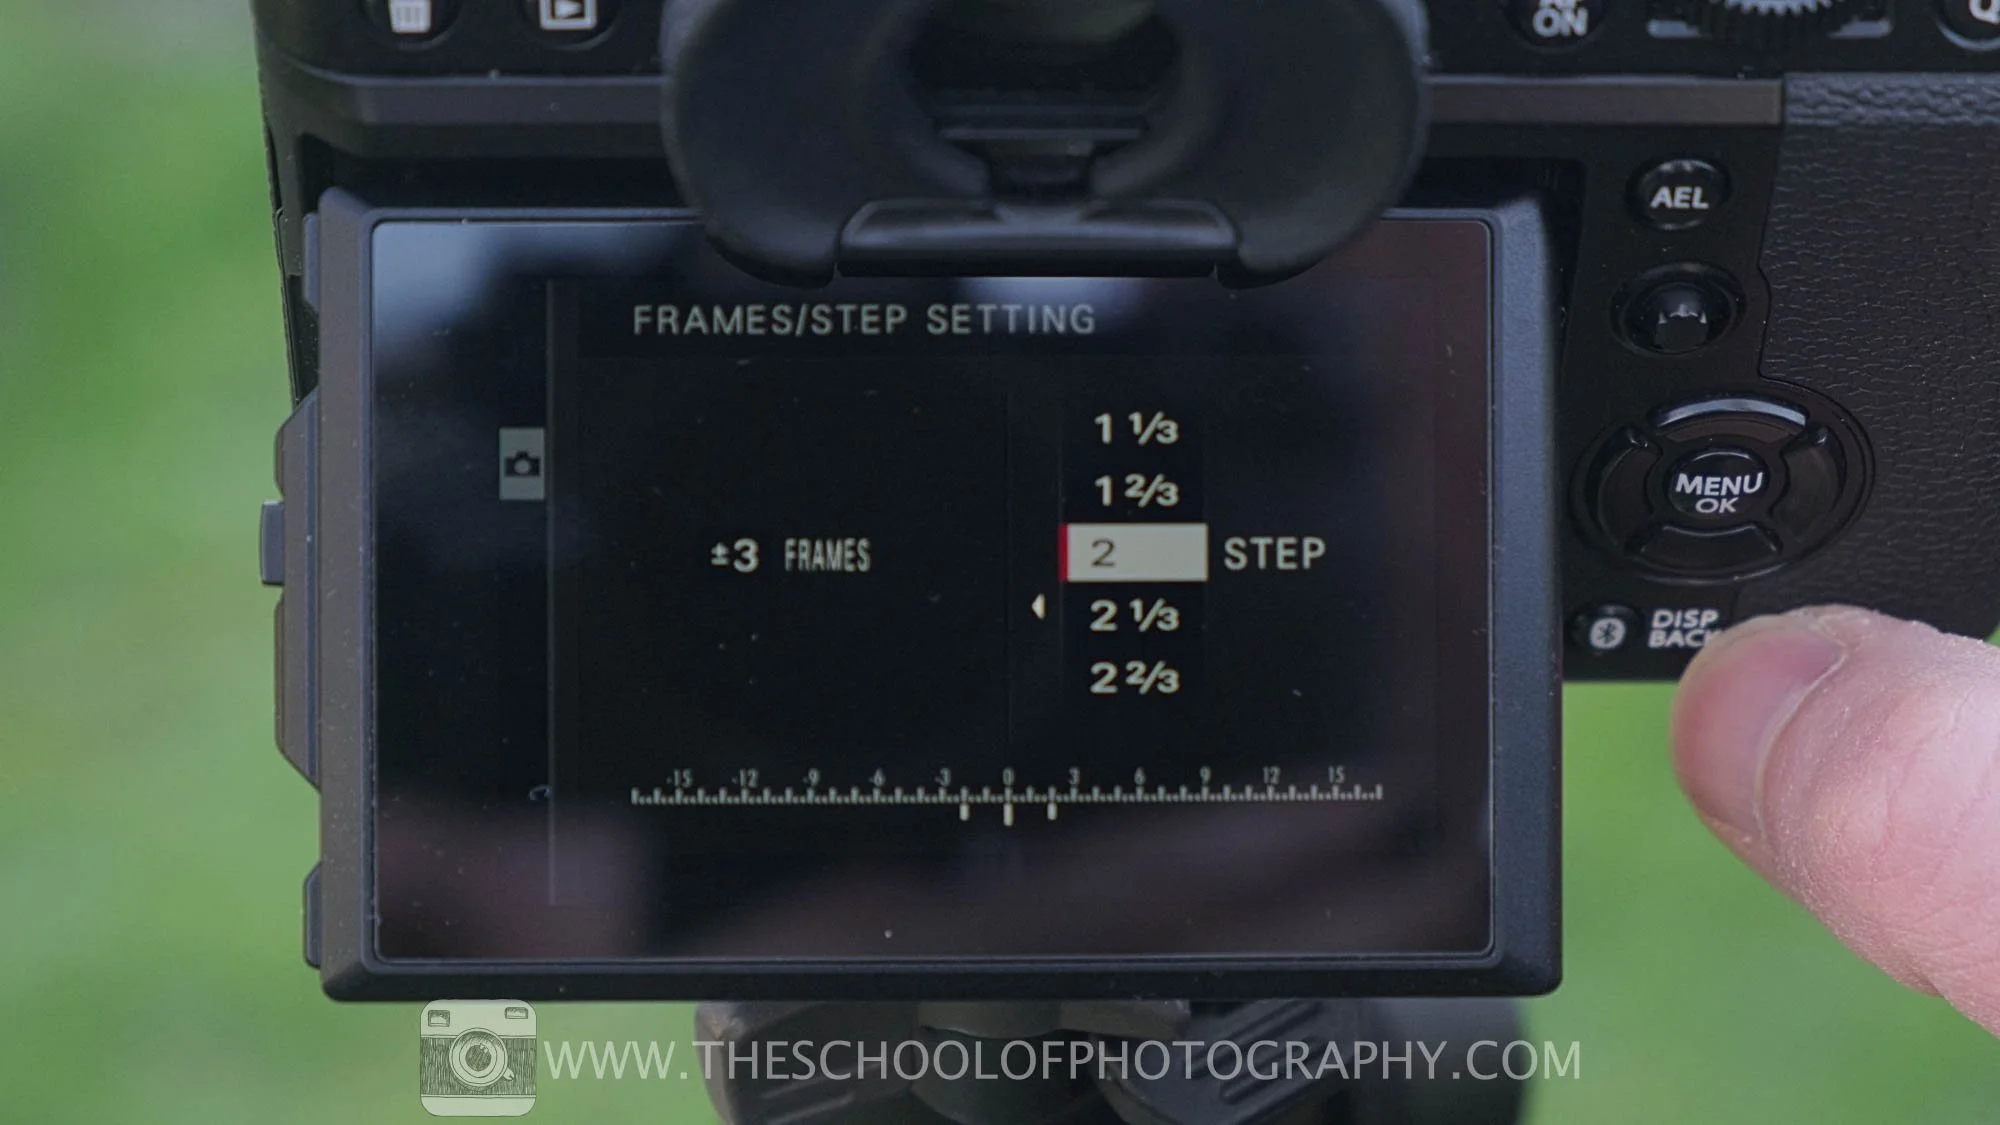
The other way to bracket your images, an even simpler way, and the one I recommend, is Auto Exposure Bracketing (AEB). All modern mirrorless or DSLR cameras have this feature. On the Fujifilm camera I’m using, I flick the dial to bracket mode (BKT) and then go into the settings. On this camera it’s under ‘drive settings’ and then “BKT settings”. Go down to “AE BKT” and then ‘Frame/step setting’. Here I’m able to configure how many ‘frames’, i.e. brackets I want, and the stops of light difference between each bracket. For this shot, we’re going to use 3 frames with a difference of 2 stops between them all.
Now you have your preferred settings in your camera, set your Aperture and ISO to what you want for the scene. Then set your shutter speed to “Auto”. Set the 2-second timer again, press the shutter, and the camera does the rest for you.
Set your Auto Exposure Bracketing to shoot 3 images with a 2 stop difference between them.
The camera very quickly takes three separate shots of the scene – the base exposure, the brighter exposure and the darker exposure.
At this point, exposure bracketing may seem complex, but it is actually simple, if you understand what stops of light are. You can find out more about stops of light in our Beginner Photography Course.
Post Processing and exposure bracketing
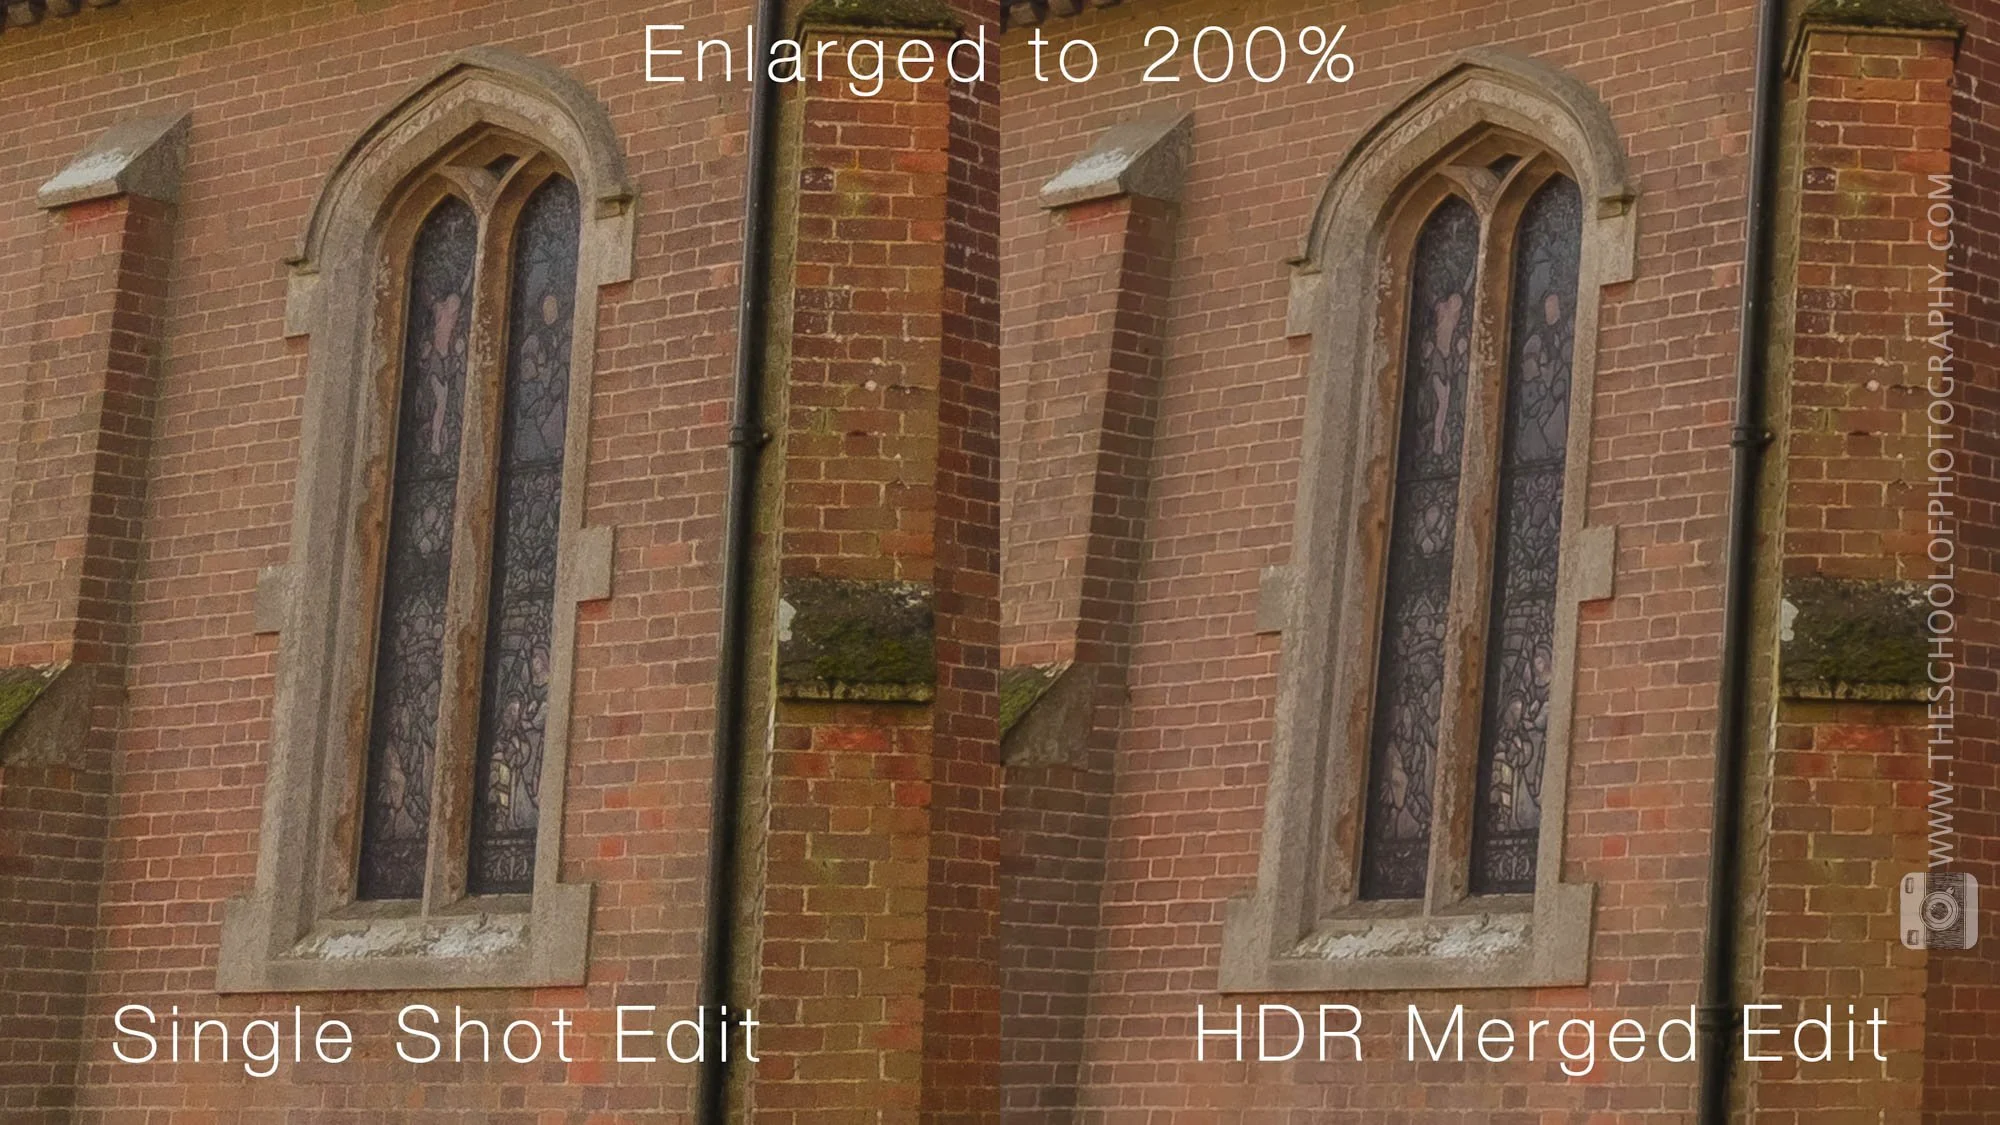
Side by side comparison of a single image and 3 image HDR merge, zoomed in to 200%
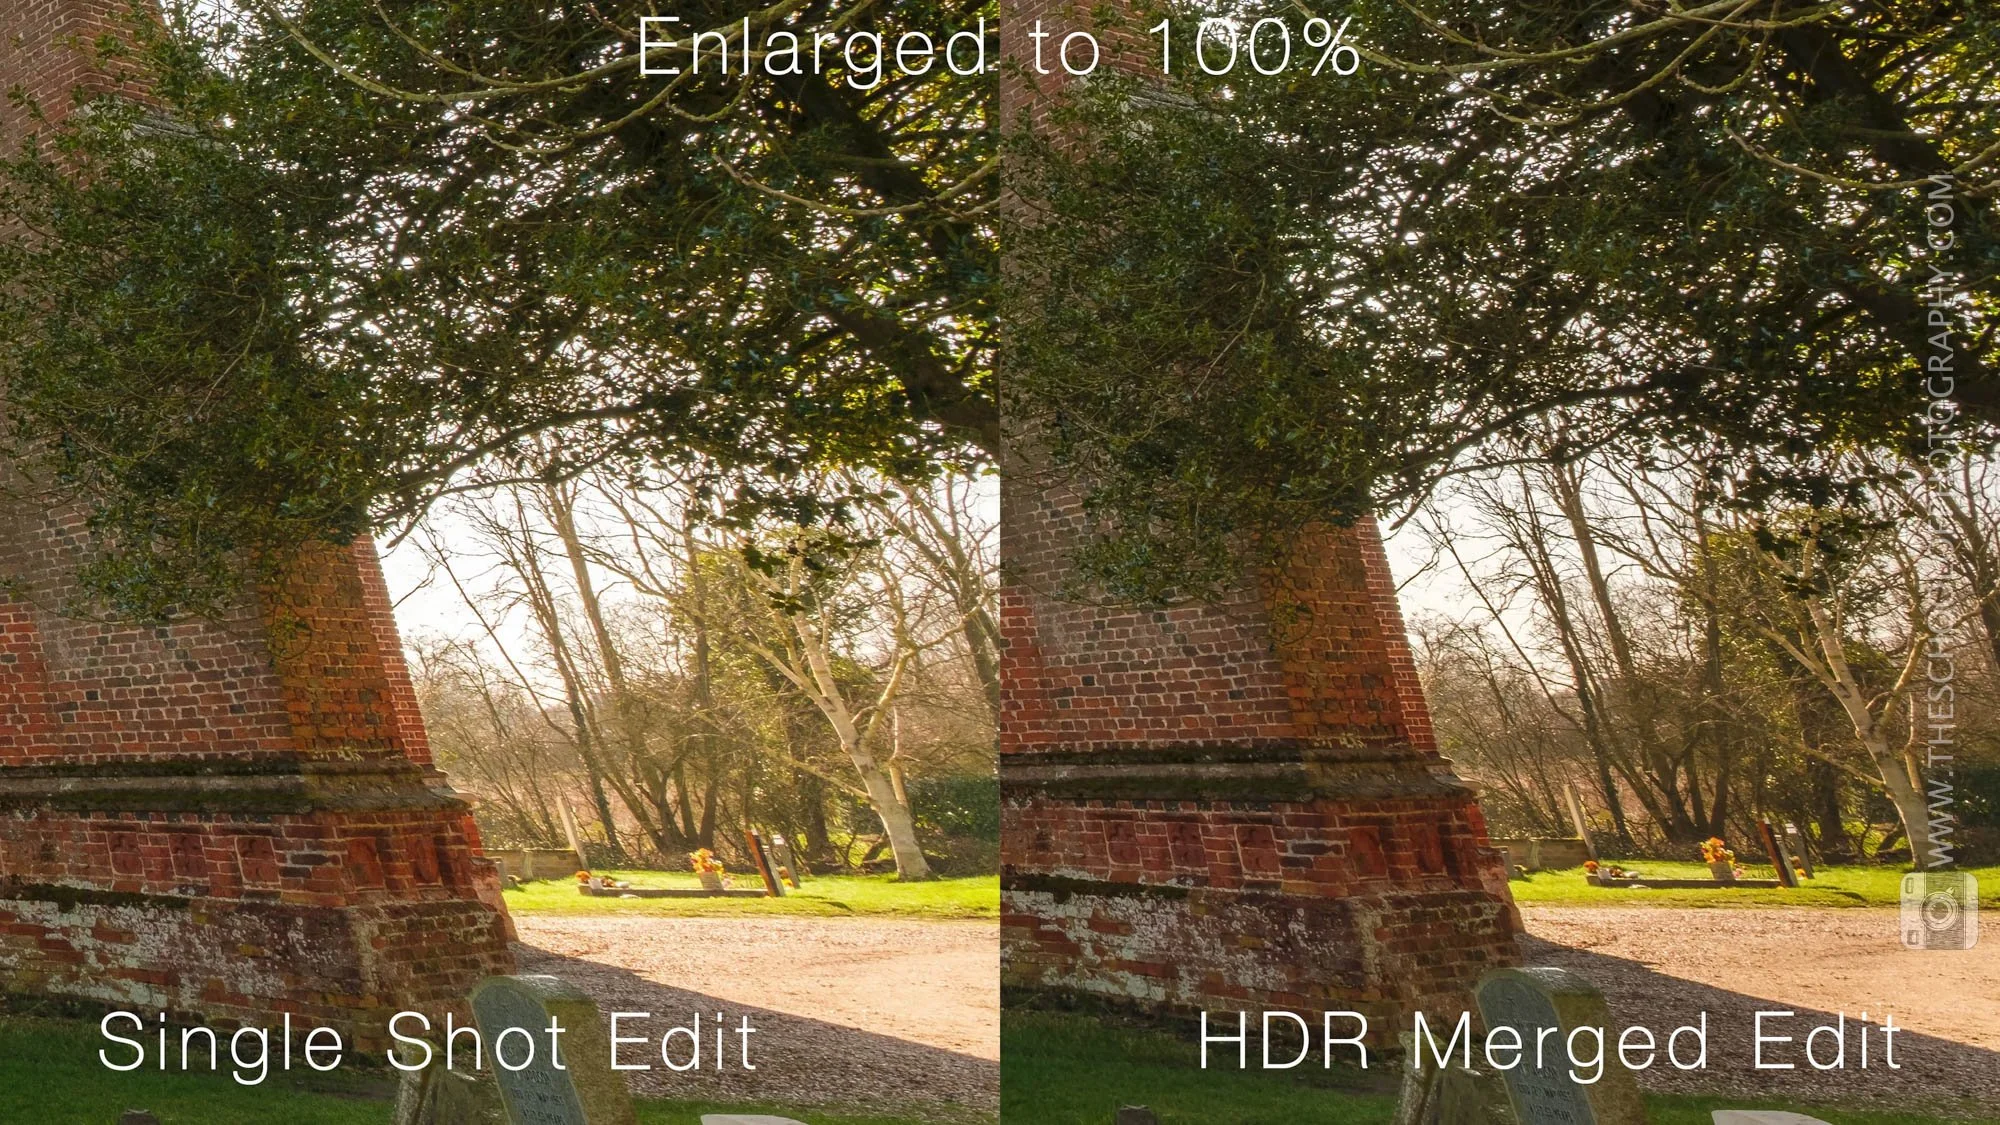
Side by side comparison of a single image and 3 image HDR merge, zoomed in to 100%
Here’s the side-by-side comparison of the single shot image and a HDR merge version using the bracketed shots. With software like Lightroom, you’re able to bring out the shadows and rescue some of the highlights with just to edit the single shot, but there will be some degrading. This doesn’t happen anywhere near as much with HDR merged bracketed images.
Basically, the more you push and pull a RAW file, the more degradation you’ll get in those areas in the form of noise and speckles. In a HDR merge, you are not going to get this because it the file has at least 3 times more detail within it.
Things to consider when exposure bracketing
Your scene needs to be still
For bracketing images, you’ll want the scene you’re photographing to be as still as possible. Ideally, subjects like landscapes and buildings. You generally won’t be using this technique to capture portraiture.
Only the shutter speed changes
As I mentioned previously, it’s only the shutter speed that you’ll want to be changing in your bracket. You can do it with Aperture and ISO, but it’s not advised as you want your noise and/or depth of field to be the same in each image.
No image limit in brackets
You can take as many brackets as you like, there are no limits! But something to remember is that the more brackets you merge, the bigger your file will be. Usually it’s a 3-5-7 shot bracket. Most commonly 3 shots at a 2-stop interval will work fine.
Do you need to use exposure bracketing?
Do you actually need to bracket a shot and HDR merge it in this day and age? It’s a really good debate, and with modern, full-frame mirrorless cameras the RAW files that you get are absolutely superb – there’s so much detail in them already!
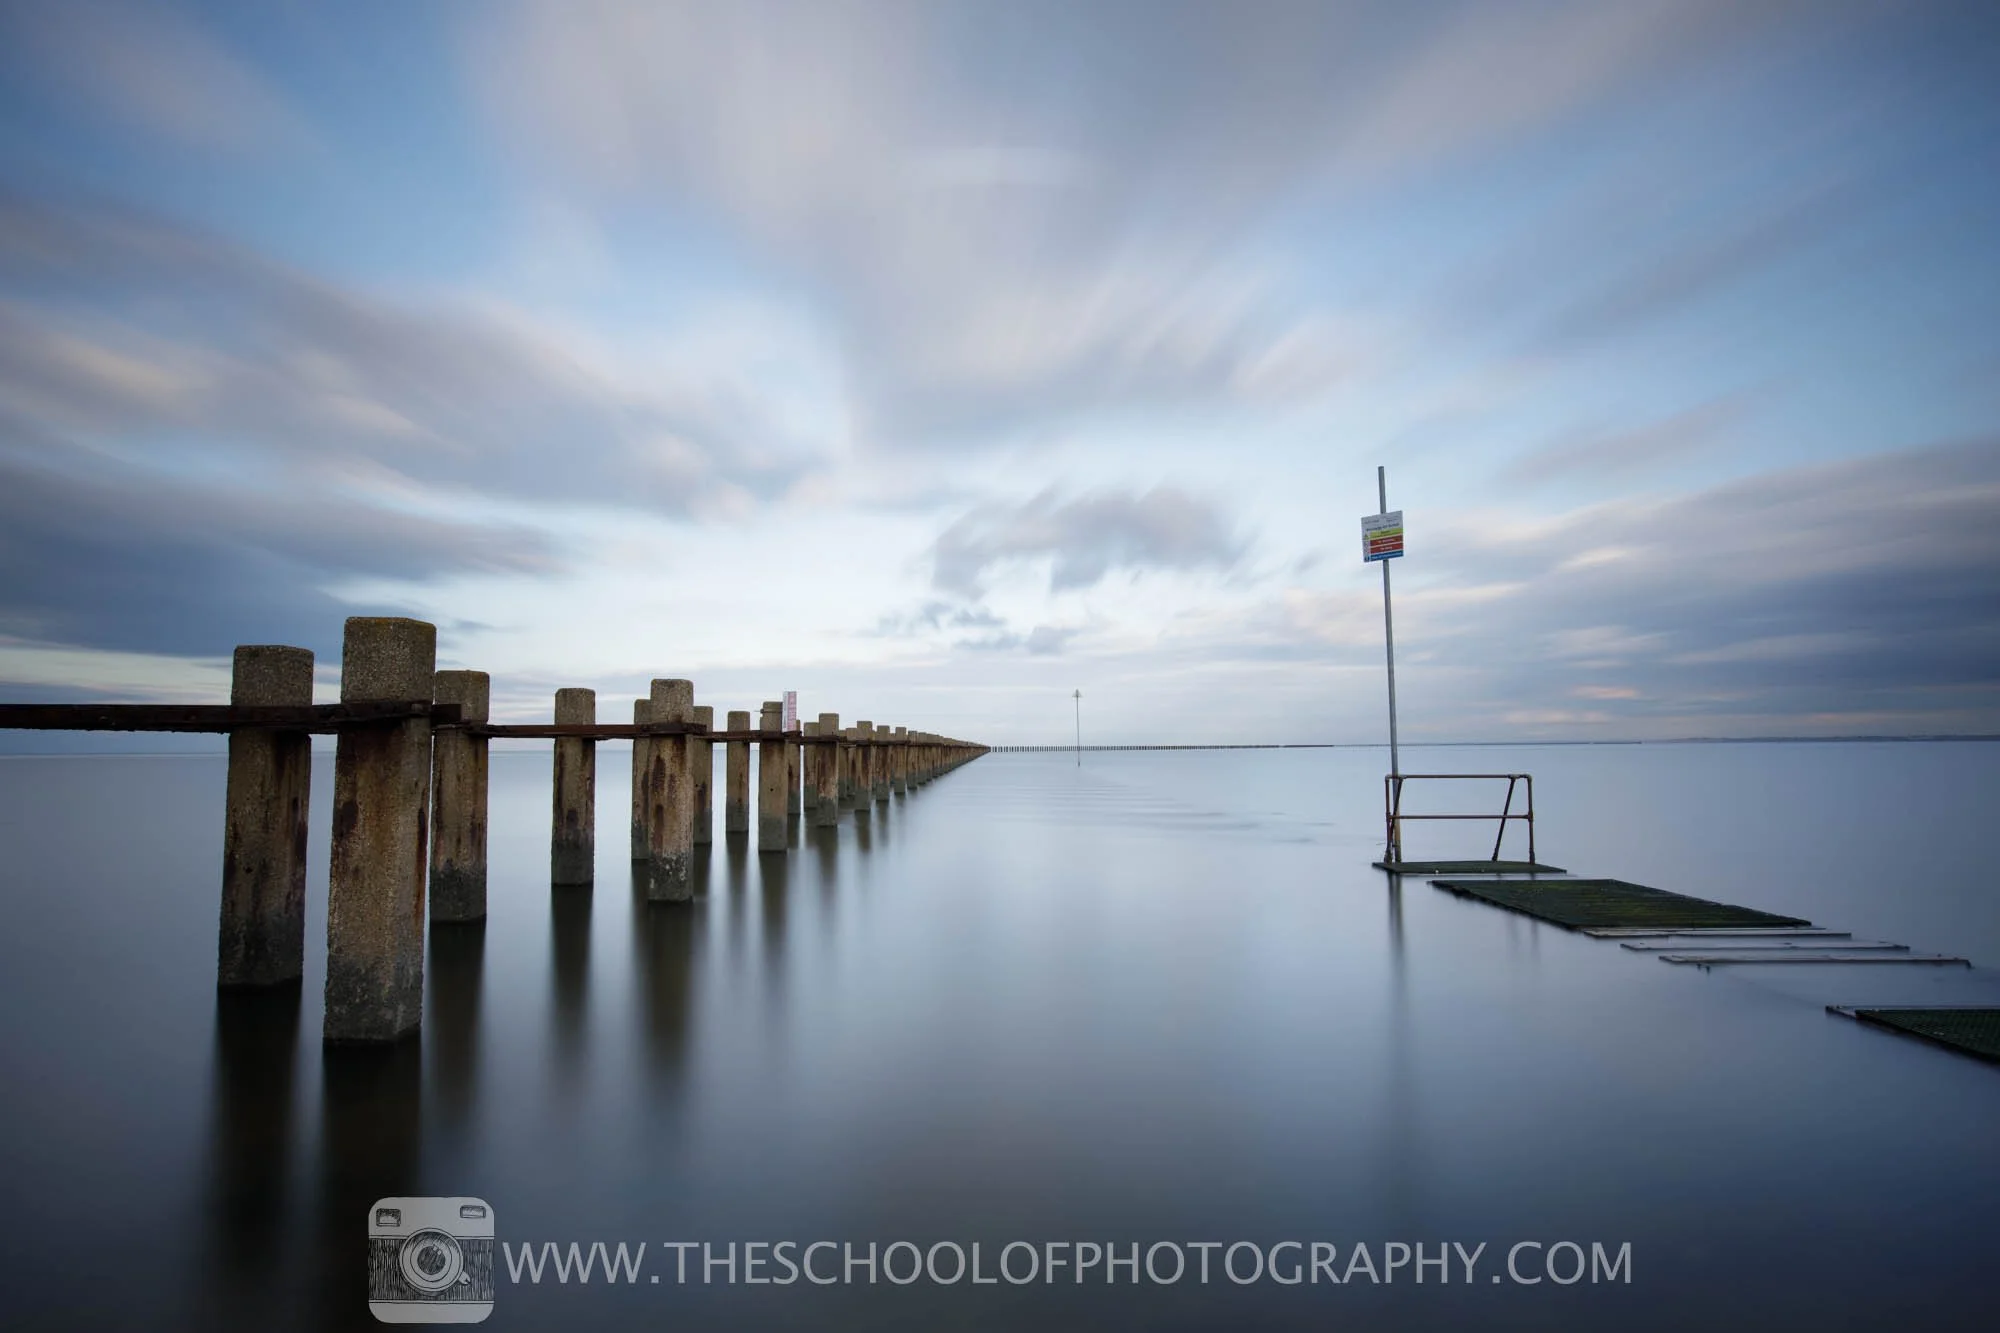
Take a look at this single shot that I edited. In this particular image the sun was behind me, so the scene in front of me wasn’t that contrasty. Therefore, the raw file needed very little processing for an even and balanced exposure.
Unedited single image. f/11, 120 Seconds, ISO 100
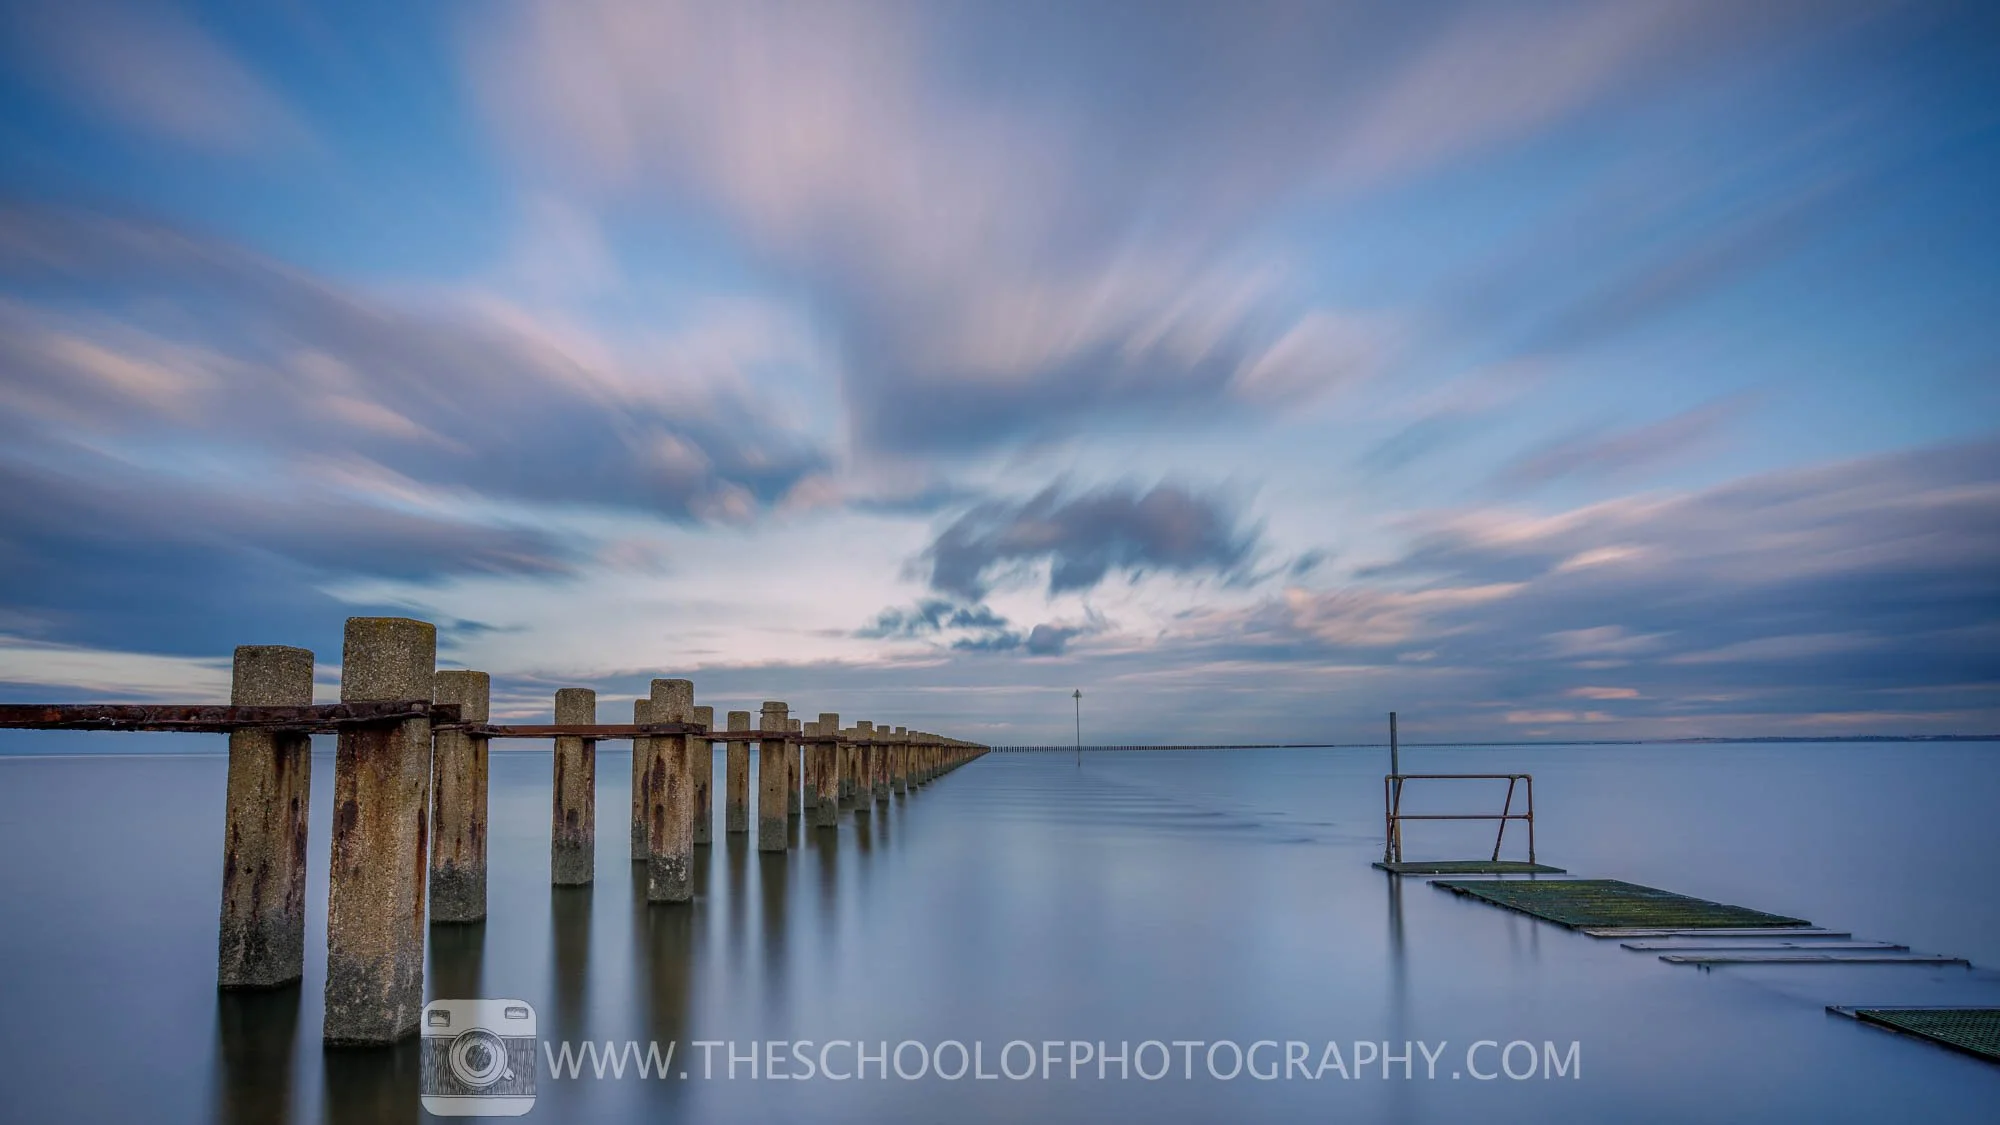
The edited version.
Where exposure bracketing is going to help you is firstly, you make sure you have a decent exposure when you get back into Lightroom, and secondly, it gives you the option to merge images when presented with a contrasted situation. I think if you’re not trying to capture a contrasty scene a one-shot image is going to be fine to process, but if there’s lots of contrast then you’re probably going to want to merge a bracketed image.
Examples
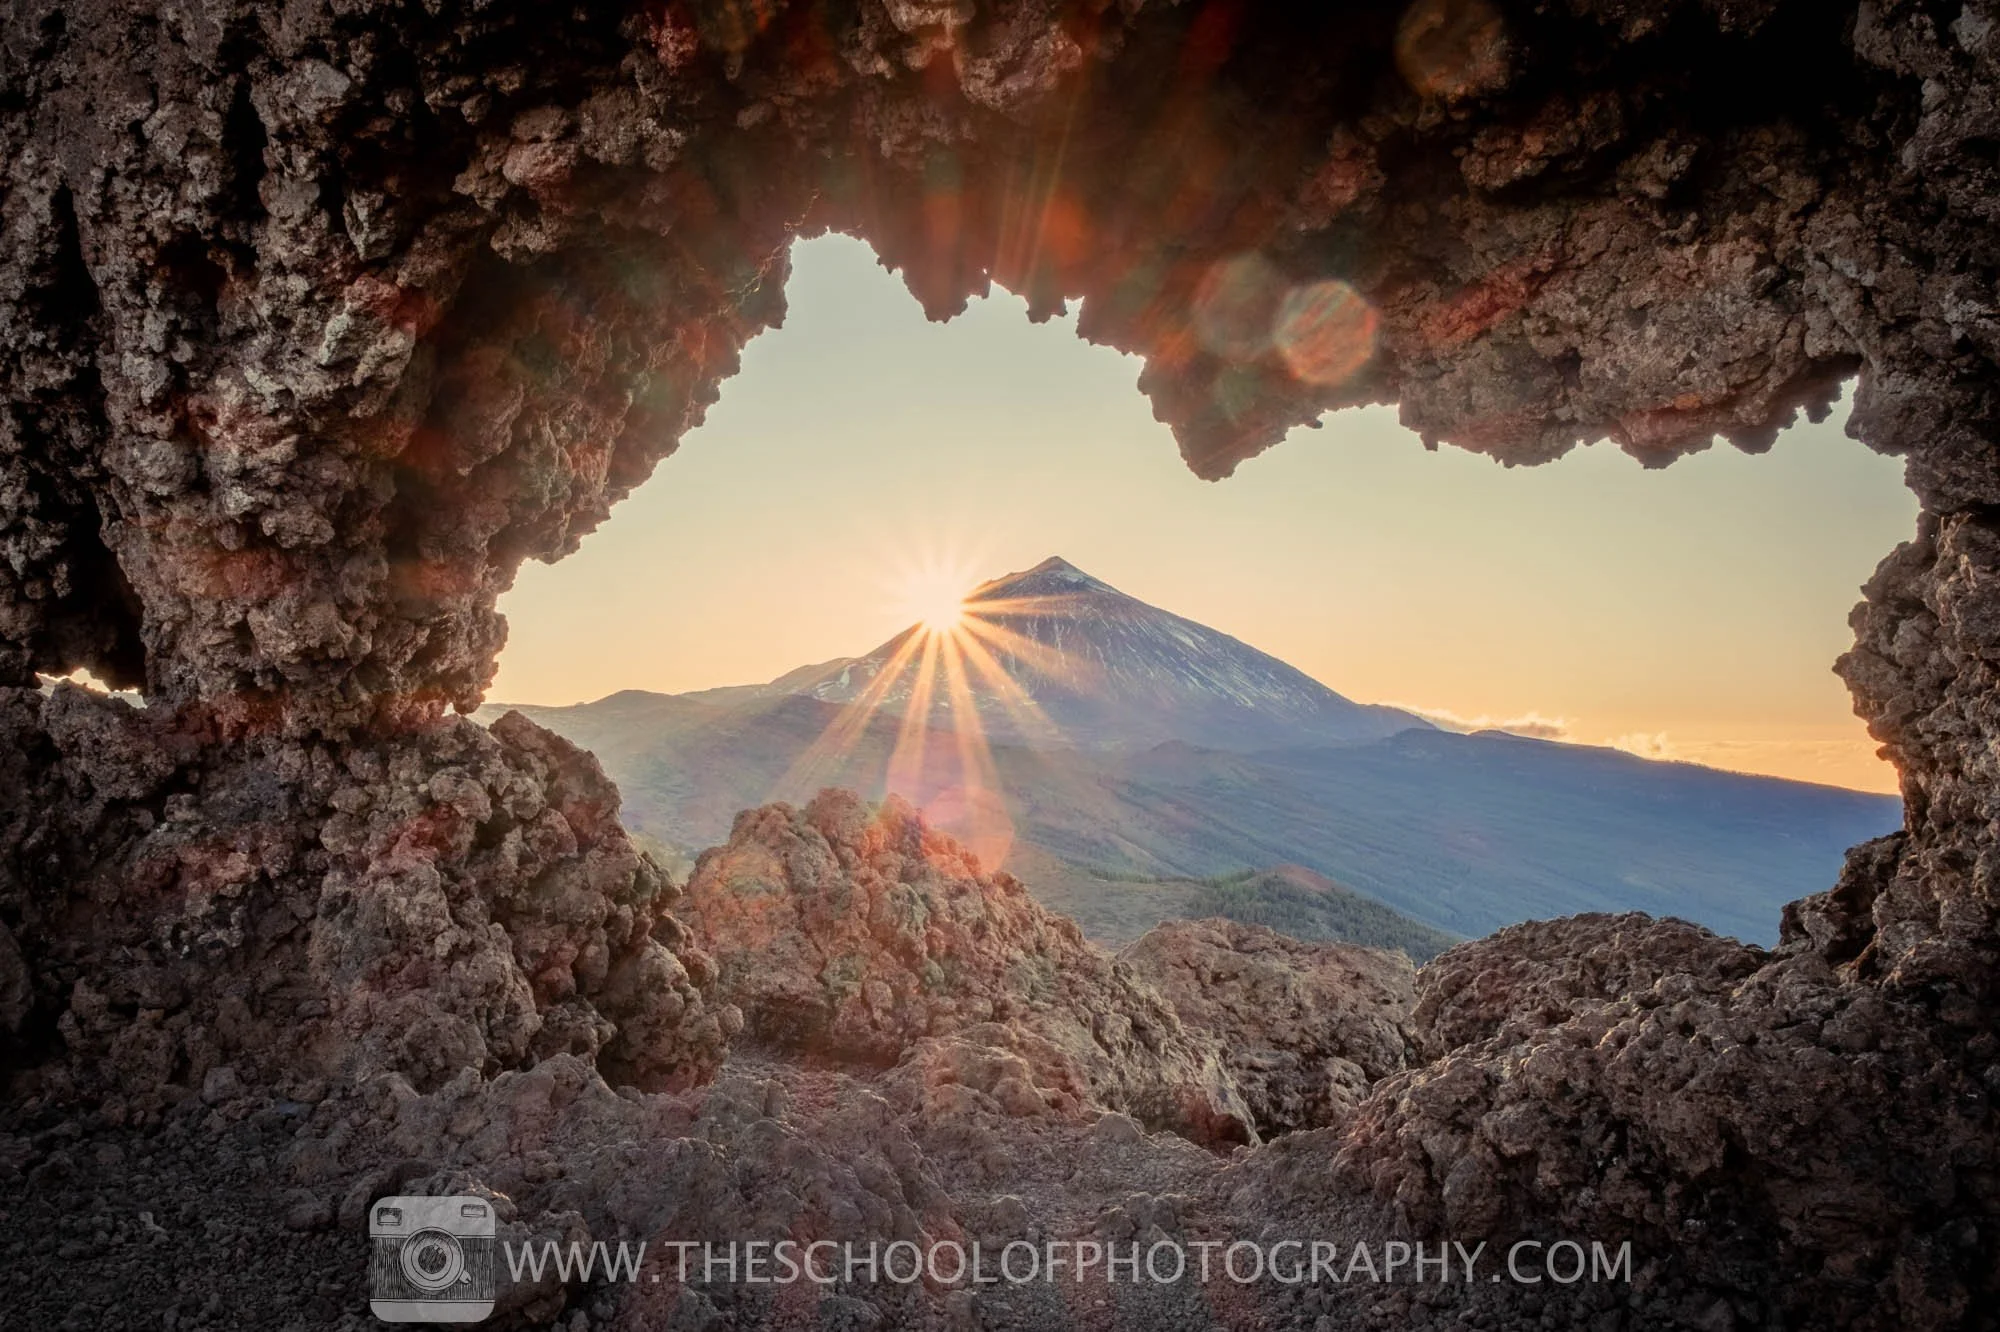
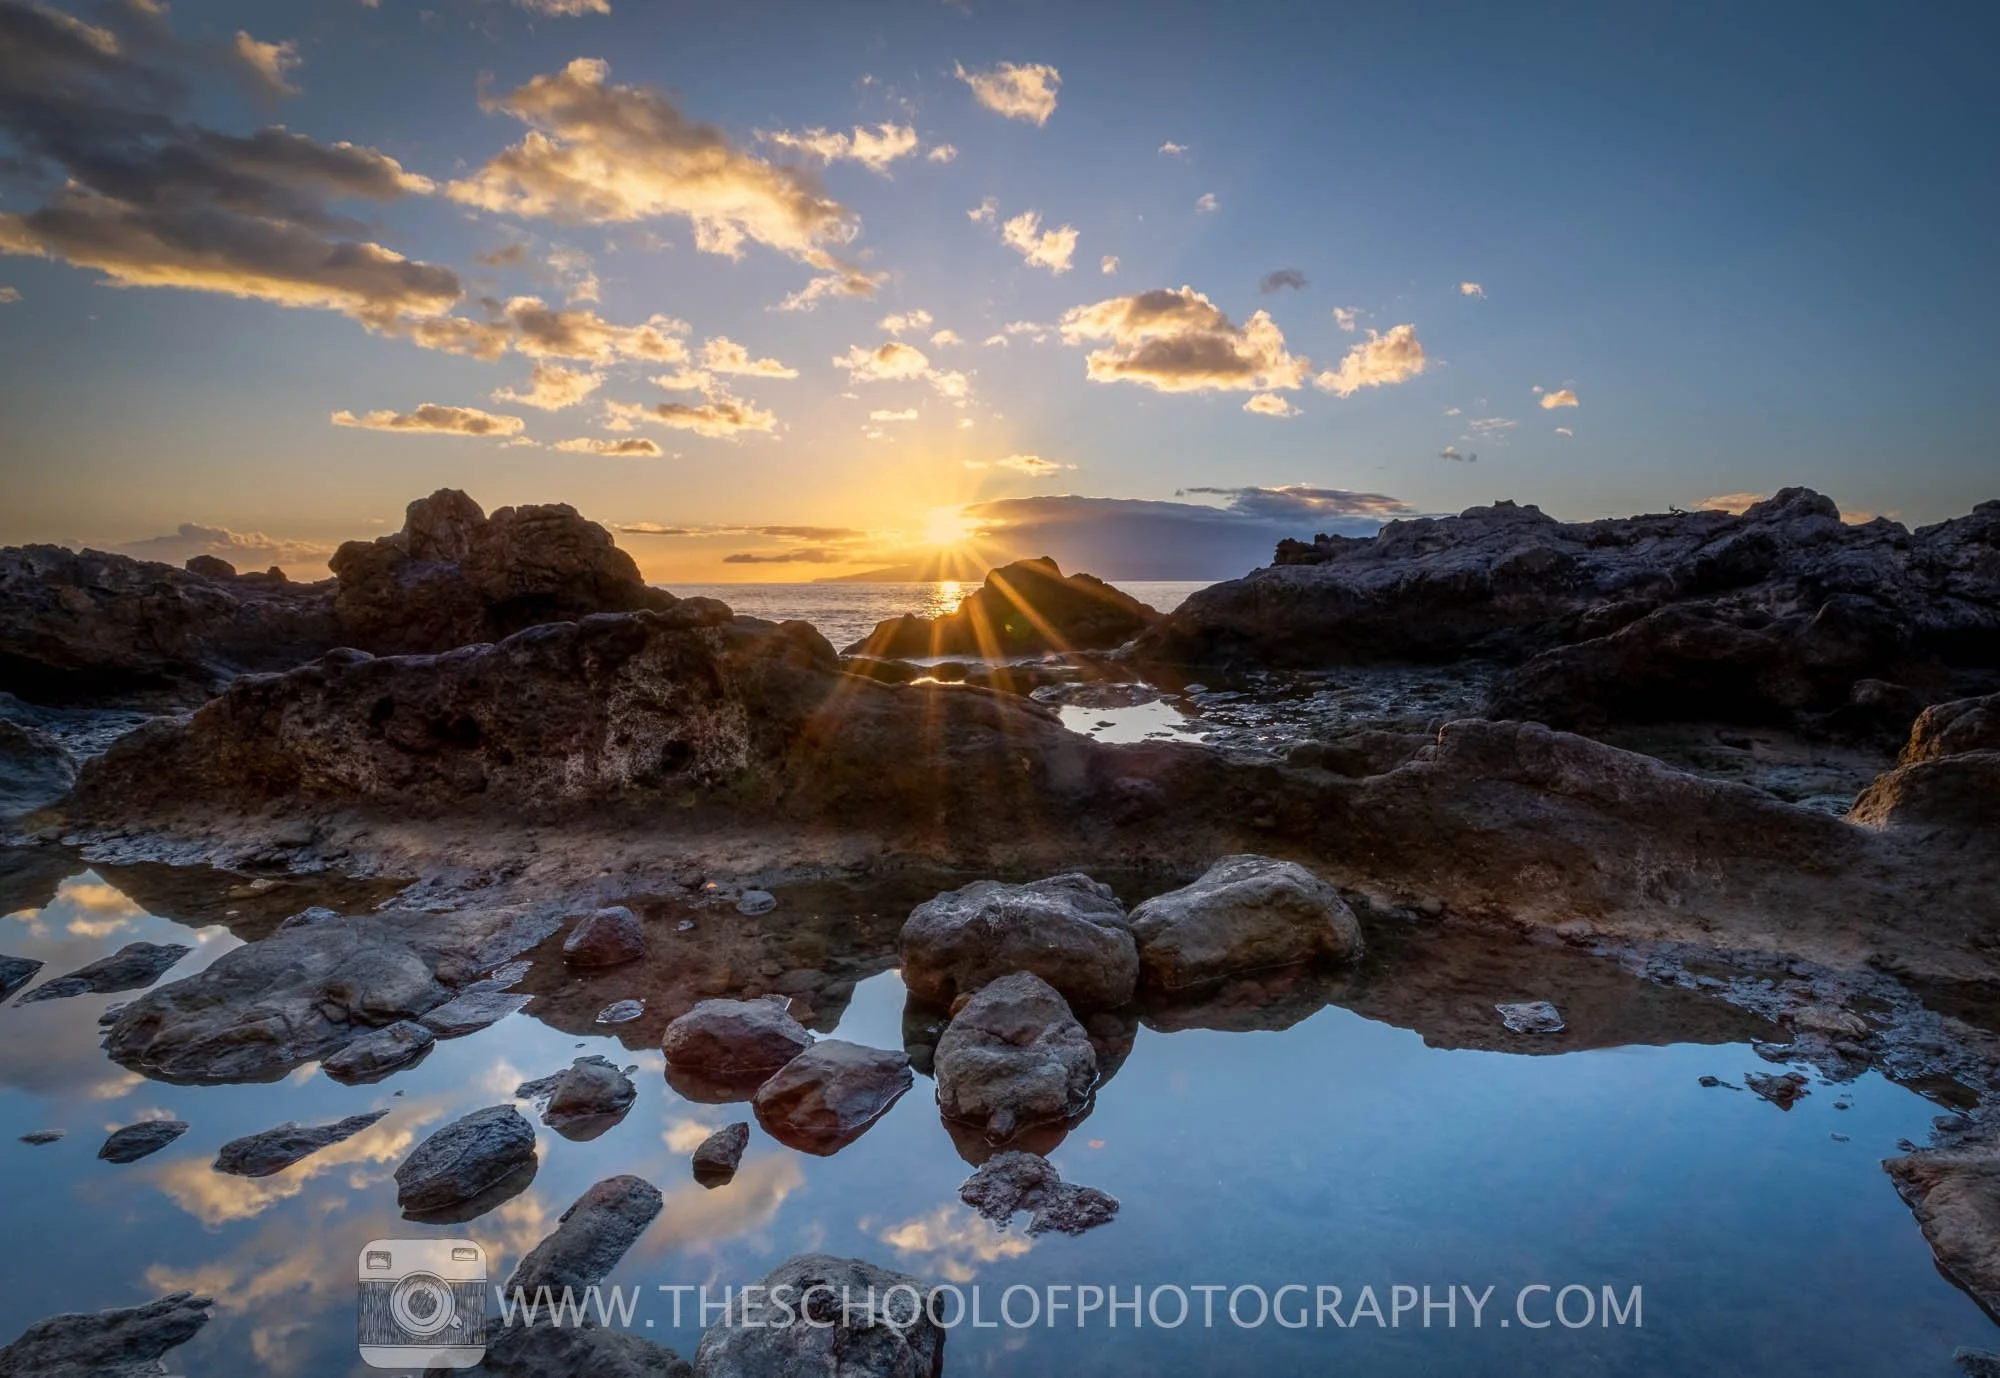
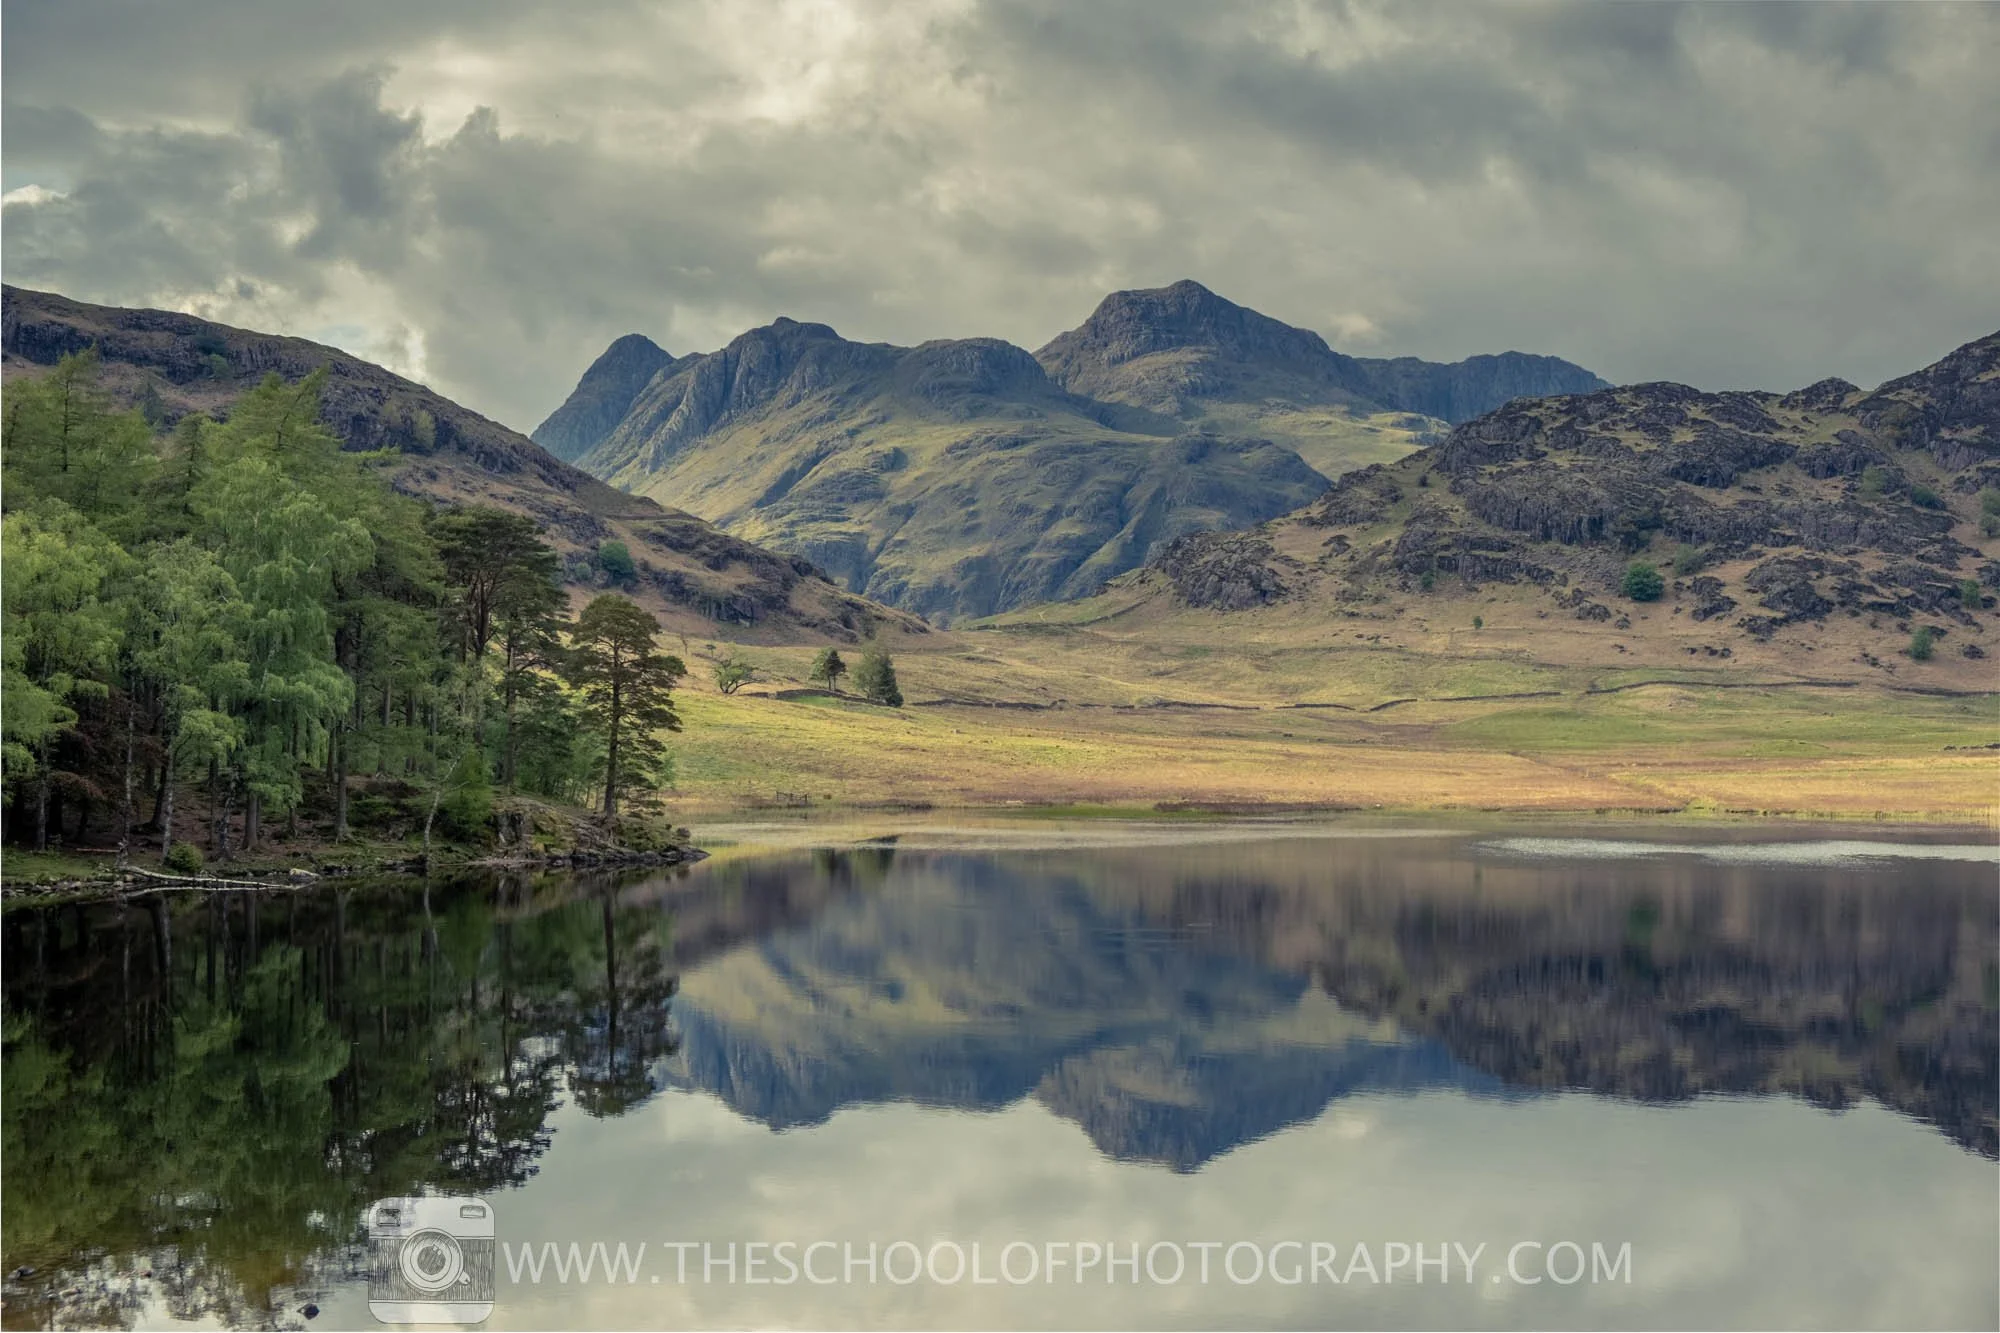
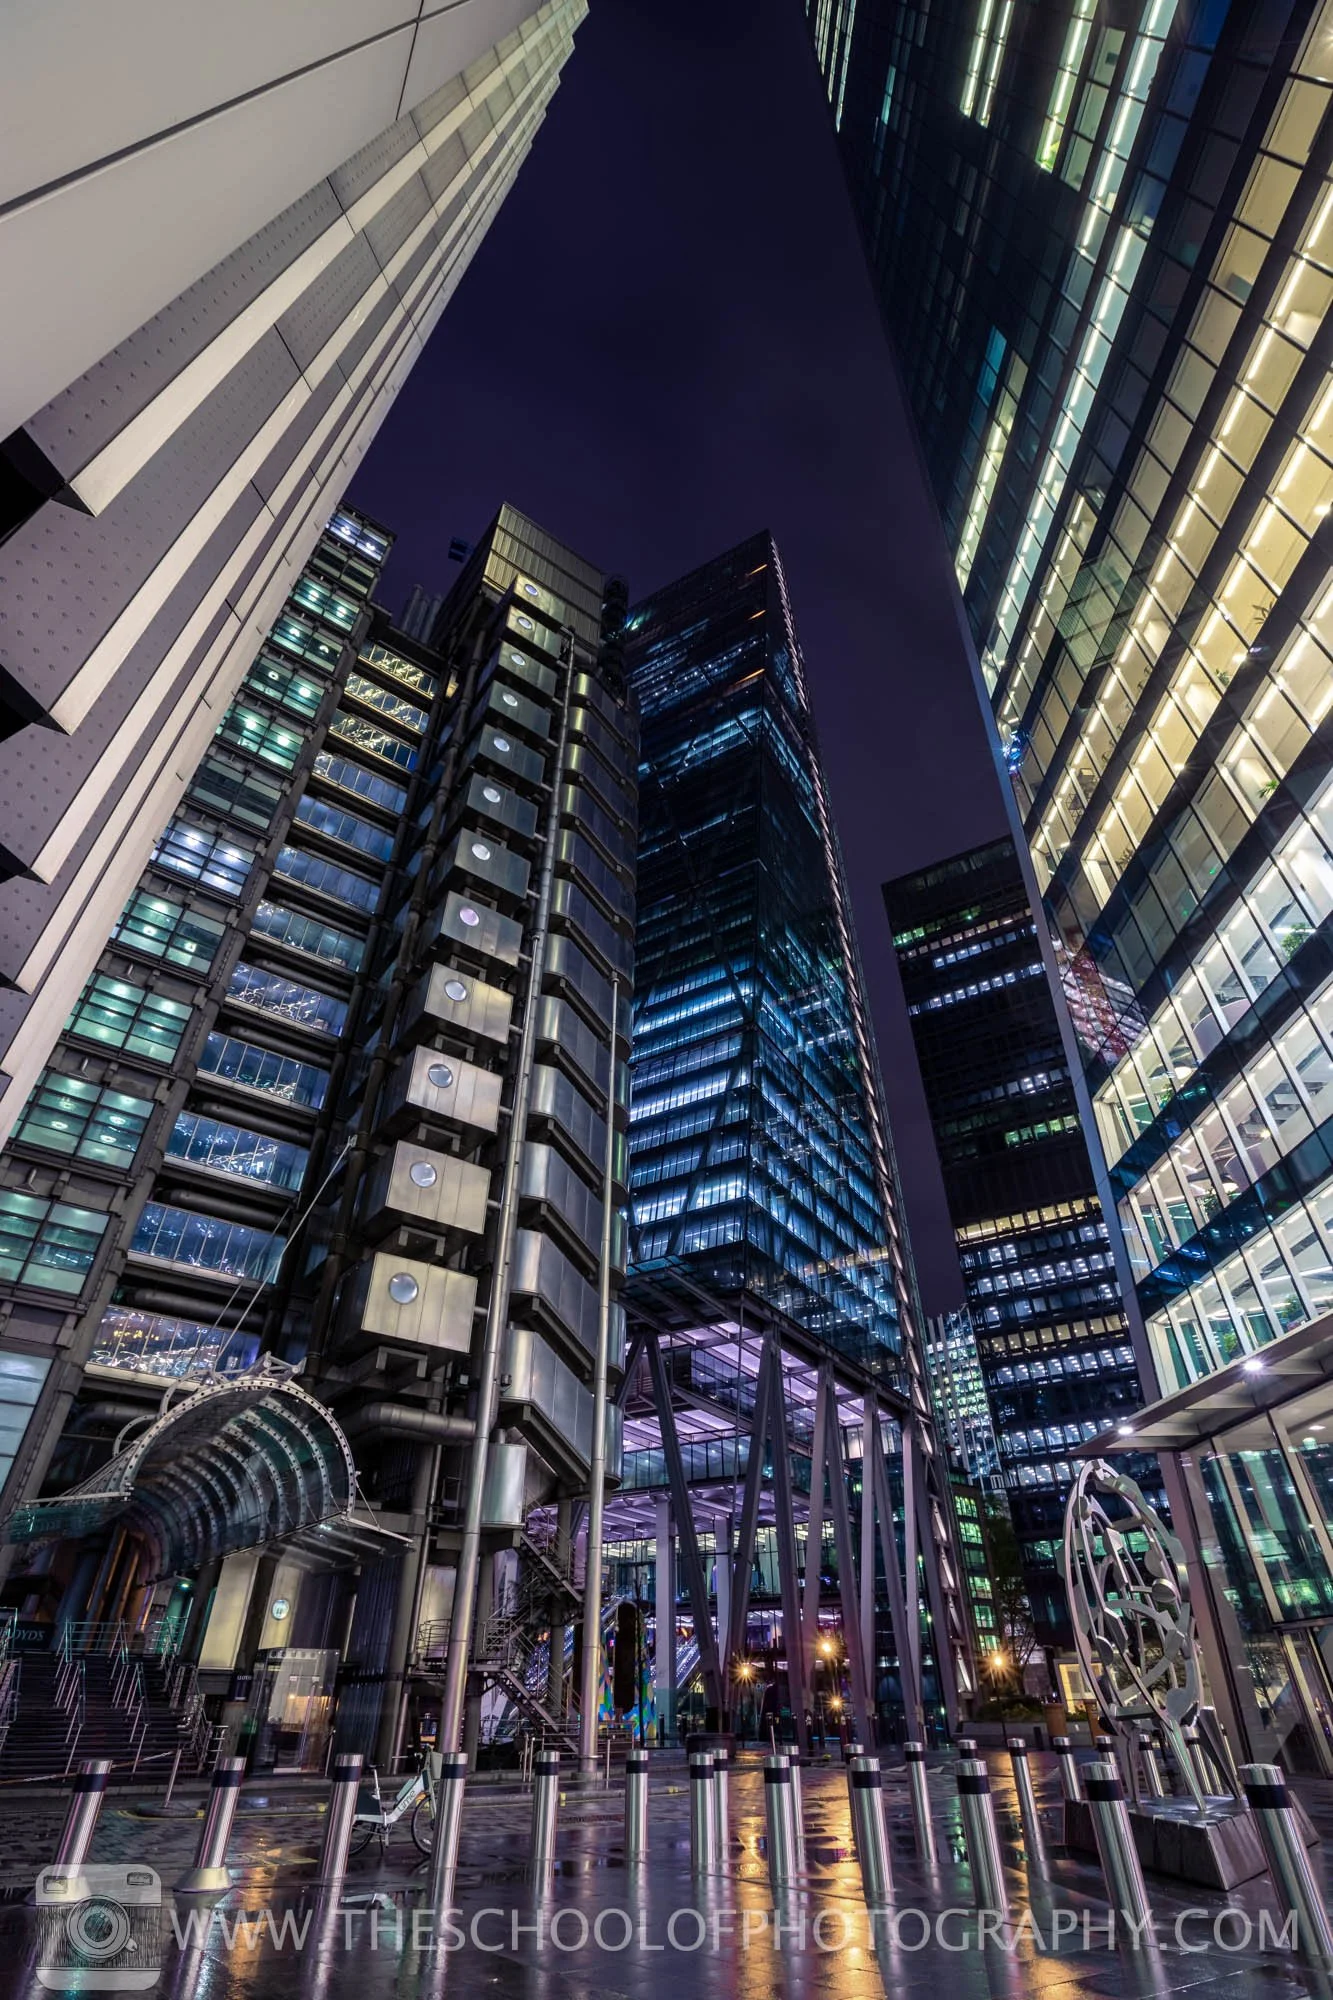
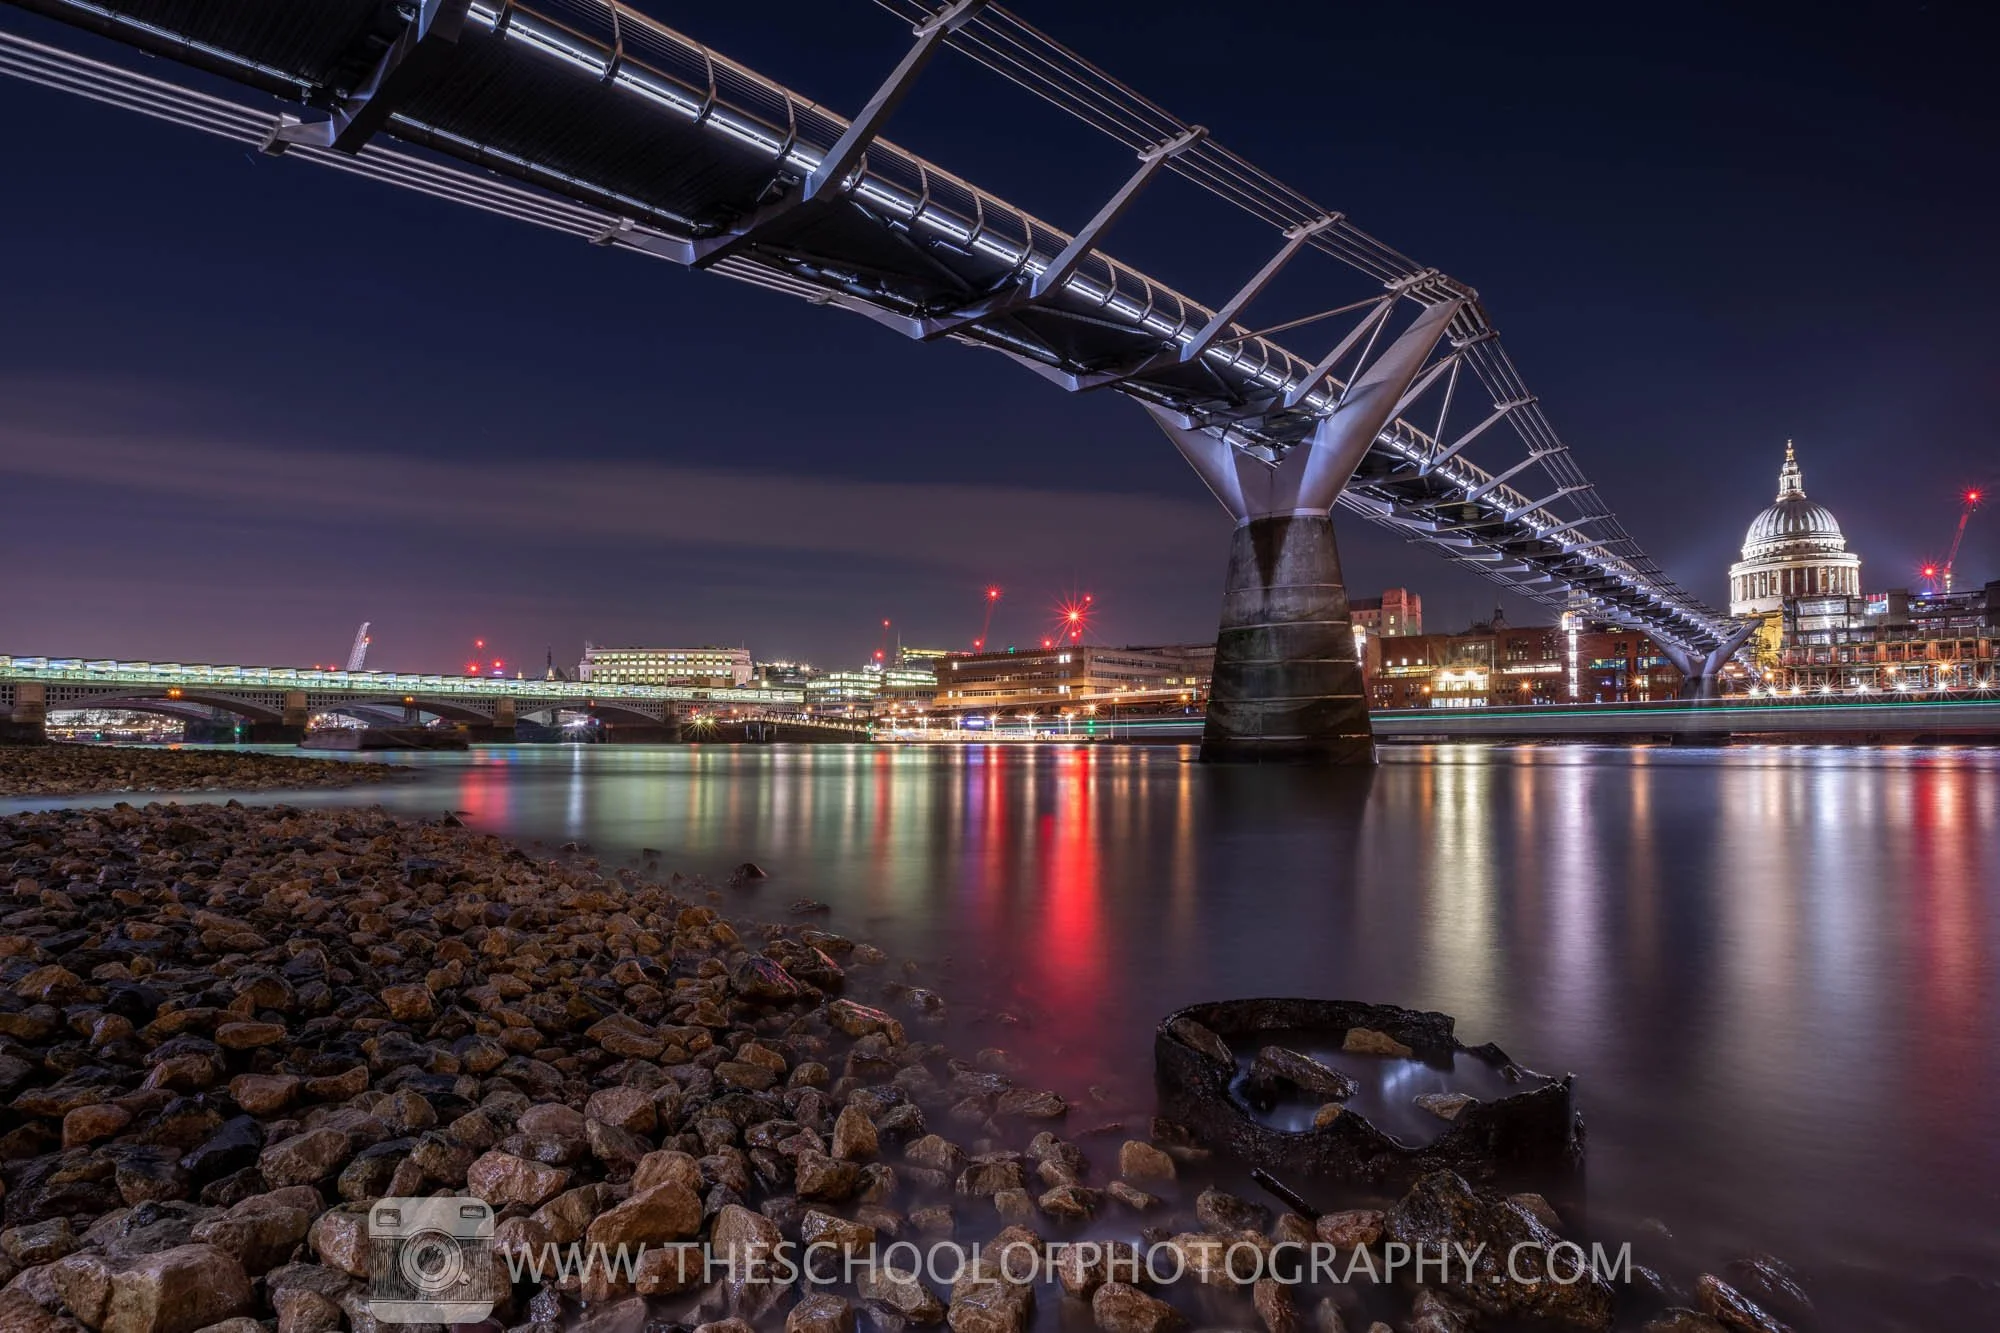
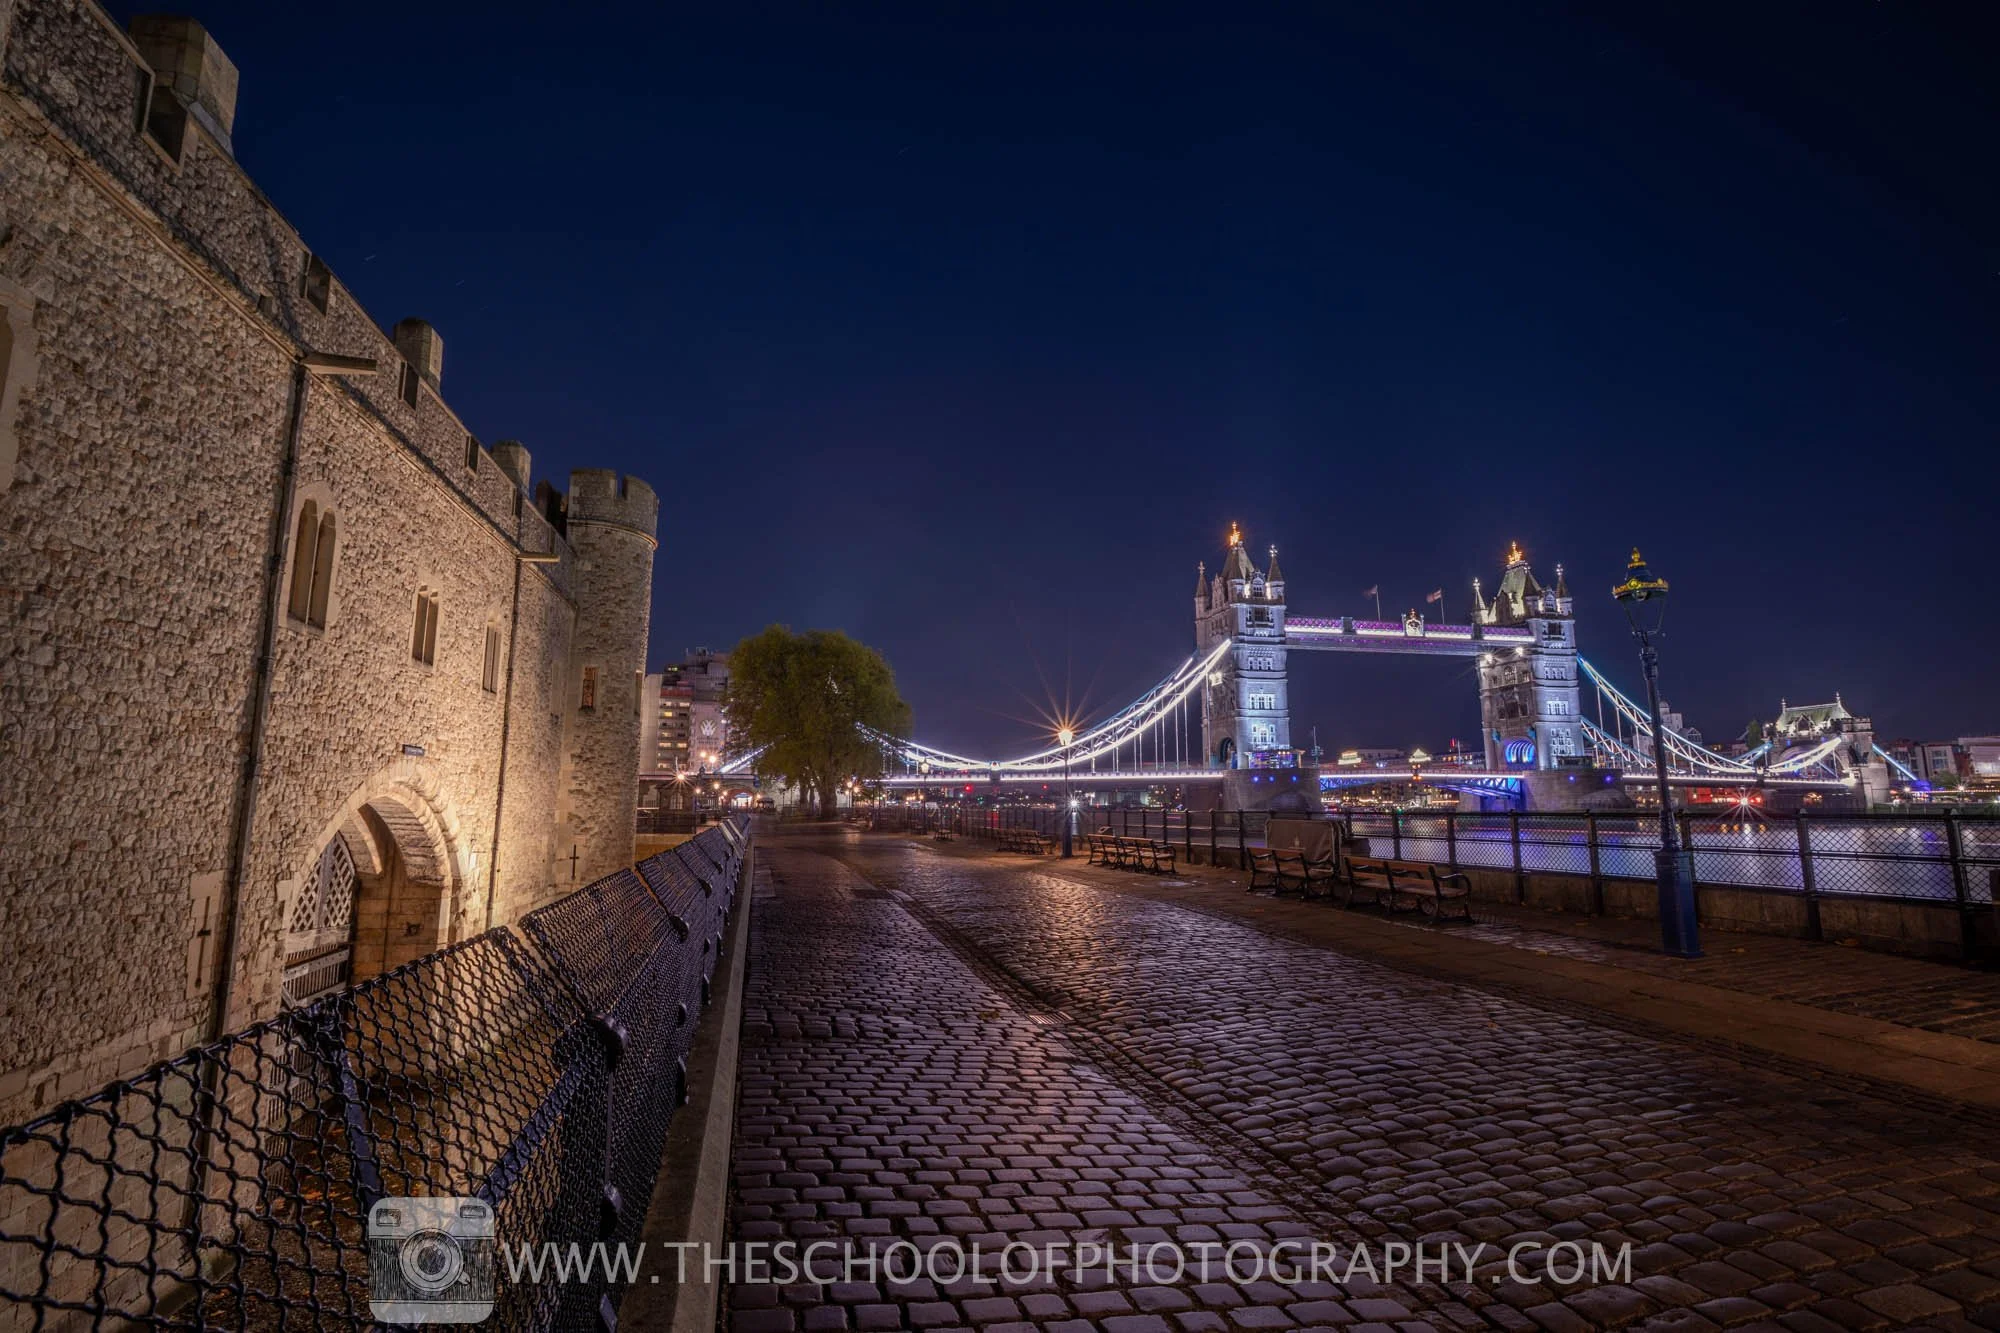
Below are a series of bracketed images with the final processed version.
3 image HDR merge - Base exposure: f/16, 1/25th second, ISO 160
3 image HDR merge - Base exposure: f/16, 1/10th second, ISO 160
3 image HDR merge - Base exposure: f/5, 1/4000th Second, ISO 400
3 image HDR merge - Base exposure: f/8, ½ Second, ISO 400
3 image HDR merge - Base exposure: f/11, 62 Seconds, ISO 200
3 image HDR merge - Base exposure: f/11, 31 Seconds, ISO 100
Conclusion
Exposure bracketing is a helpful tool for photographers. It ensures you get the best exposure in challenging lighting conditions. Even with modern cameras, bracketing is useful when there's a big contrast between light and dark within your scene. By using this technique, you can create better exposures with more detail. It's easy to try out, and it can really enhance your photography skills!
Like this? - Check out more free tutorials below
I hope you enjoyed this blog about exposure bracketing. If you did, please leave us a comment and support us by sharing it with your friends and subscribe to our newsletter at the bottom of this page for more.
We also have an excellent learning community on social media so please join us there as well.
Thanks for watching and remember – Learn more at The School of Photography.

