Product Photography Made Easy!
In this tutorial, you will learn how to take product photography at home on a budget. Let’s face it, most people do not have the finance and equipment the big global companies have to take those high-end photos you see in magazines. But that doesn’t mean you still can’t take great product photography.
We’ve put together the best product photography tips to help you take your own product photos at home or in your office. We will look at easy lighting techniques and use low-cost equipment. In time at all you’ll be taking great product photography using just a window, a cheap second-hand camera and a piece of polystyrene!
If you’re a small business looking to take pictures of your products, or you just want to try something new, this tutorial is for you!
Get access to ALL our online courses - 1000’s of videos, worksheets, critiques of members work, personalised support and much more with our monthly membership.
What is Product Photography?
Product photography is a form of business-related photography that has the goal of displaying the product in the best possible photographic representation. The purpose of Product Photography is to lead prospective customers from initial awareness of the product, all the way through to becoming a customer and making a purchase.
Typically, you’ll find two kinds of product photography, the first is the product on a white background. These are to show your product as it is – any details that your customers would need to know about your product, such as fastenings, colours and textures and labels.
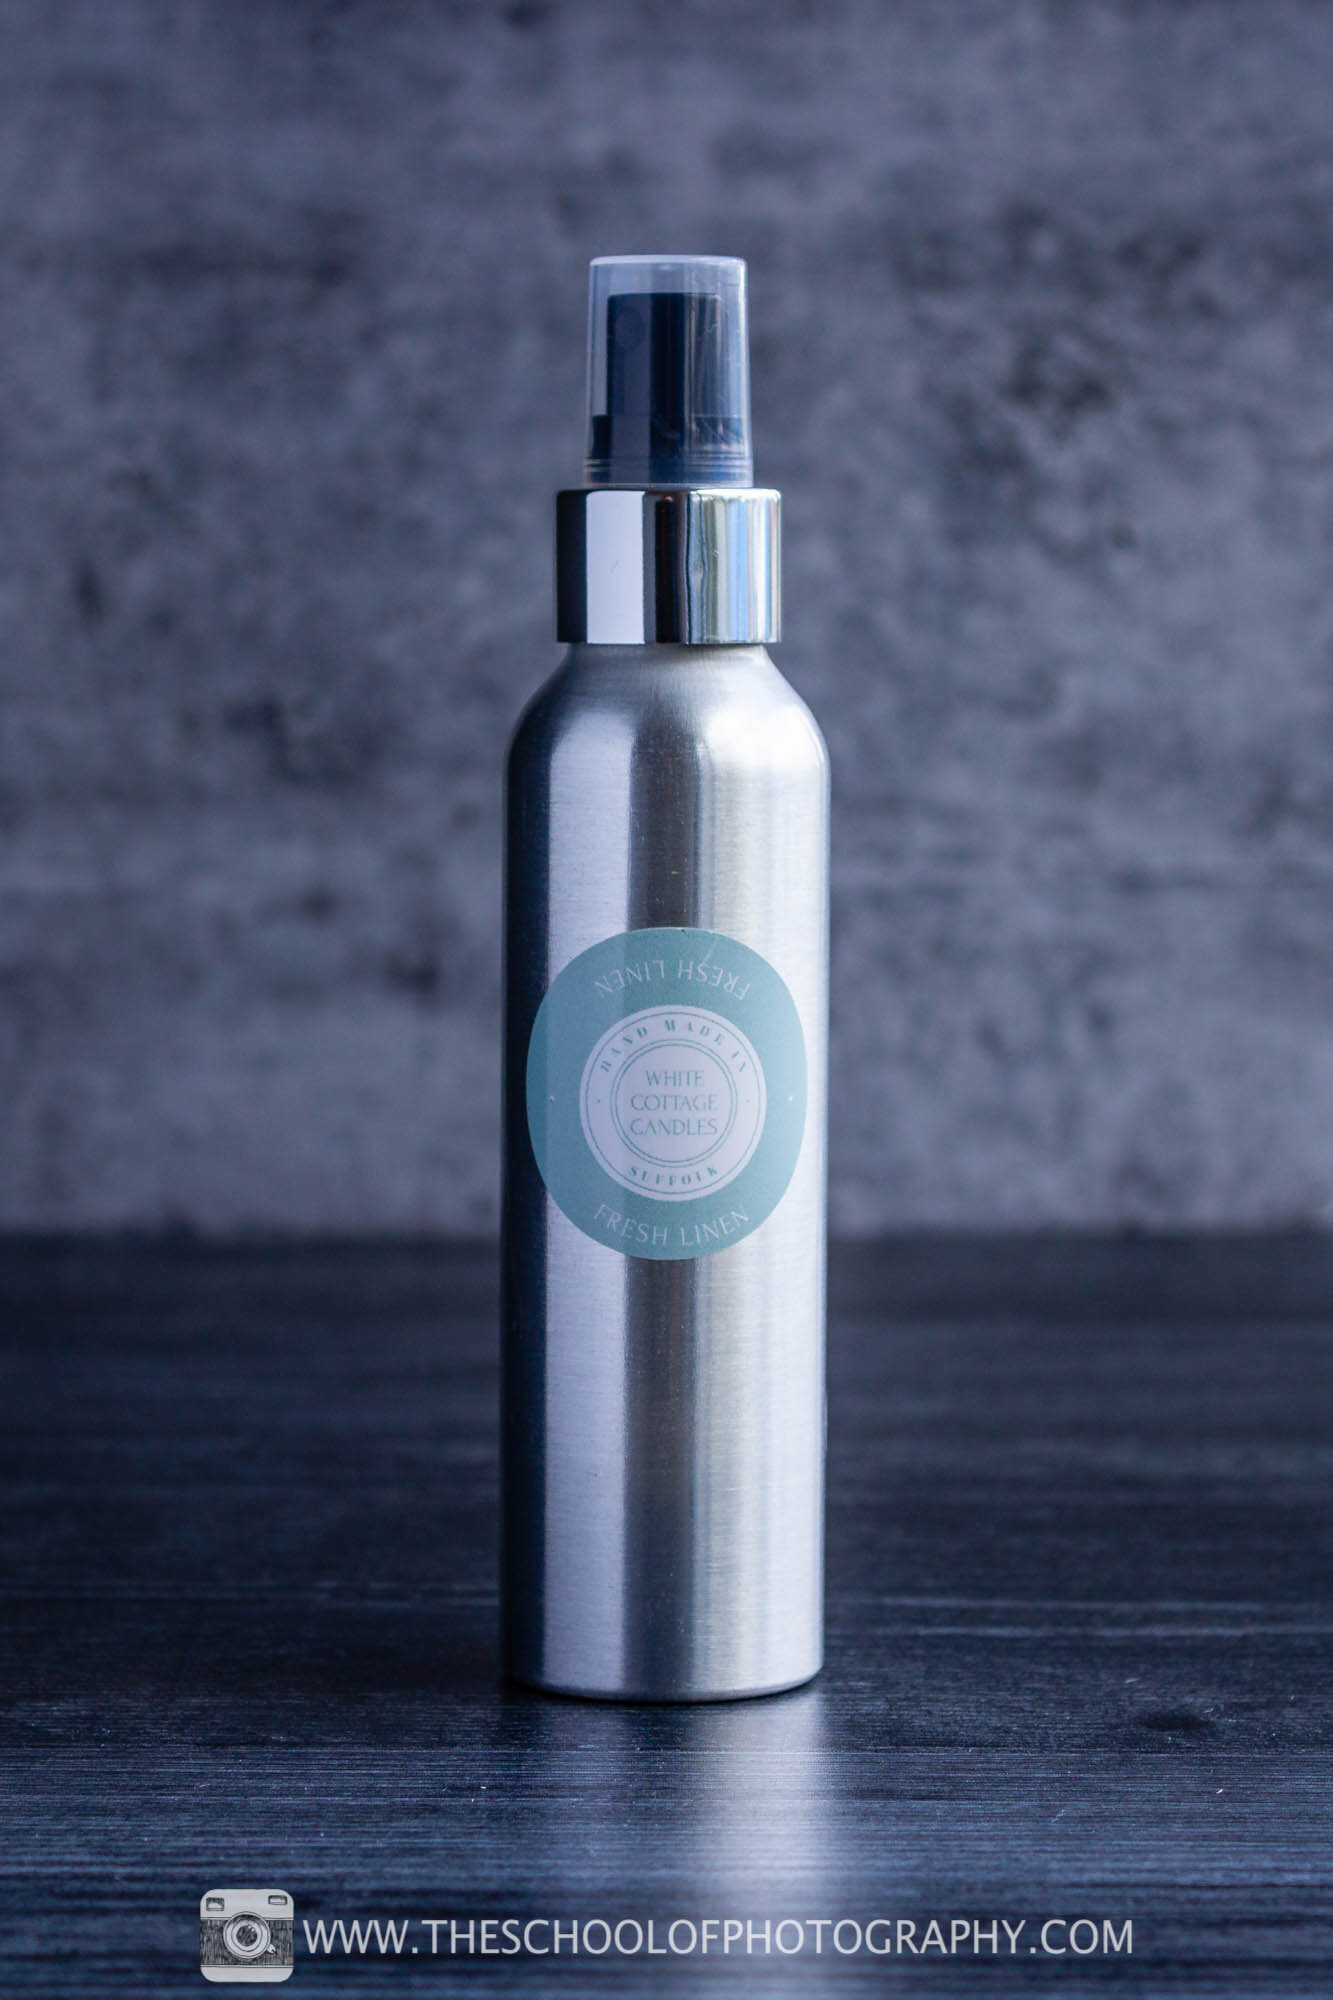
The other kind is more lifestyle based and that’s what I’m going to show you how to do in this tutorial. For this kind of product photography, you’ll be shooting on a set designed for the product and it should link back to the product itself or work within your specific business visual branding. It’s this kind of product photography that you’d see in magazines, on buildings and buses as it’s a lot more eye-catching, and helps sell your product more. You don’t have to be intimidated by those big glossy ad campaigns, because you can achieve great product photography easily at home with a small budget! Just simply follow my product photography techniques…
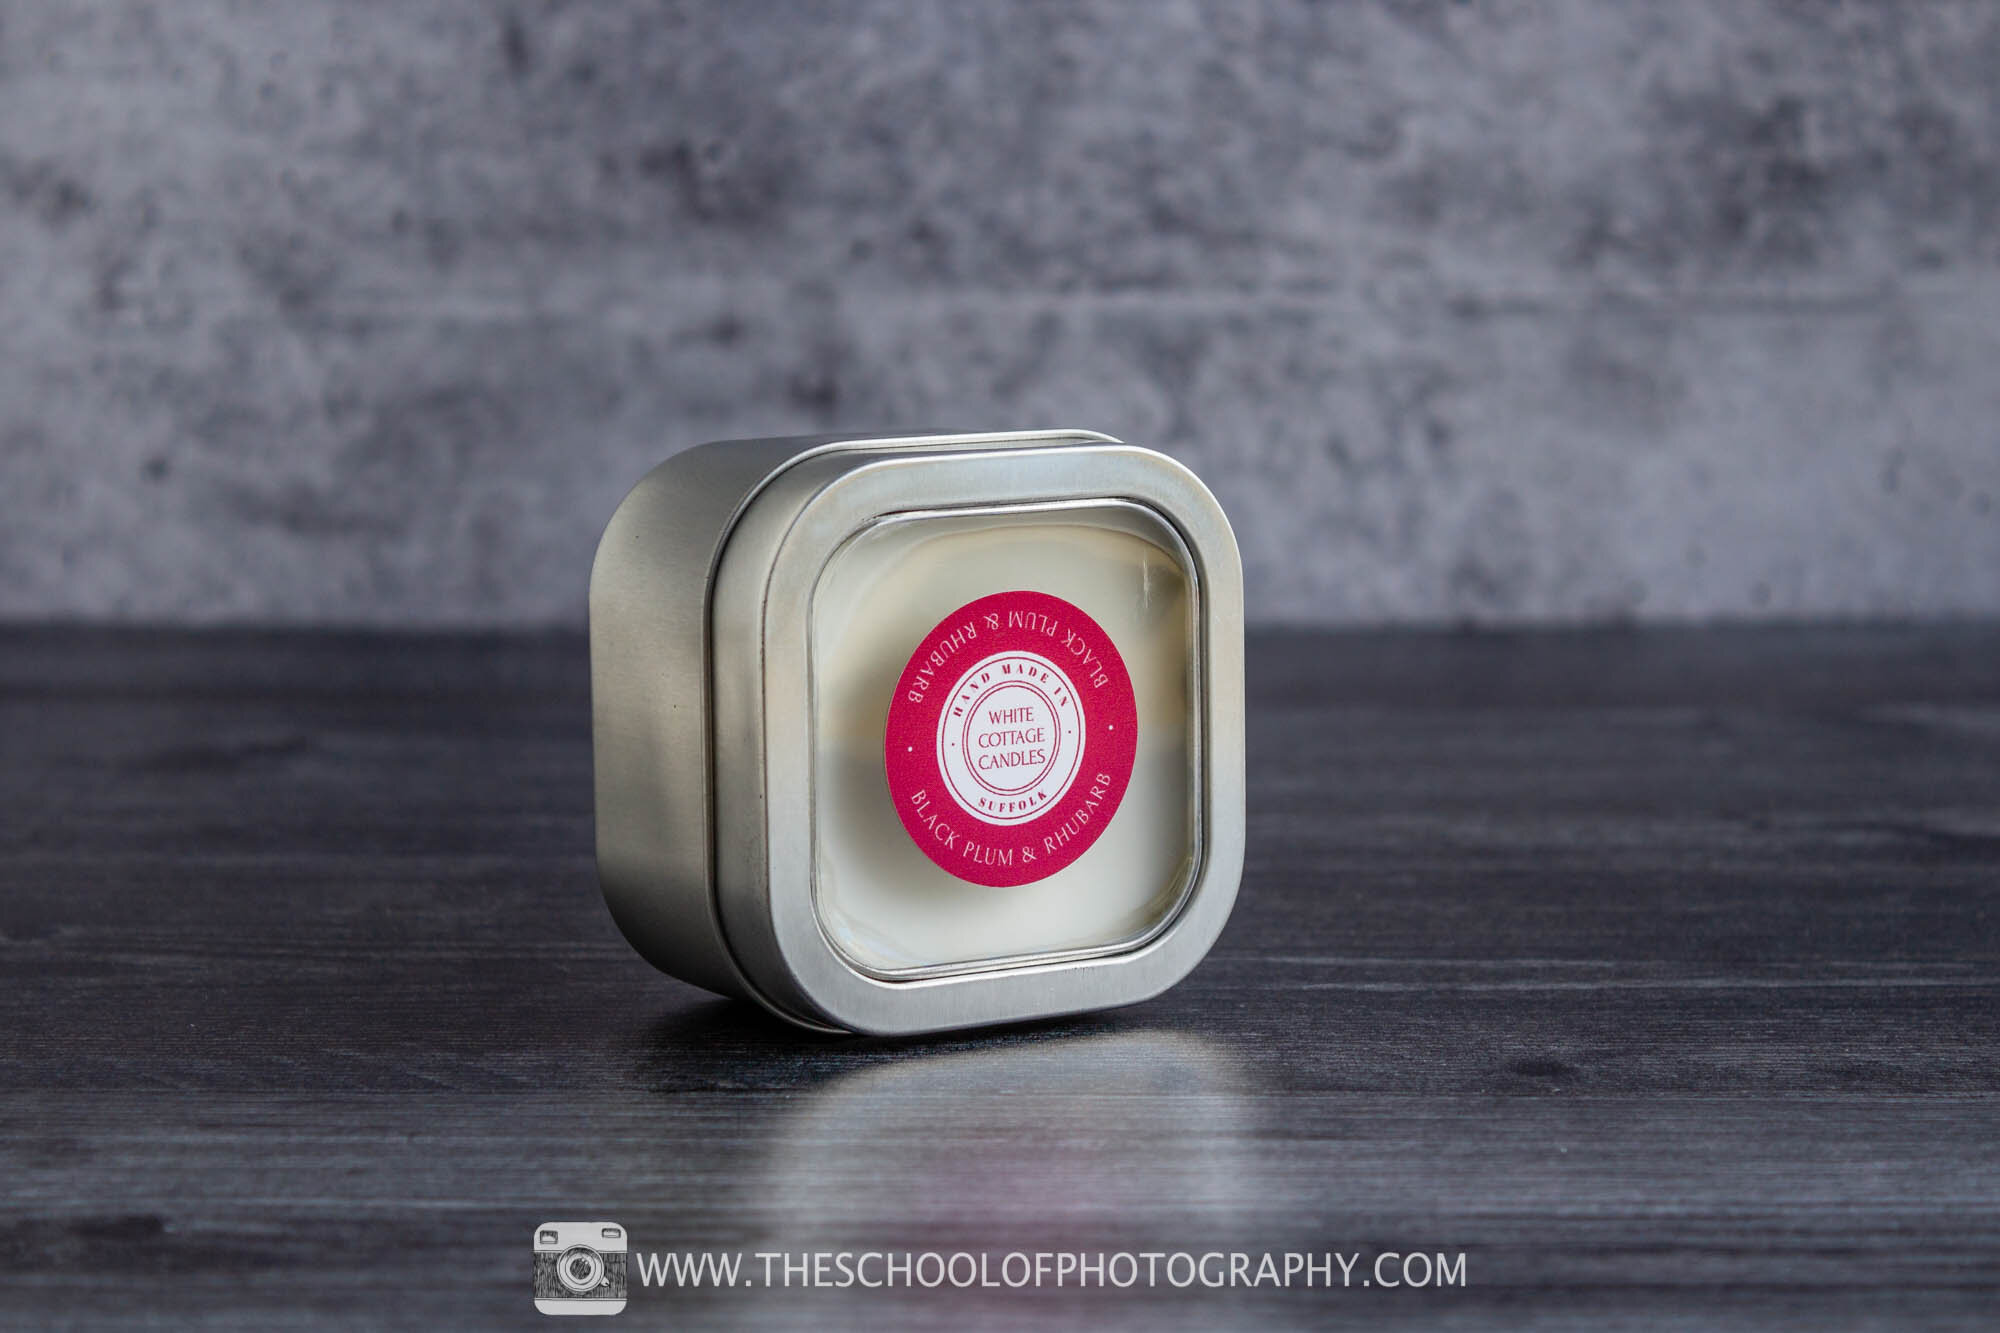
Example of Product Photography
Theme and feeling for product photography
Product photography aims to sell to your customer, but what’s the best way to do this? You can put a simple shot of your product on a white background on your website to show what your product is, it’s certainly better than not having product photography at all but adding some ‘hero’ images alongside these shots to add interest will sell the idea of your product.
The first thing you need is a theme or feeling you want to achieve and consider if your overall brand needs to be incorporated into this. Here are some things to consider when planning your product photography photoshoot:
Your Brand – if your brand is all about being handcrafted, you may want to convey this in the product photography for your website as choosing certain backgrounds will be able to portray this visually to people looking at the product pages on your website.
Your Product – Certain colours and textures may make your product stand out better, or your product may have additional accessories that need to be included. Would different types of lighting better represent your product?
What you want your customer to feel/think about the product – do you want your product photography to suggest ideas of cleanliness with a bright and airy setting or something fun and bold with bright colours and hard light?
Try not to go in blind, what mood would suit the things you want to photograph? Is it a dark moody scene of metallic products or a bright fresh theme for makeup? Having a feeling you want to achieve is a crucial part of the process.
What you choose to capture for your product photography will also dictate the feeling of the shot. If it’s for your business or restaurant then clearly what you sell will be the focus but if doing it for yourself try to choose something that’s personal to you or something you have a passion for.

Credit - @jjnuttall unsplash.com
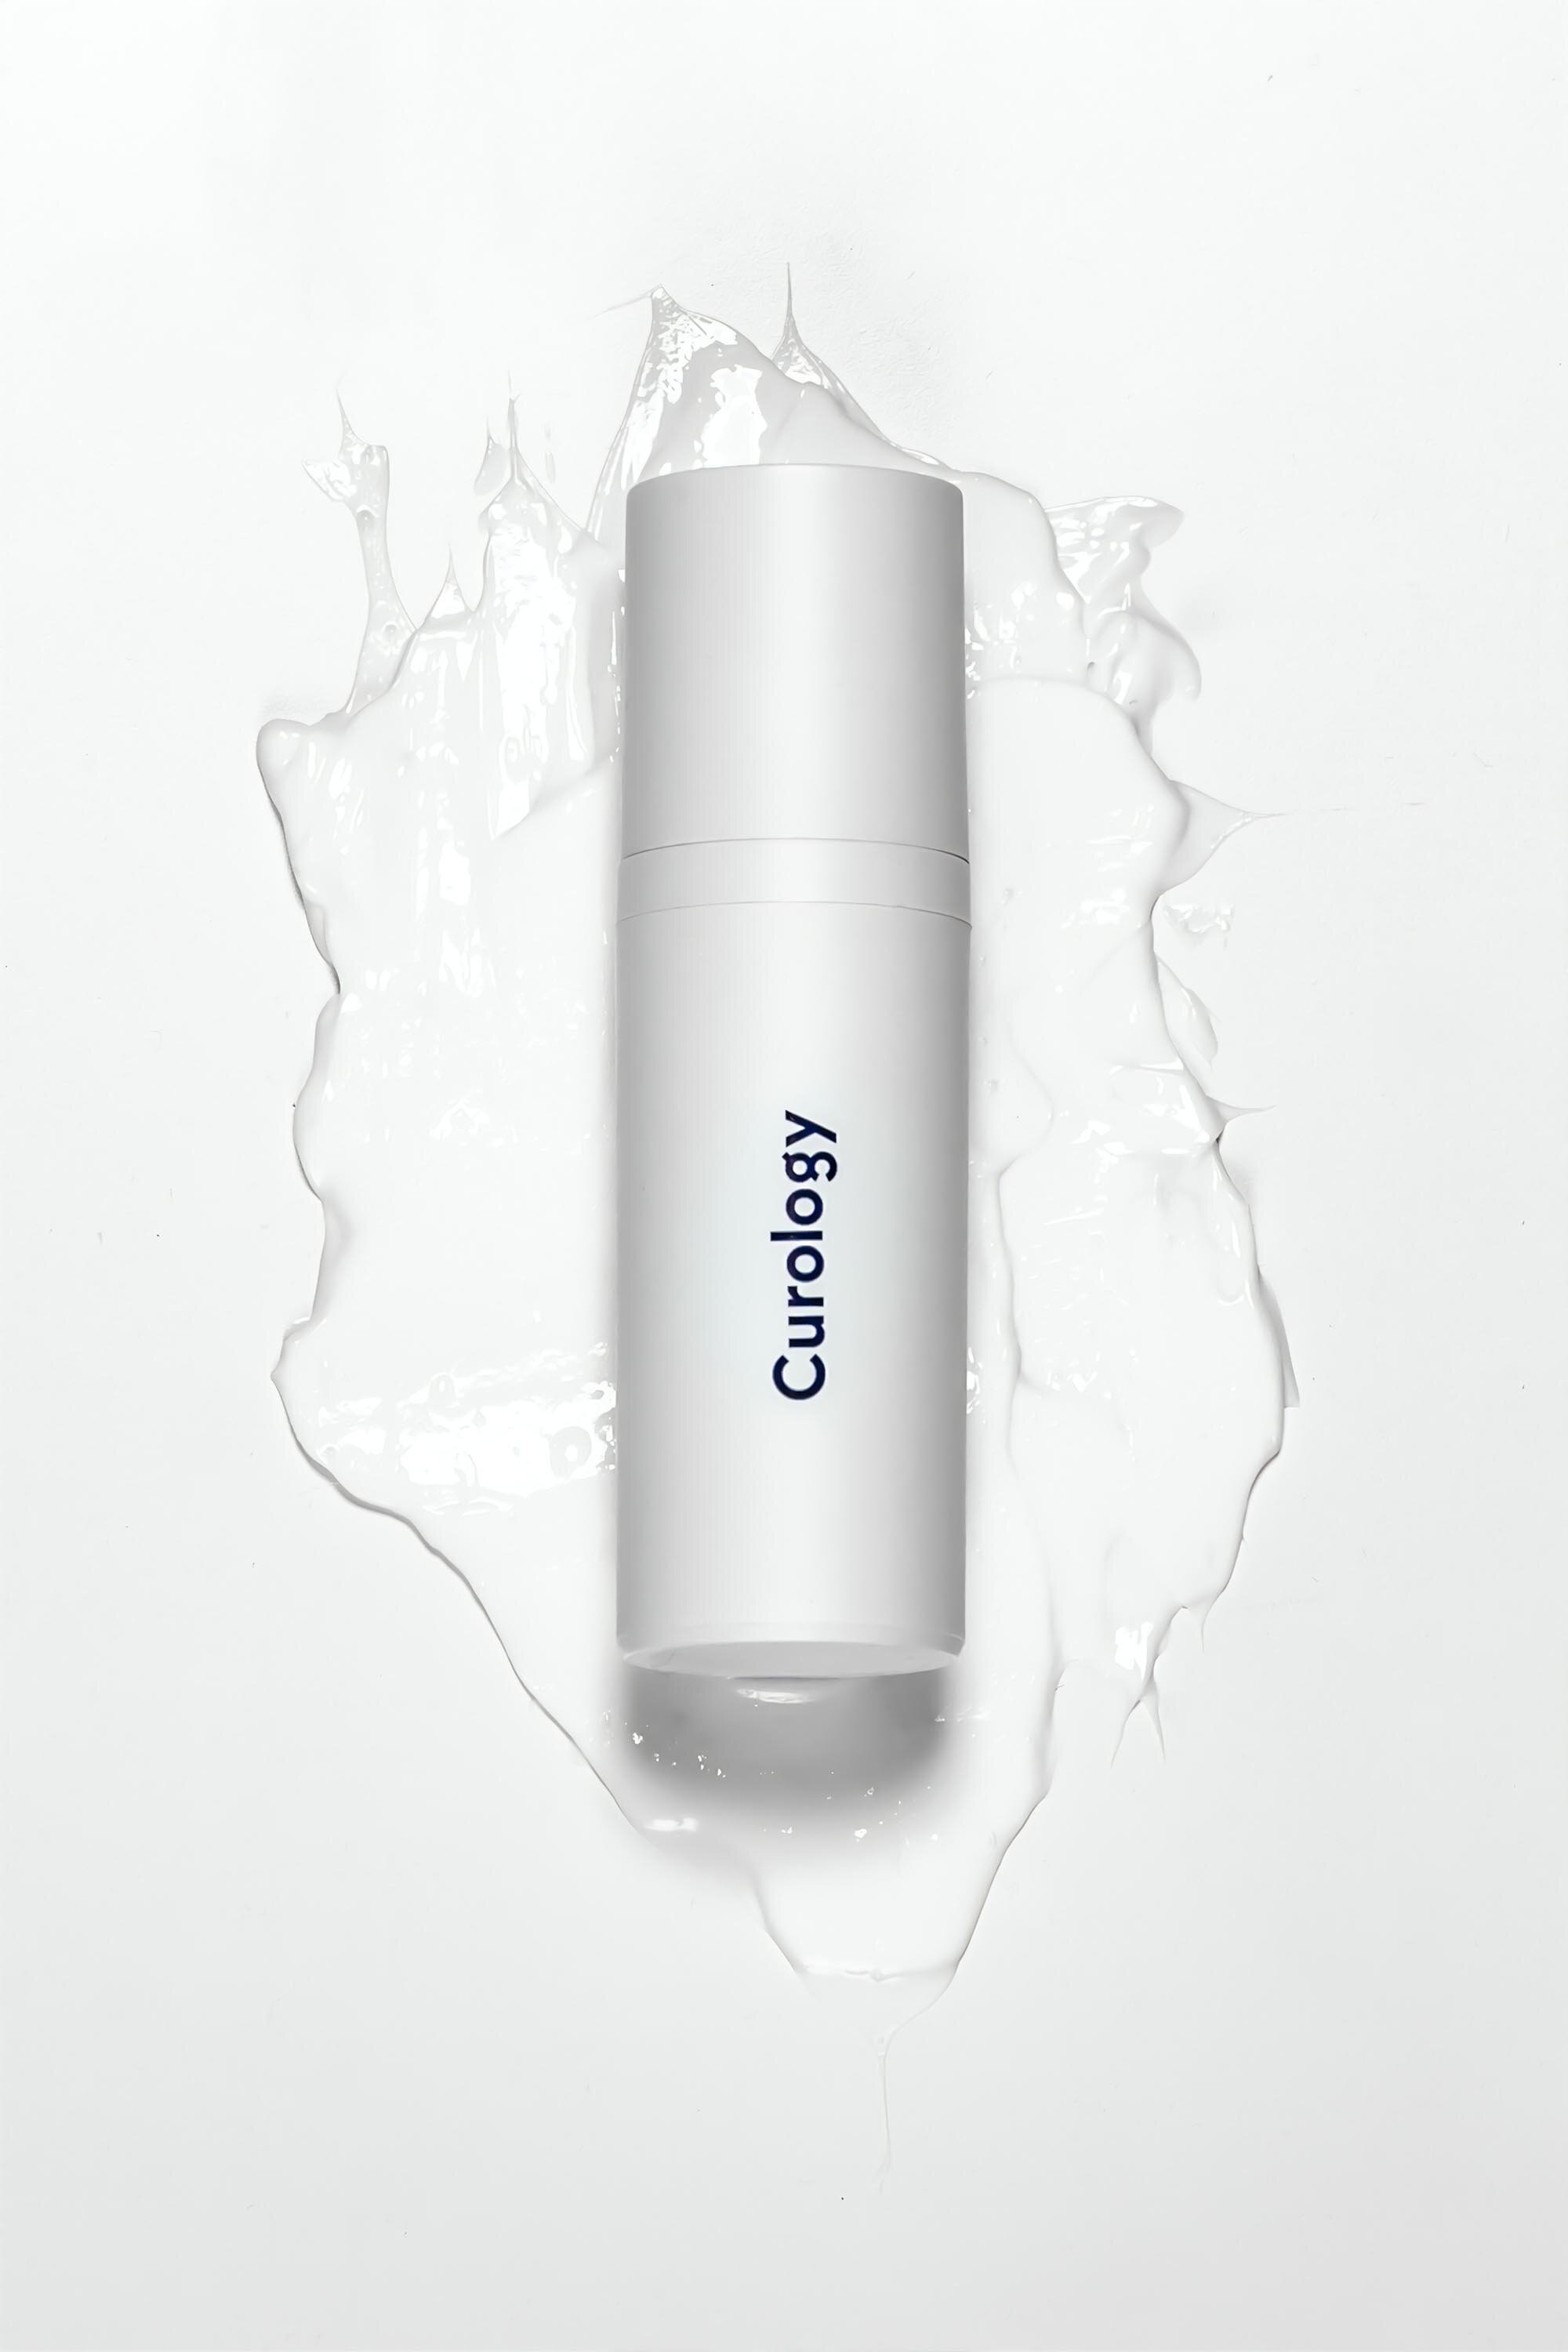
Credit - @curology unsplash.com
The product photography set up
First, we’ll begin with constructing the set for your product photography. For my product photography, I’ve used textured backdrops that are made specifically for shooting smaller products, but you can use anything. You don’t want a background that overpowers your product, but one that works harmoniously and compliments what you’re photographing so something that is a flat colour or simple texture is best.
You can position the product in different ways to best represent it – does the packaging open in a specific way? Can you show the product out of the packaging? Is the product a certain shape that looks interesting when positioned at an unusual angle?
Another way to level up your product photography is to incorporate interesting shadows – you can create these by holding up leaves, certain fabrics, or household items to the light. In addition to this, you can also add additional decoration to the scene to add further detail and help create the visual aesthetic you want to portray in your product photography – just be careful not to overcrowd the image. The focus is the product.
Another thing to consider is the levels and arrangement of the product – think of capturing product photography like creating a still-life scene. You can use things like plinths to add various levels to the image. This isn’t something you have to do in your product photography, but it is an aspect you can get creative with. You’ll also want to make sure that you don’t place your product too close to the background of your set as this placement will dictate how shallow of a depth of field, you’ll be able to achieve and where the shadows from your product will fall.
Like all things, product photography goes through fads and phases. As tempting as it may be, try not to get swept away with capturing all your product photography in a style that’s likely to go out of fashion quickly as this can have a detrimental effect on your brand or product and make it look out of date in the future. You want to create product photography that’s going to have longevity on your website and in your advertising and first and foremost, suit the product you’re trying to sell.
Best lighting for product photography
All photographs need light and product photography is no different. The normal rule here is the more light the better. So, let’s talk about different types of light and how you can control it.
Hard light is created by a strong light source which comes straight from the source and hits your subject (i.e. the sun on a clear day). This creates contrast and shadows.
Soft light is created when light travels through something (i.e. sunlight travelling through clouds).

Credit - @aaina unsplash.com

Product photography with soft light
For the most cost-effective lighting for product photography, use a big window for your main light source. If you want the effect of hard light make sure you shoot on a day with bright sun light and little or no clouds in the sky.
If you want the look of soft light, you can simply put sheer fabric curtains or chiffon fabric onto the window which will diffuse the light, making it soft.

Using chiffon fabric on window to soften the light
Then you need to use a reflector to fill in any shadows or dark areas. In my example, I simply use a piece of white polystyrene (a white piece of card will also work) and a silver reflector to bounce back the light and fill in the shadow areas.
More complex product photography would use additional strobes, flash or continuous lighting to keep the product lighting consistent – this is something to consider if you have a high amount of products that all need to be shot in the same way, with the same kind of lighting or if you don’t have a window available.

Using white polystyrene as a reflector for product photography
To learn more about lighting in photography, click here.
Equipment for product photography
You don’t need masses of expensive camera equipment to get a decent shot – Knowledge is power! In my shot here is used the following:
Second-hand DSLR camera and standard kit lens. Valued at £100.
A big window for lighting.
A piece of polystyrene for a reflector.
A piece of card for reflective effects.
To learn more about photographic equipment, click here.
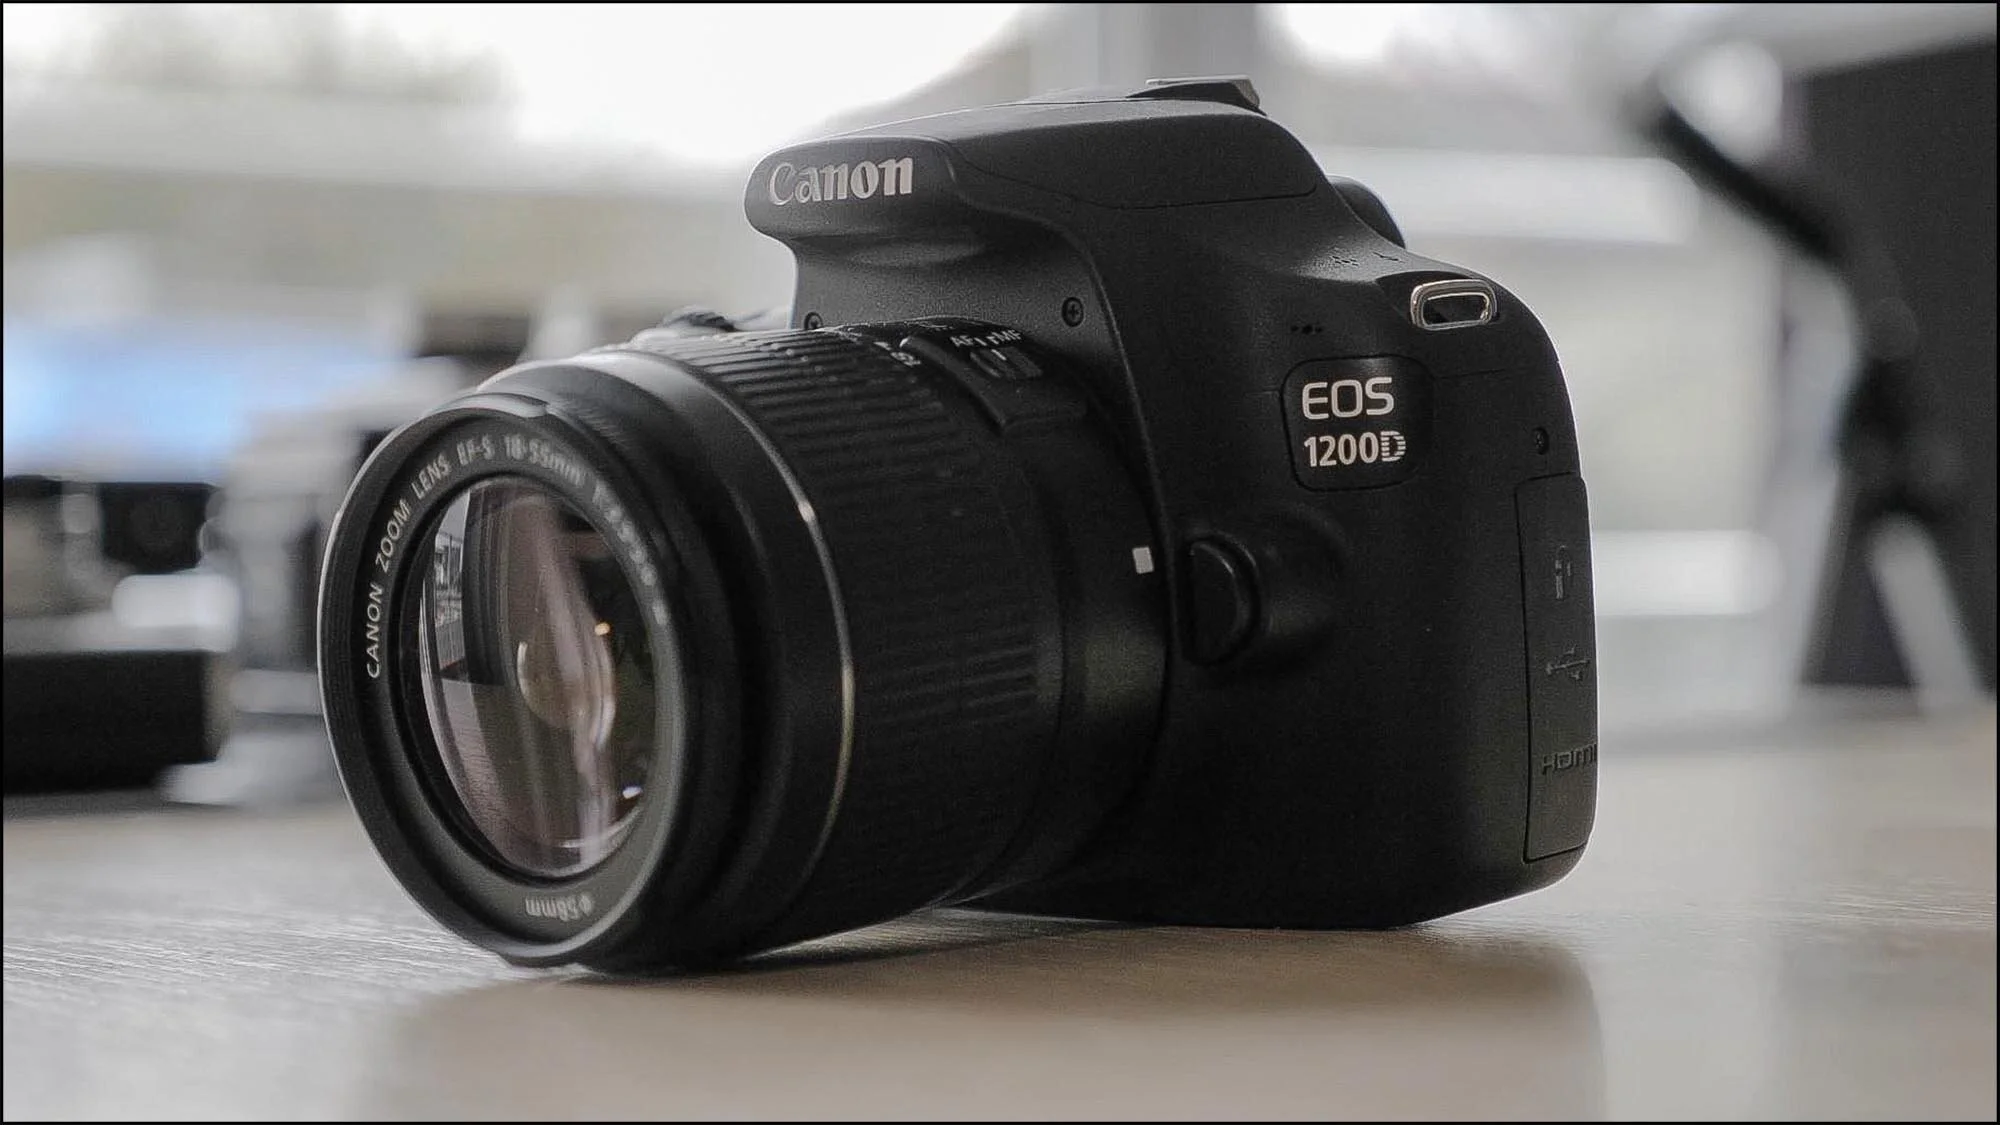
Second Hand DSLR Camera

A big window for lighting

Polystyrene for reflector
Camera settings for product photography
You also don’t need to know the ins and outs of photography for this type of shot - just knowing a couple of things will do the job.
Set your camera to the following:
Camera mode – Av or A (Shutter Speed Priority).
Set the Aperture to its lowest number your camera has available. Usually around f4.
Put your ISO on 100.
Put your lenses focal length to 30-35mm, an ‘as your eye sees’ focal length. This can be different on some cameras with different sensor sizes and to find out the exact as your eye sees focal length on different camera click here.
Make sure you have plenty of light.
Put your camera on a tripod and use your 2-second timer. This will avoid any camera shake.
Set the camera to its largest image quality or if you know how to use post-processing programs, set the camera to shoot in Raw.
To get more in-depth knowledge on photography click here.
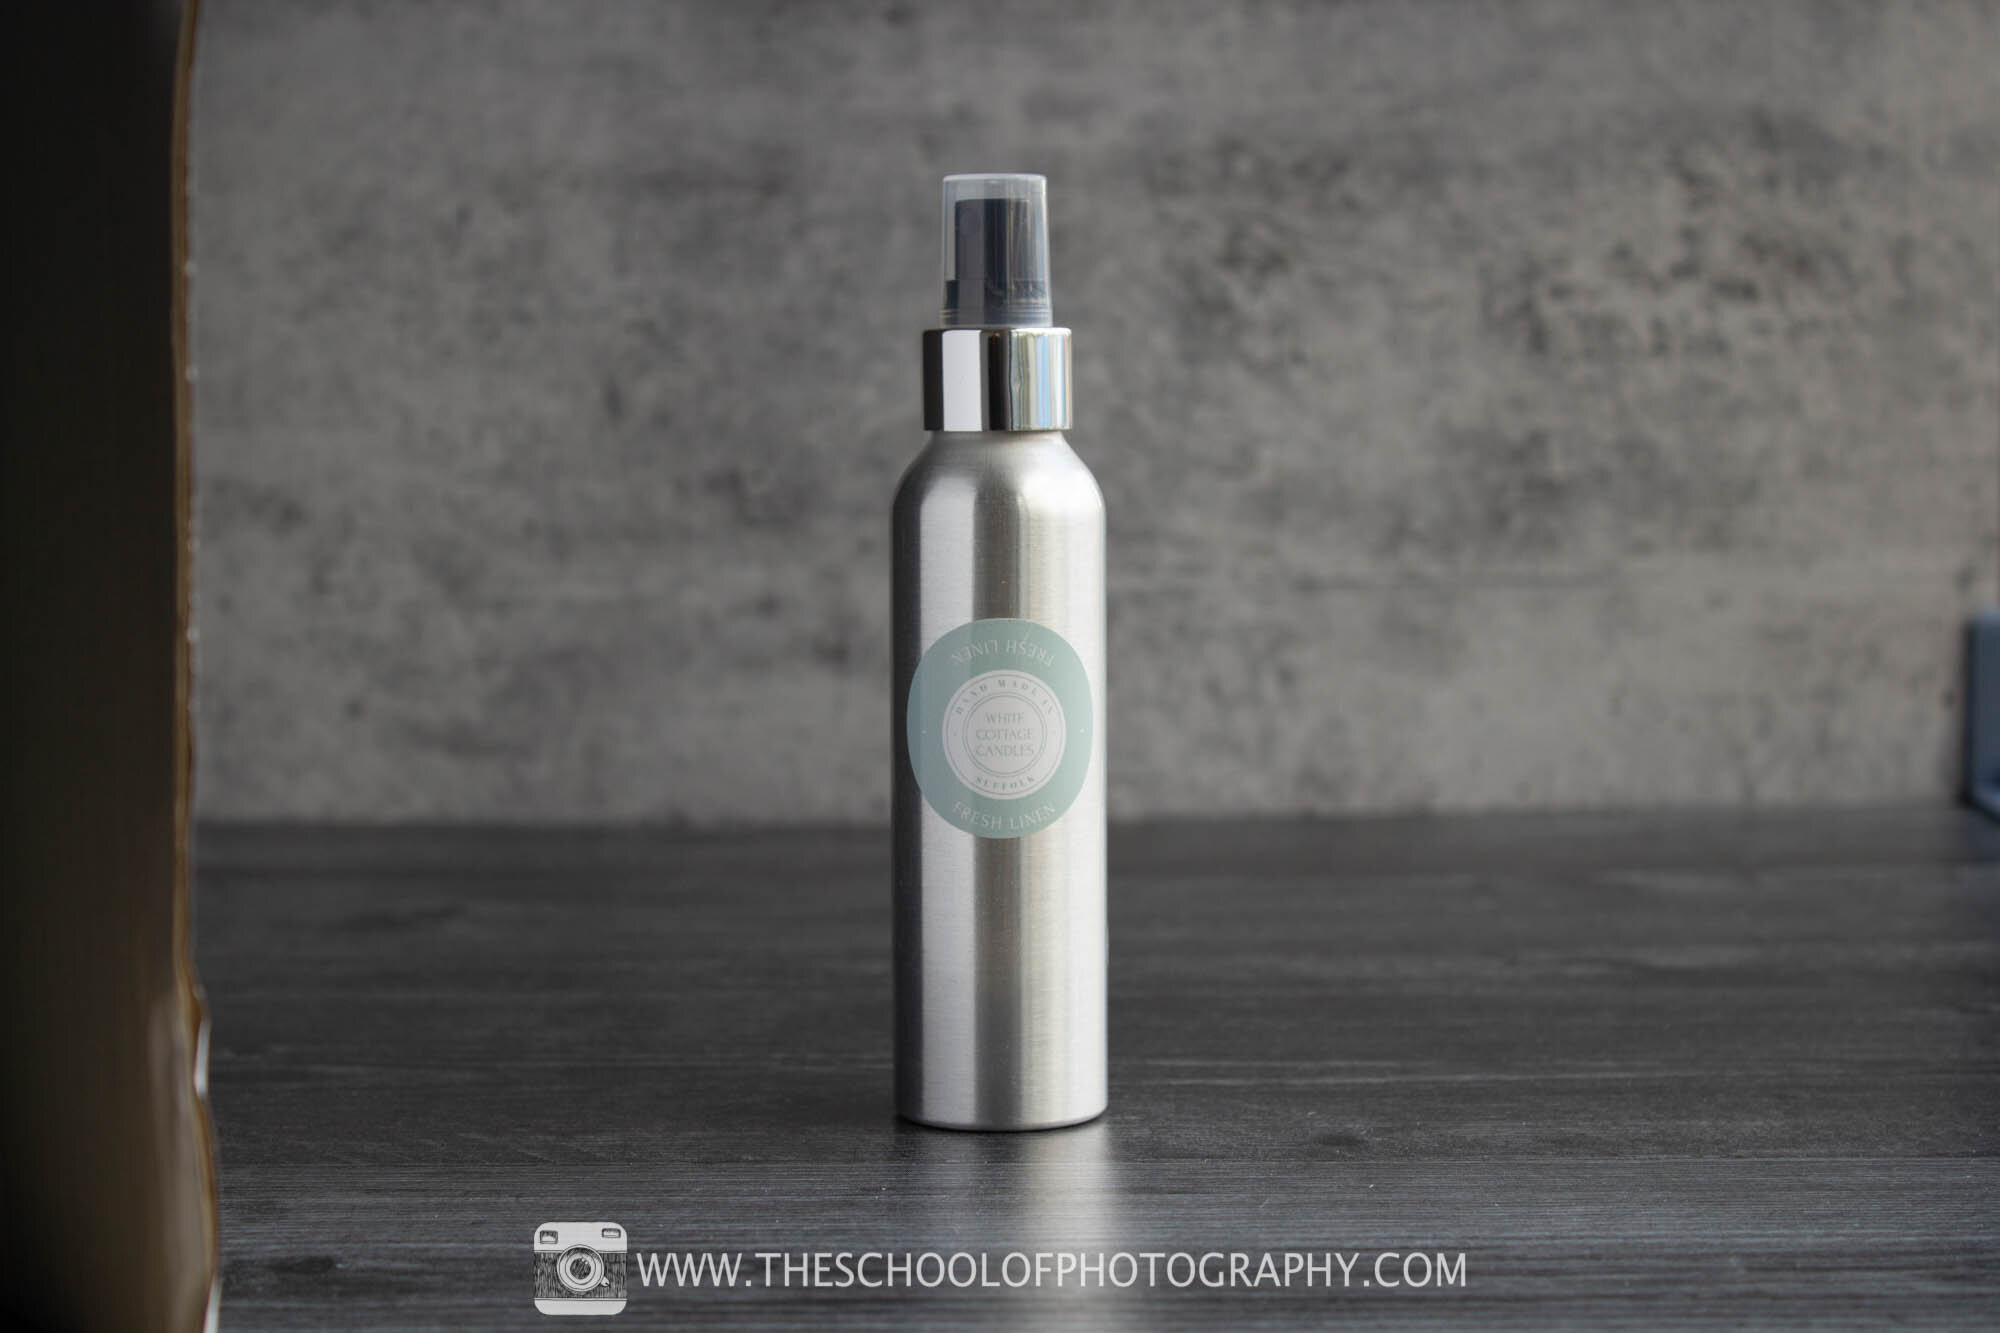
Product photography of metallic objects
If you’re shooting a metallic, you’re going to inevitably going to have to overcome the challenge of reflections on your product. If you’re a small business, you don’t have to worry about ridding your product photography of this completely (your customer won’t notice it, trust me!), you can help negate the reflections simply.
For my example, I’ve used a white card and a black and white polystyrene board as reflectors, so rather than whatever’s beyond the set being reflected onto the product, it’s just the flat planes of colour. It’s much less distracting and looks a lot more professional. You may have to experiment with the angles of these reflectors to get the desired effect in your product photography.
Post-processing product photography
Lastly, you will need to do some post-processing on your product photography. This could be as simple as cropping and adding contrast using a phone or free PC apps. If you want a more professional look, you can take the pictures in Raw format and post-process them in a program like Lightroom or Photoshop.
To learn how to use Lightroom properly click here.
Some high-end campaigns will use programs like Photoshop to drastically improve their product photography to create a visual advertisement, by creating composites for interesting product positioning or using specialist brushes to add associated iconography – such as water splashes or smoke. You can get as complex as you like with this, but in my example, I’m keeping it simple.
To learn more about using Photoshop, click here.
Raw picture
With lightroom post processing
Lightroom Presets Free Download
To learn more about post processing your photography, click here.
Like this? - Check out similar tutorials below

I hope you liked this video, please leave us a comment and support us by sharing it with your friends and subscribe to our newsletter at the bottom of this page for more.
We also have an excellent learning community on social media so please join us there as well.
Thanks for watching and remember – Learn more at The School of Photography.
