Nisi Natural Night Filter Review
Do you need a filter for night photography? After all, they are expensive and surely you can just change the colours of light pollution back in Lightroom. Well, here I’m going to review Nisi’s Natural Night Filter to see what exactly it does and if it actually makes a difference.
Get access to ALL our online courses - 1000’s of videos, worksheets, critiques of members work, personalised support and much more with our monthly membership.
The Nisi Natural Night Filter Test
Nisi is known for producing high-quality filters for use in photography and here is a filter that has been specifically made for night photography. Nisi states the following:
“The NiSi Natural Night filter has been designed with the primary function of cutting the most common wavelengths in artificial lights. These types of filters have always been used in the observation and photography of the deep sky but have rarely been adapted for use on photographic lenses. They are perfect for night scenes & astrophotography”
Nisi Natural Night Filter

View filter specs in more detail here
Light pollution, in general, is the orange/yellow colour emitted by common streetlights in cities. And with a price tag of £155 for the 100x100mm filter holder version, this filter is not cheap!
So, my initial thought was, why do I need a filter for night photography? Surely you can just take out the colour of light pollution in post-processing, and in some cases, you might want that light pollution.
So, in this review, I go into the city of London and take photos with and without the filter. Then I want to see the difference between changing the colours in post vs using the natural night filter. To keep things consistent between the photos I set my camera’s white balance to daylight and then, with the results, we will look at the following:
Direct comparison - with and without filter - no processing
No filter with white balance adjusted vs Filter no processing
No filter fully processed vs Filter fully processed.
The processing of the photography has been achieved in Lightroom.
To learn about white balance in photography, click here.
With and Without the Natural Night Filter
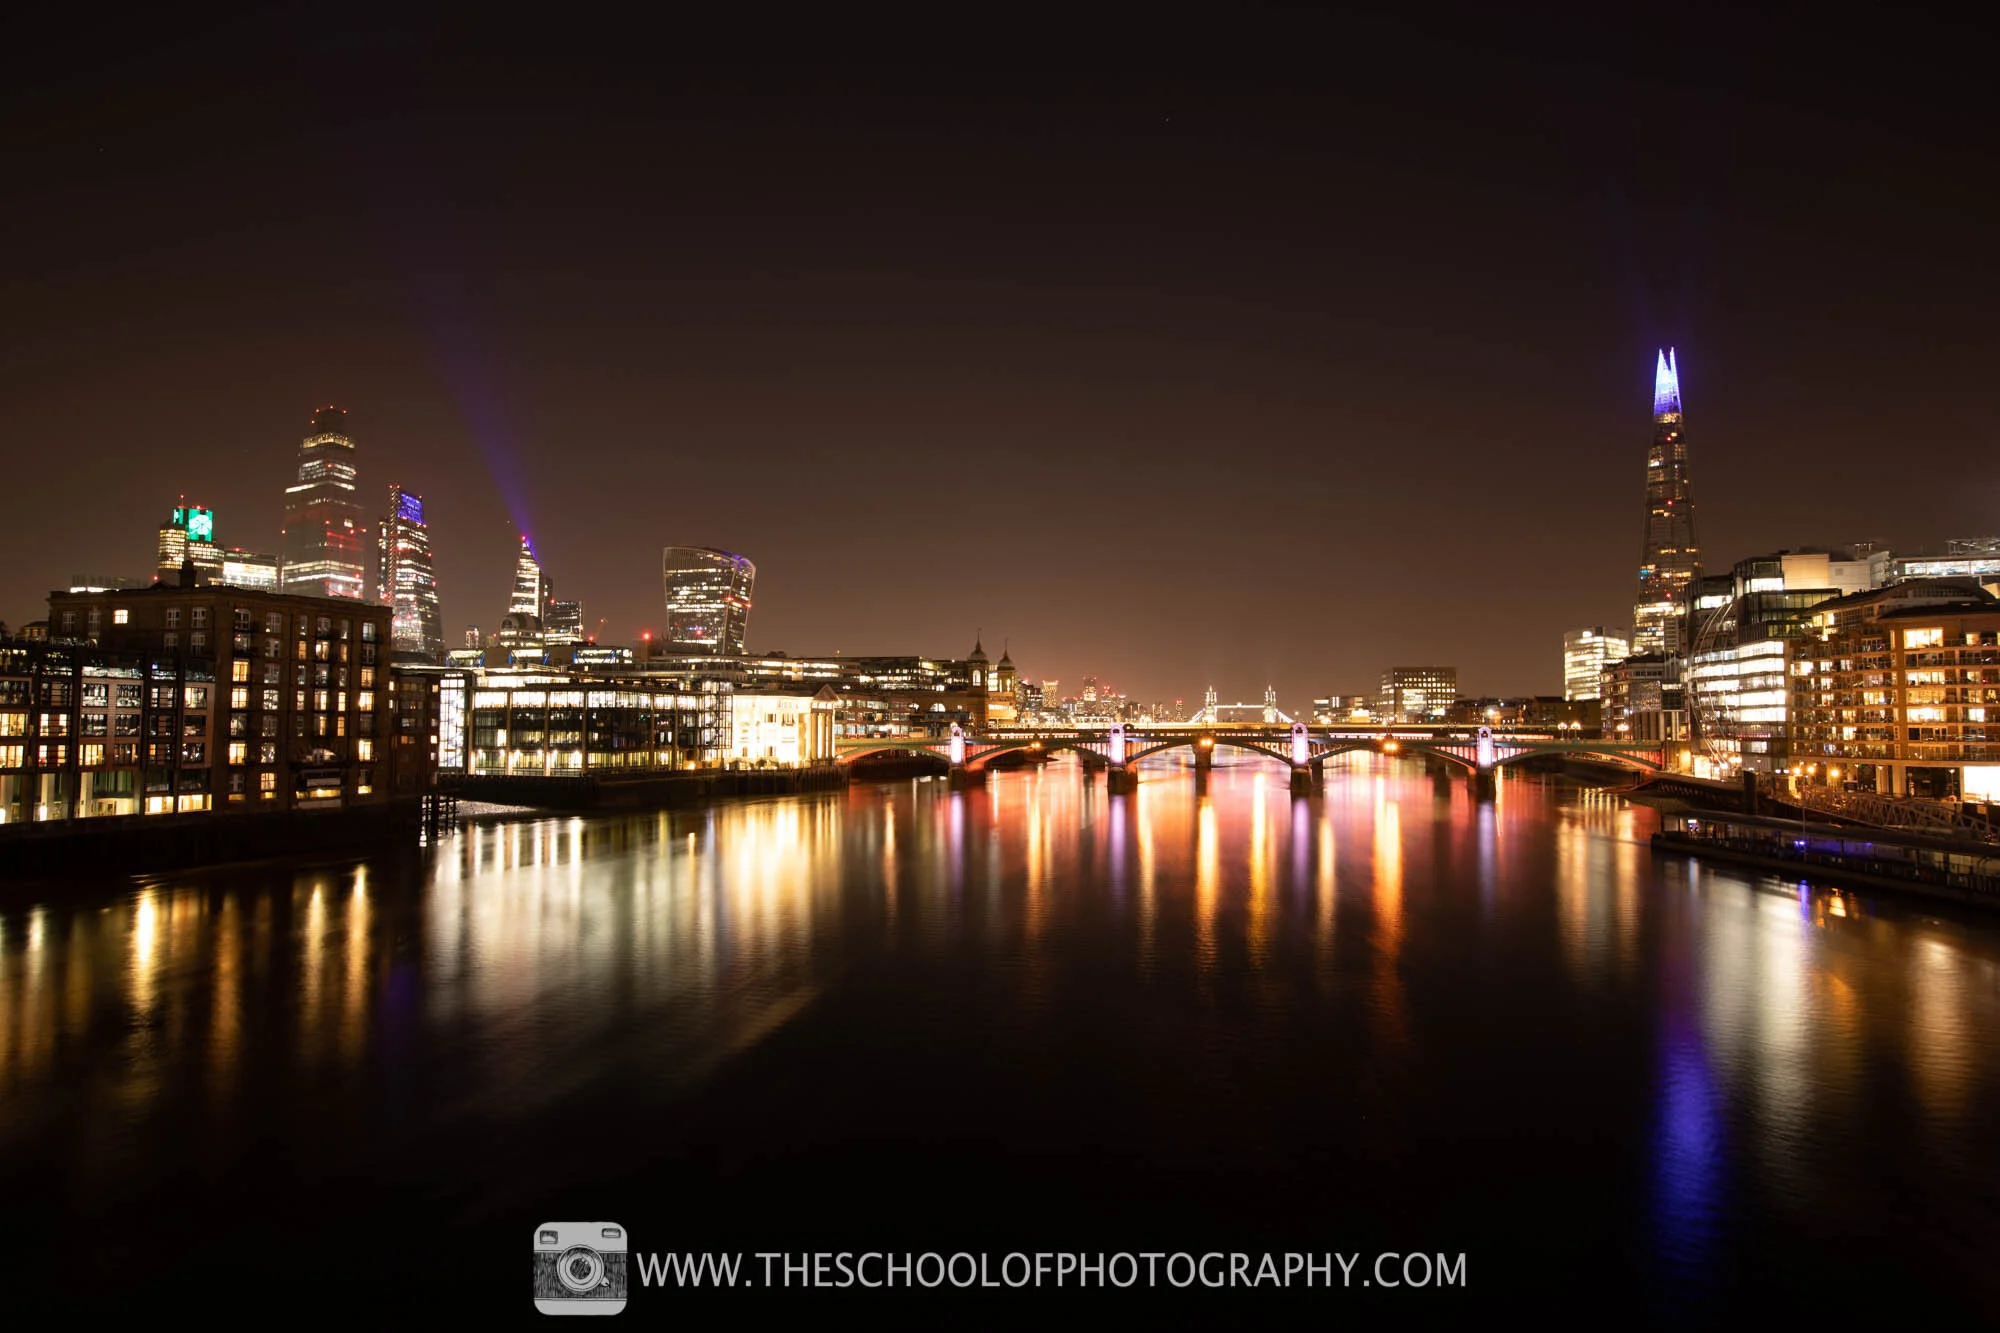
Camera Settings: 22 mm Focal Length - 15 Seconds - F5.6 - ISO 100 / Taken without a filter – Daylight Balanced

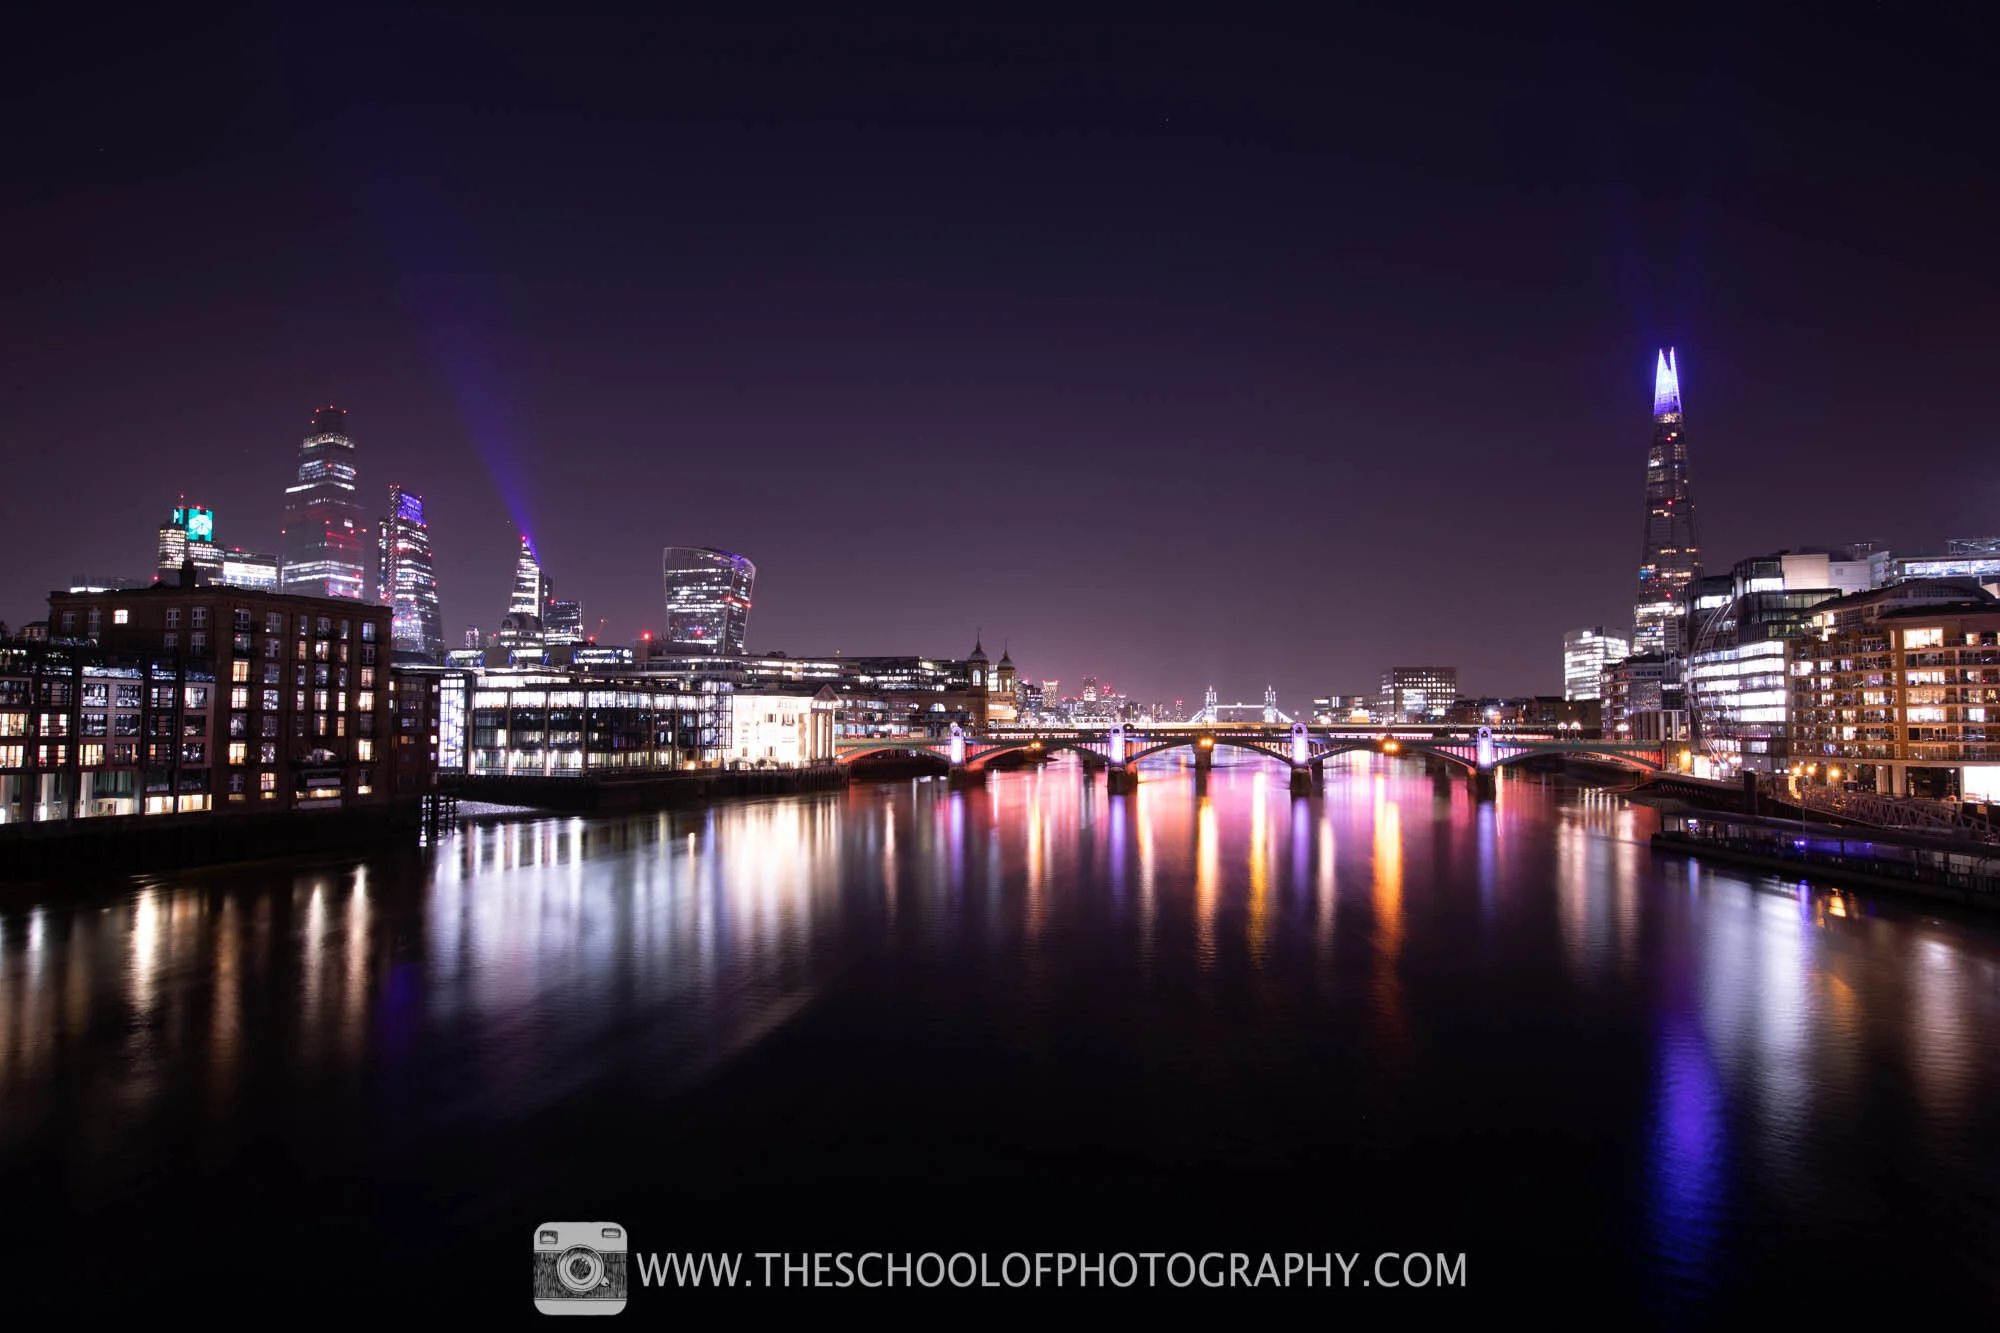
Camera Settings: 22 mm Focal Length - 25 Seconds - F5.6 - ISO 100 / Taken using the Nisi Natural Night Filter – Daylight Balanced
From the above results, you can clearly see a difference in colour. However, this is nothing you should be surprised about. When it comes to colour in photography, blue cancels out orange. So, if you put a blue filter (the general colour of the nisi night filter) in front of the lens, it will cancel out the oranges within your scene.
To learn more about colour in photography, click here.
The real difference comes when you zoom into the highlights. Take a look at the cropped in versions below.

Close up - Taken without a filter – Daylight Balanced

Close up - Taken using the Nisi Natural Night Filter – Daylight Balanced
You will notice that the picture taken using the filter has more detail in the highlights. Now, this is a good thing. When it comes to night photography, it’s extremely common to have burnt out highlights due to all the city lights. It might seem a slight difference here but the more this can be reduced in camera, the better. And you’ll be surprised what you can pull out of a raw file, as long as there is detail there in the first place.
The other thing to note here is the exposure time. It has increased. By adding the filter, I had to increase the exposure by just under one stop. However, this is to be expected as you are putting something in front of your lens.
Changing the White Balance in Post vs Using the Night Filter
The next thing I wanted to review was the difference between reducing the colour of light pollution in post-processing vs taking out the light pollution via the night filter. Below are the results.
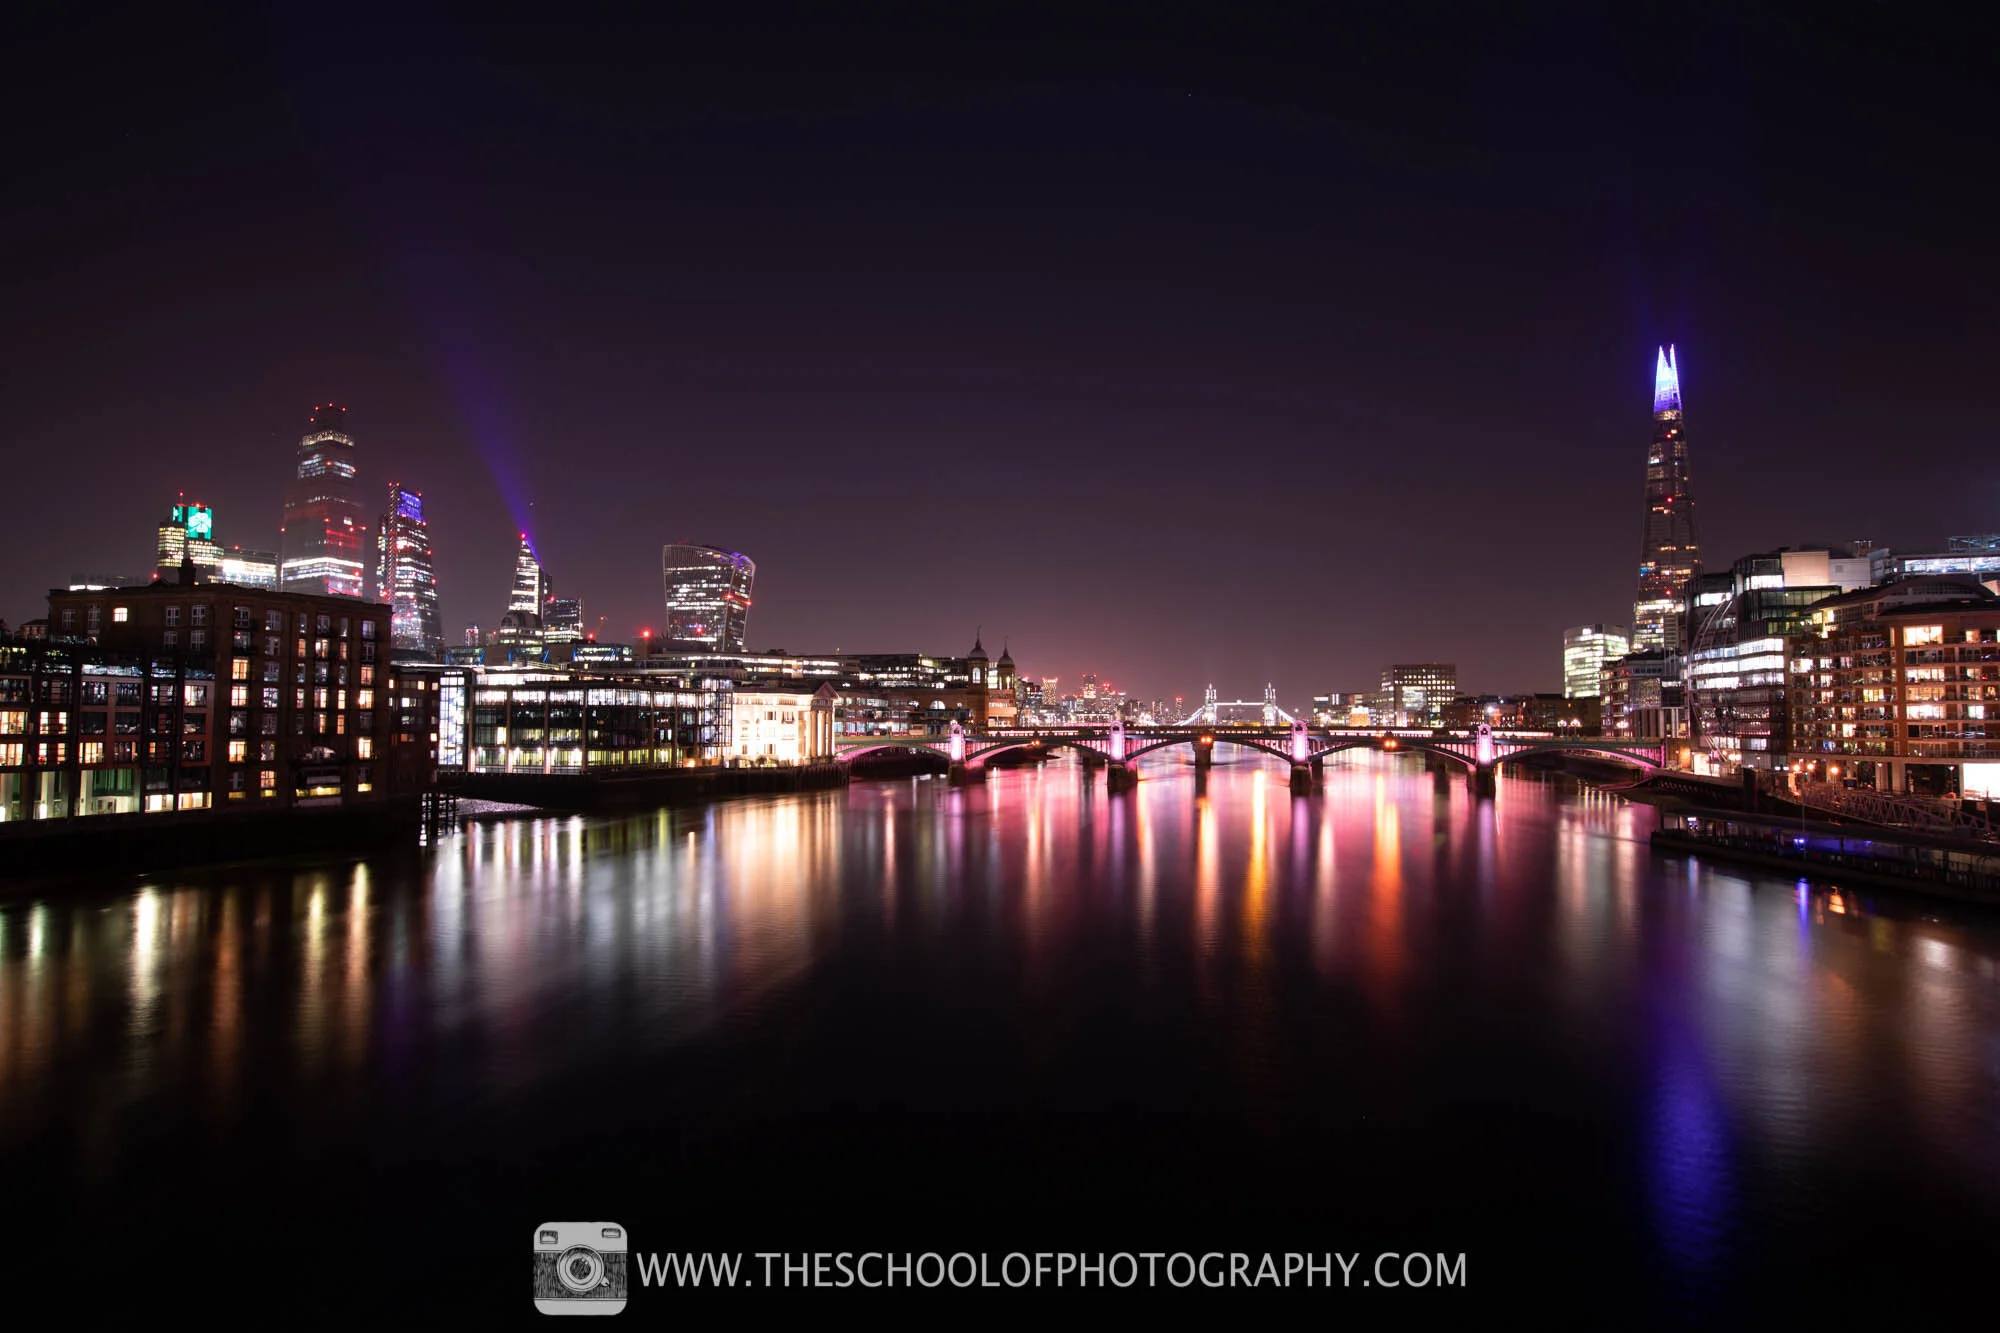
Taken without a filter – Daylight Balanced – White Balanced adjusted in Lightroom to take out Light Pollution
Taken using the Nisi Natural Night Filter – Daylight Balanced – No processing
As you can see from these, it is possible to get the same look by simply adjusting the colour balance in a program like Lightroom. And if we are to be honest, for posting on social media, no one will know the difference. But let’s crop in again and look at the pictures in more detail.

Close up - Taken without a filter – Daylight Balanced – White Balanced adjusted in Lightroom to take out Light Polution

Close up - Taken using the Nisi Natural Night Filter – Daylight Balanced – No processing
When you look close into the highlights now, you can see the highlights are degrading further in the photo taken without the filter. In this picture, the light pollution is being taken out unnaturally via post-processing. The more you process a photo, the more it degrades which clearly isn’t a great thing.
The light pollution in the picture taken with the night filter has been reduced more naturally. It’s been reduced in camera meaning less processing is needed, meaning more detail is held within the original raw file.
To learn how to use Lightroom properly, click here.
Processed Night Photography with and without the Night Filter
The reality of night photography is that you process the photography in a program like Lightroom. So, the next test was to fully process both shots to see how they differ.

Taken without a filter – Fully processed in Lightroom

Taken using the Nisi Natural Night Filter – Fully processed in Lightroom
Both results are good and again, if it’s an Instagram picture, you’d be hard pushed to notice the difference. But, as you zoom in and look into the detail of the photos, you do see a difference.

Close up - Taken without a filter – Fully processed in Lightroom

Close up - Taken using the Nisi Natural Night Filter – Fully processed in Lightroom
There is a lot more detail in the picture taken with the filter. This is not only seen in the highlights, but also in the richness of the colours. You seem to get a much cleaner light when using the nisi natural night filter which in turn gives you more detail in the highlights and colours. And when it comes to post-processing night photography, the more detail the better!
Conclusion
So here is my conclusion on using the natural night filter by Nisi. If you’re on a budget or not looking to take night photography in any serious direction, then you would get away with not using one.
However, if you’re looking at taking night photography seriously and want to compete with the best out there, this filter will give you an edge. It does cut out light pollution in the camera which gives you more detail to play with when it comes to post-processing.
The one thing I would add here though is that the 100x100mm version is designed for the Nisi filter holder system and that system doesn’t allow for lens hoods. When shooting night photography in a city, it’s very easy to get lens flare at wide angles so using a lens hood is vital.
So personally, I won’t be using the square one for night photography. However, Nisi does a circular version for lenses and with this version, you can use a lens hood. This will be the version I will use.
To learn why lens hoods are a vital piece of equipment, click here.
To view and buy the Nisi Natural Night Filter, click here.
To view our full range of Recommended Filters, click here.
Like this? - Check out similar tutorials below

I hope you liked this review, if you did please leave us a comment and support us by sharing it with your friends, subscribing to our newsletter at the bottom of this page or even buy us a coffee above 😊.
We also have an excellent learning community on social media so please join us there as well.
Thanks for watching and remember – Learn more at The School of Photography.
