How to take pictures in the snow
In this tutorial, we’re going to show you how to take pictures in the snow. You’ll get some great tips & techniques and we’ll be showing you how to expose properly for snow photography as well as giving you some great ideas as to what to photograph during the winter season.
We’re in the beautiful woodlands of England as the sunrises over the trees and it just couldn’t have looked any better for us. If you want to take pictures in the snow, then this tutorial is for you.
Control your photography and be much more creative with it in our online courses. Click below for more details.
Ideas for Winter Landscape Photography
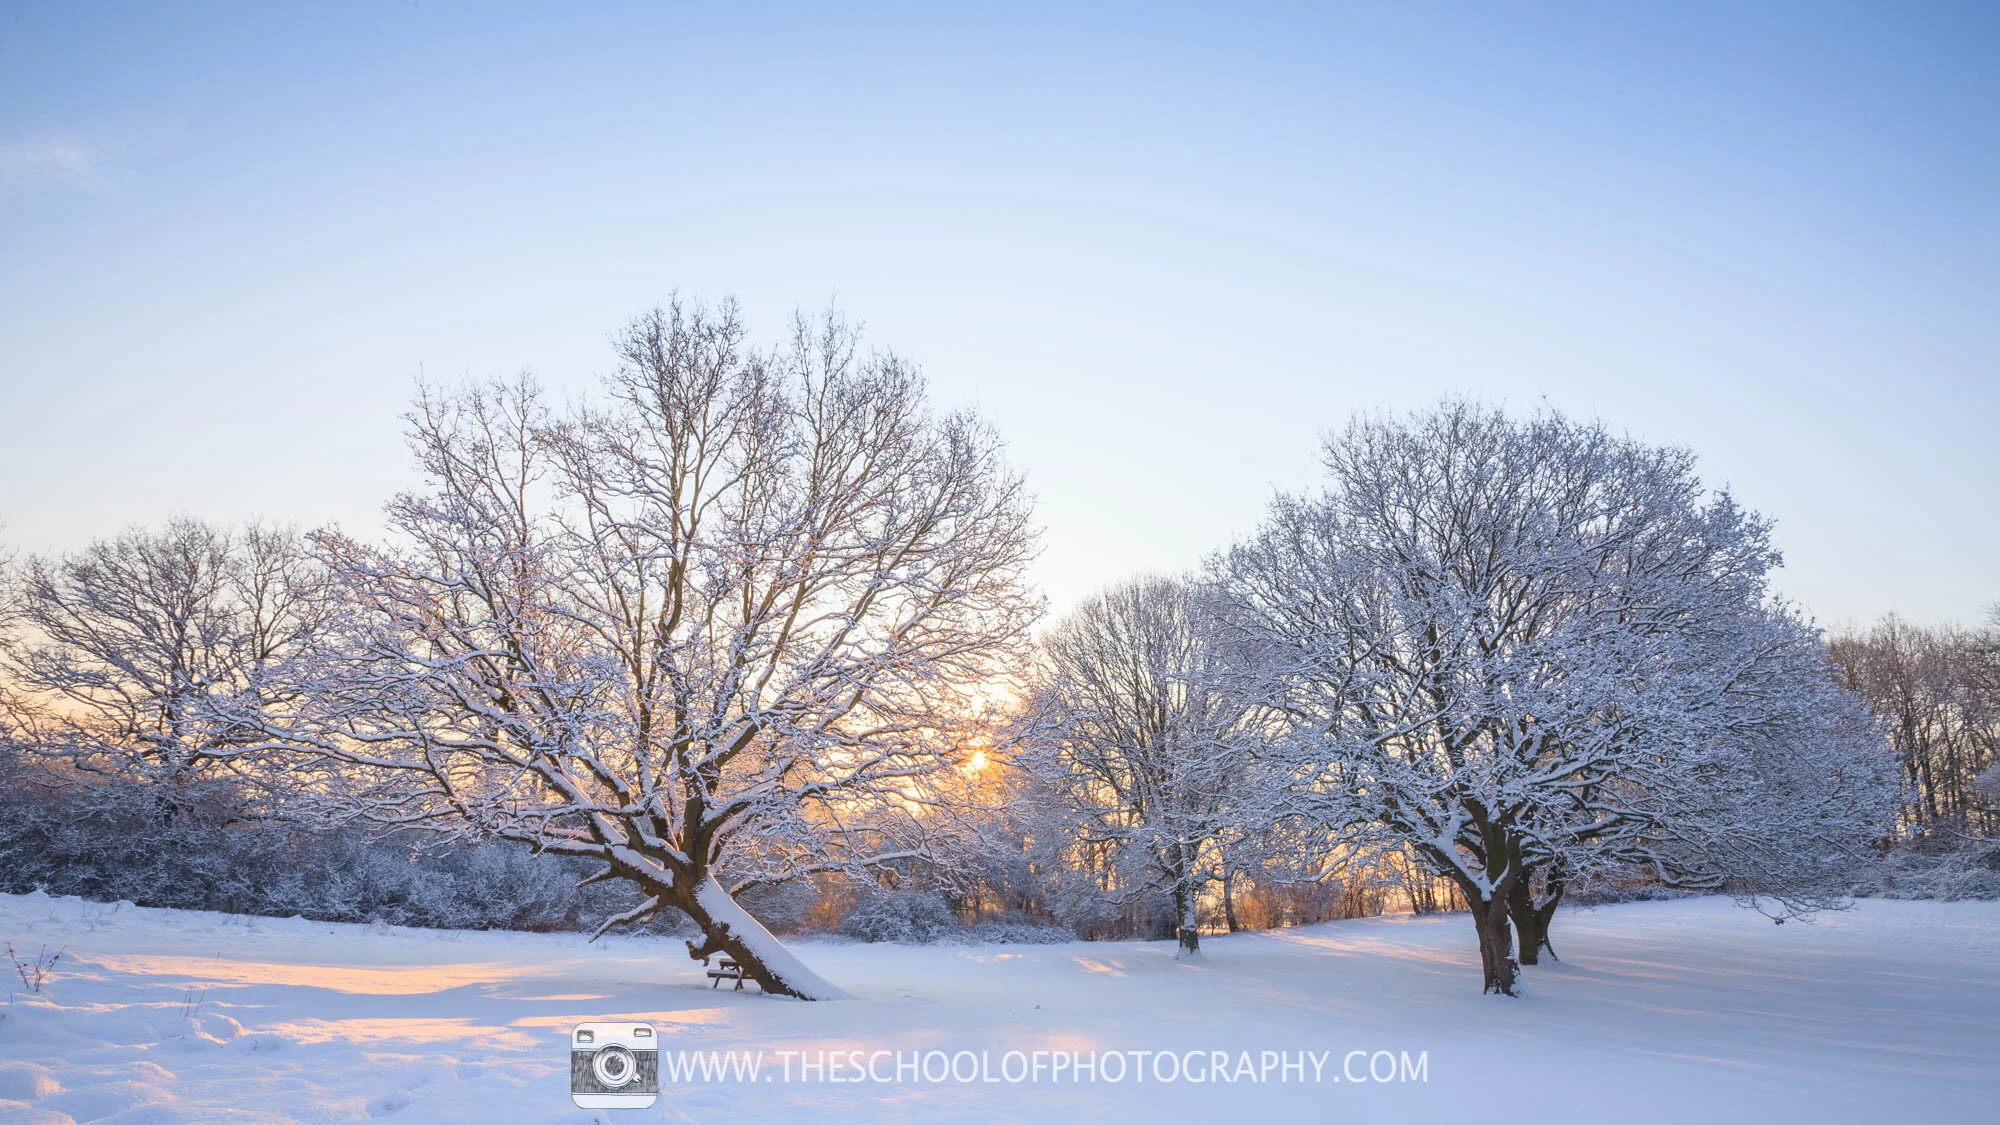
Shot 1
Aperture: f16
Shutter Speed: 1/80th Second
ISO: 100
Focal Length: 16mm (Full Frame Camera)
Camera Mode used: Aperture Priority
Post Production in Lightroom:
General colour and tonal adjustments to increase contrast saturation and vibrancy.
Graduated filter at top of image.
Learn how to post process in our Lightroom course
Pictures of snow covered trees are a great idea, and after a snowy night, they will be everywhere. Here we have a winter landscape showing the grand English oak tree. The picture was taken with a focal length of 16mm to enable me to get in as much of the scene as possible. The shot was composed to get the two oaks as even in the frame as possible with the sunrise coming through the trees in the background.
It pays dividends to get up and out before sunrise. This way no footprints or snowball throwing kids will ruin your beautiful pictures in the snow! To learn more about focal lengths and composition in photography click here.
Bracketing for Pictures of Snow

-1.5 Stops

Camera’s exposure of the scene

+1.5 Stops
Taking pictures in the snow has its challenges with the main one being the brightness of it. Winter landscapes that show snow will be bright, and this may cause your camera’s exposure meter to underexpose the scene. The easiest way to tackle this is to set your camera to shoot in Auto Exposure Bracketing mode and set the brackets to 1.5 or 2 stops. This will free you up to be creative and ensure you have a range of exposures to choose from.
In general, it will be the over exposed picture that will be correct as with my example here. However, it’s not as simple as just overexposing for all snow pictures as it depends on what’s in the shot. Doing it this way is quick and ensures you get a correct exposure no matter what the scene.
To learn more about stops in photography and bracketing, click here.
Want 10% off your first course? Click here
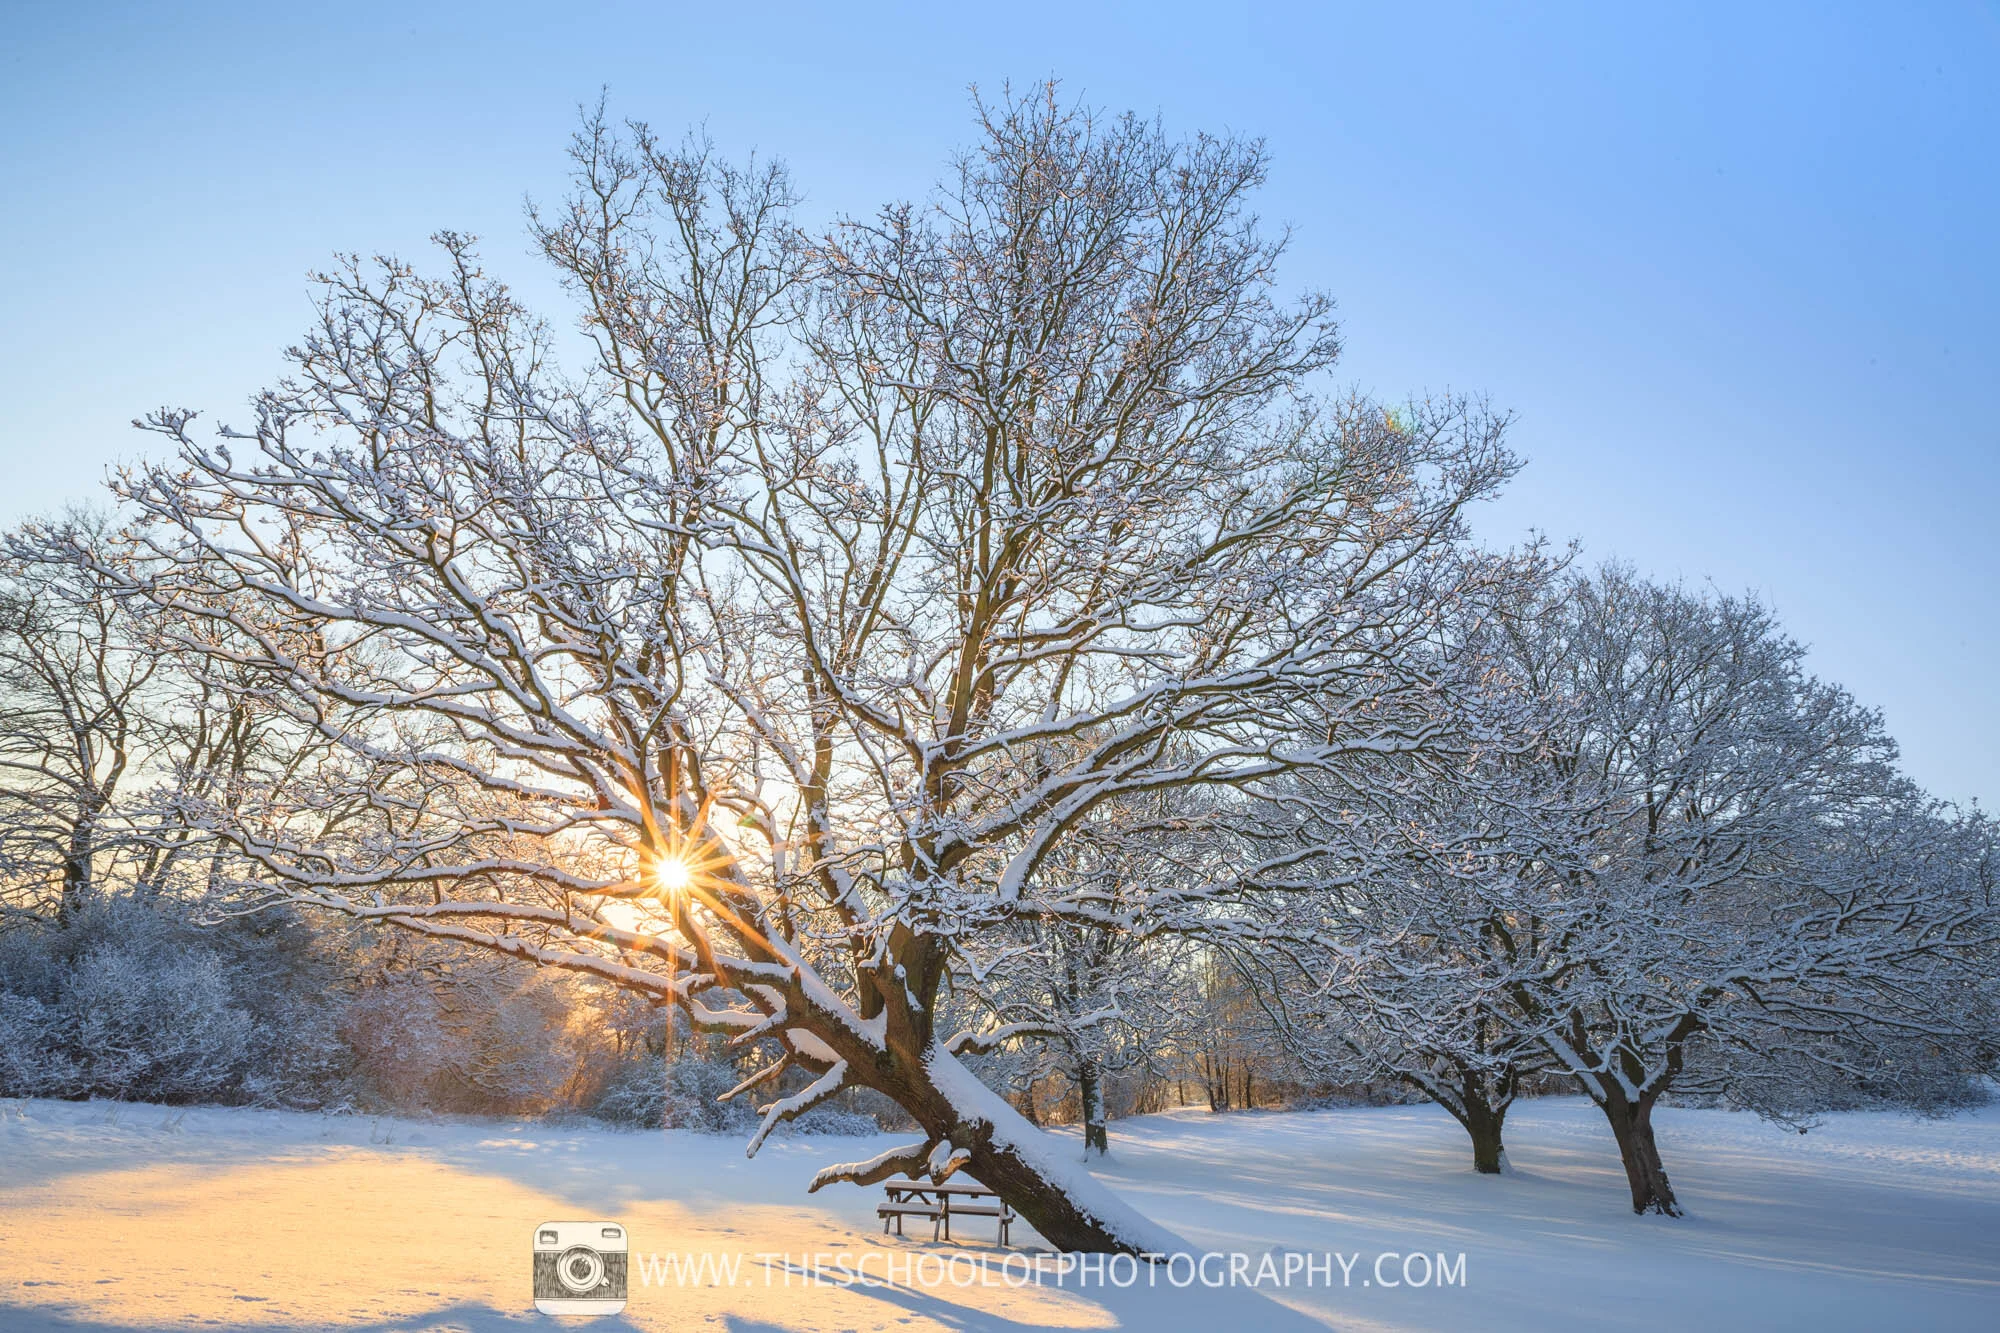
Shot 2
Aperture: f16
Shutter Speed: 1/50th Second
ISO: 100
Focal Length: 16mm (Full Frame Camera)
Camera Mode used: Aperture Priority
Post Production in Lightroom:
General colour and tonal adjustments to increase contrast saturation and vibrancy.
Saturation increased on Yellows, Reds and Oranges.
2 x Graduated filters at top of image to balance sky.
The light produced by a sunrise will really enhance a snow-covered winter landscape. Here I have composed the shot so the sun rises through the branches of the tree creating this lovely sunburst.
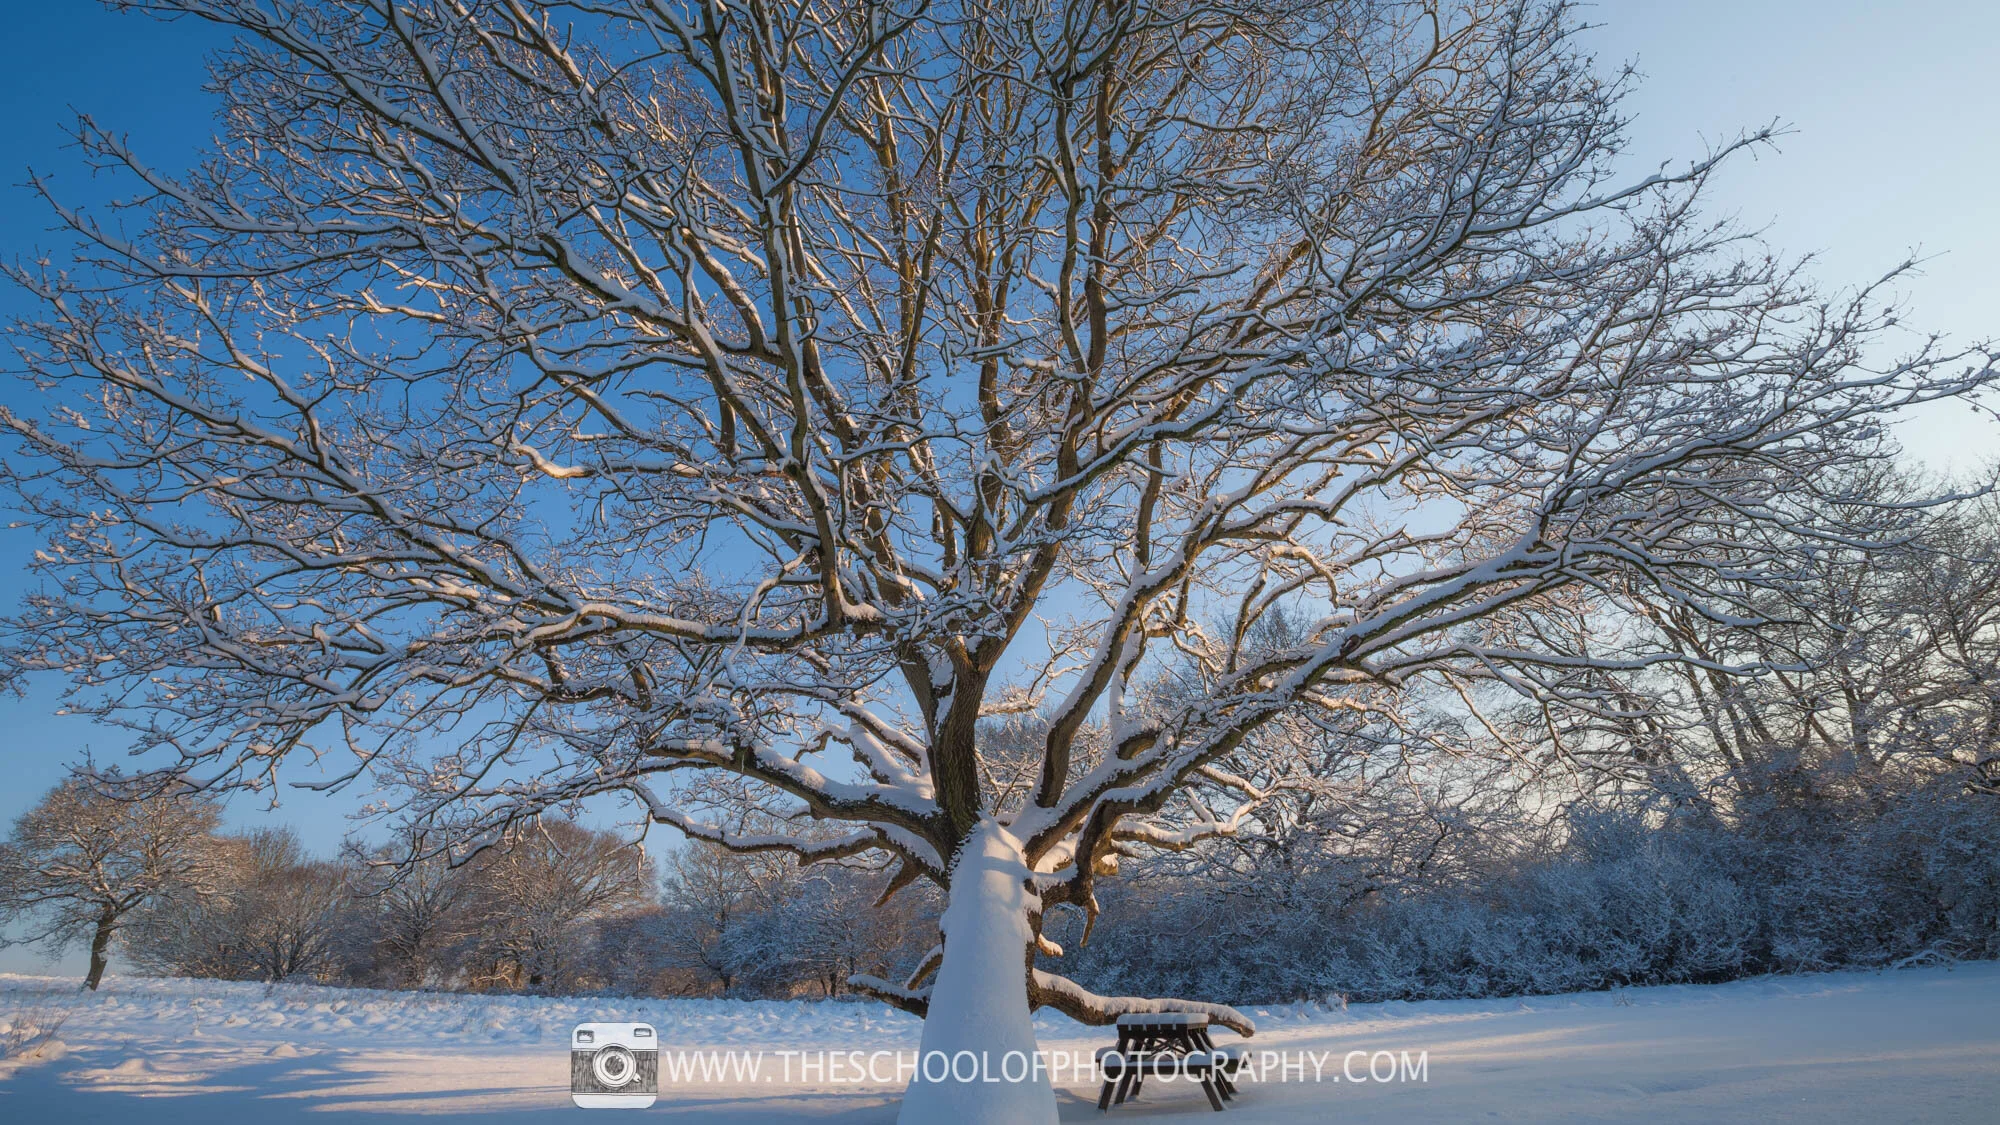
Shot 3
Aperture: f16
Shutter Speed: 1/40th Second
ISO: 100
Focal Length: 16mm (Full Frame Camera)
Camera Mode used: Aperture Priority
Post Production in Lightroom:
General colour and tonal adjustments to increase contrast saturation and vibrancy.
Learn how to post process in our Lightroom course
Another idea is to get close, low and use an ultra-wide angle to really show off the grandeur of snow-covered oak trees.

Shot 4
Aperture: f16
Shutter Speed: 1/50th Second
ISO: 100
Focal Length: 16mm (Full Frame Camera)
Camera Mode used: Aperture Priority
Post Production in Lightroom:
Our Black and White Preset added, Free with our Complete Guide to Lightroom course.
Tone Curve adjusted, and blacks increased.
Snow photography and black and white can look lovely together. Here I’ve simply added our free black and white Lightroom preset. To get this preset, click here.
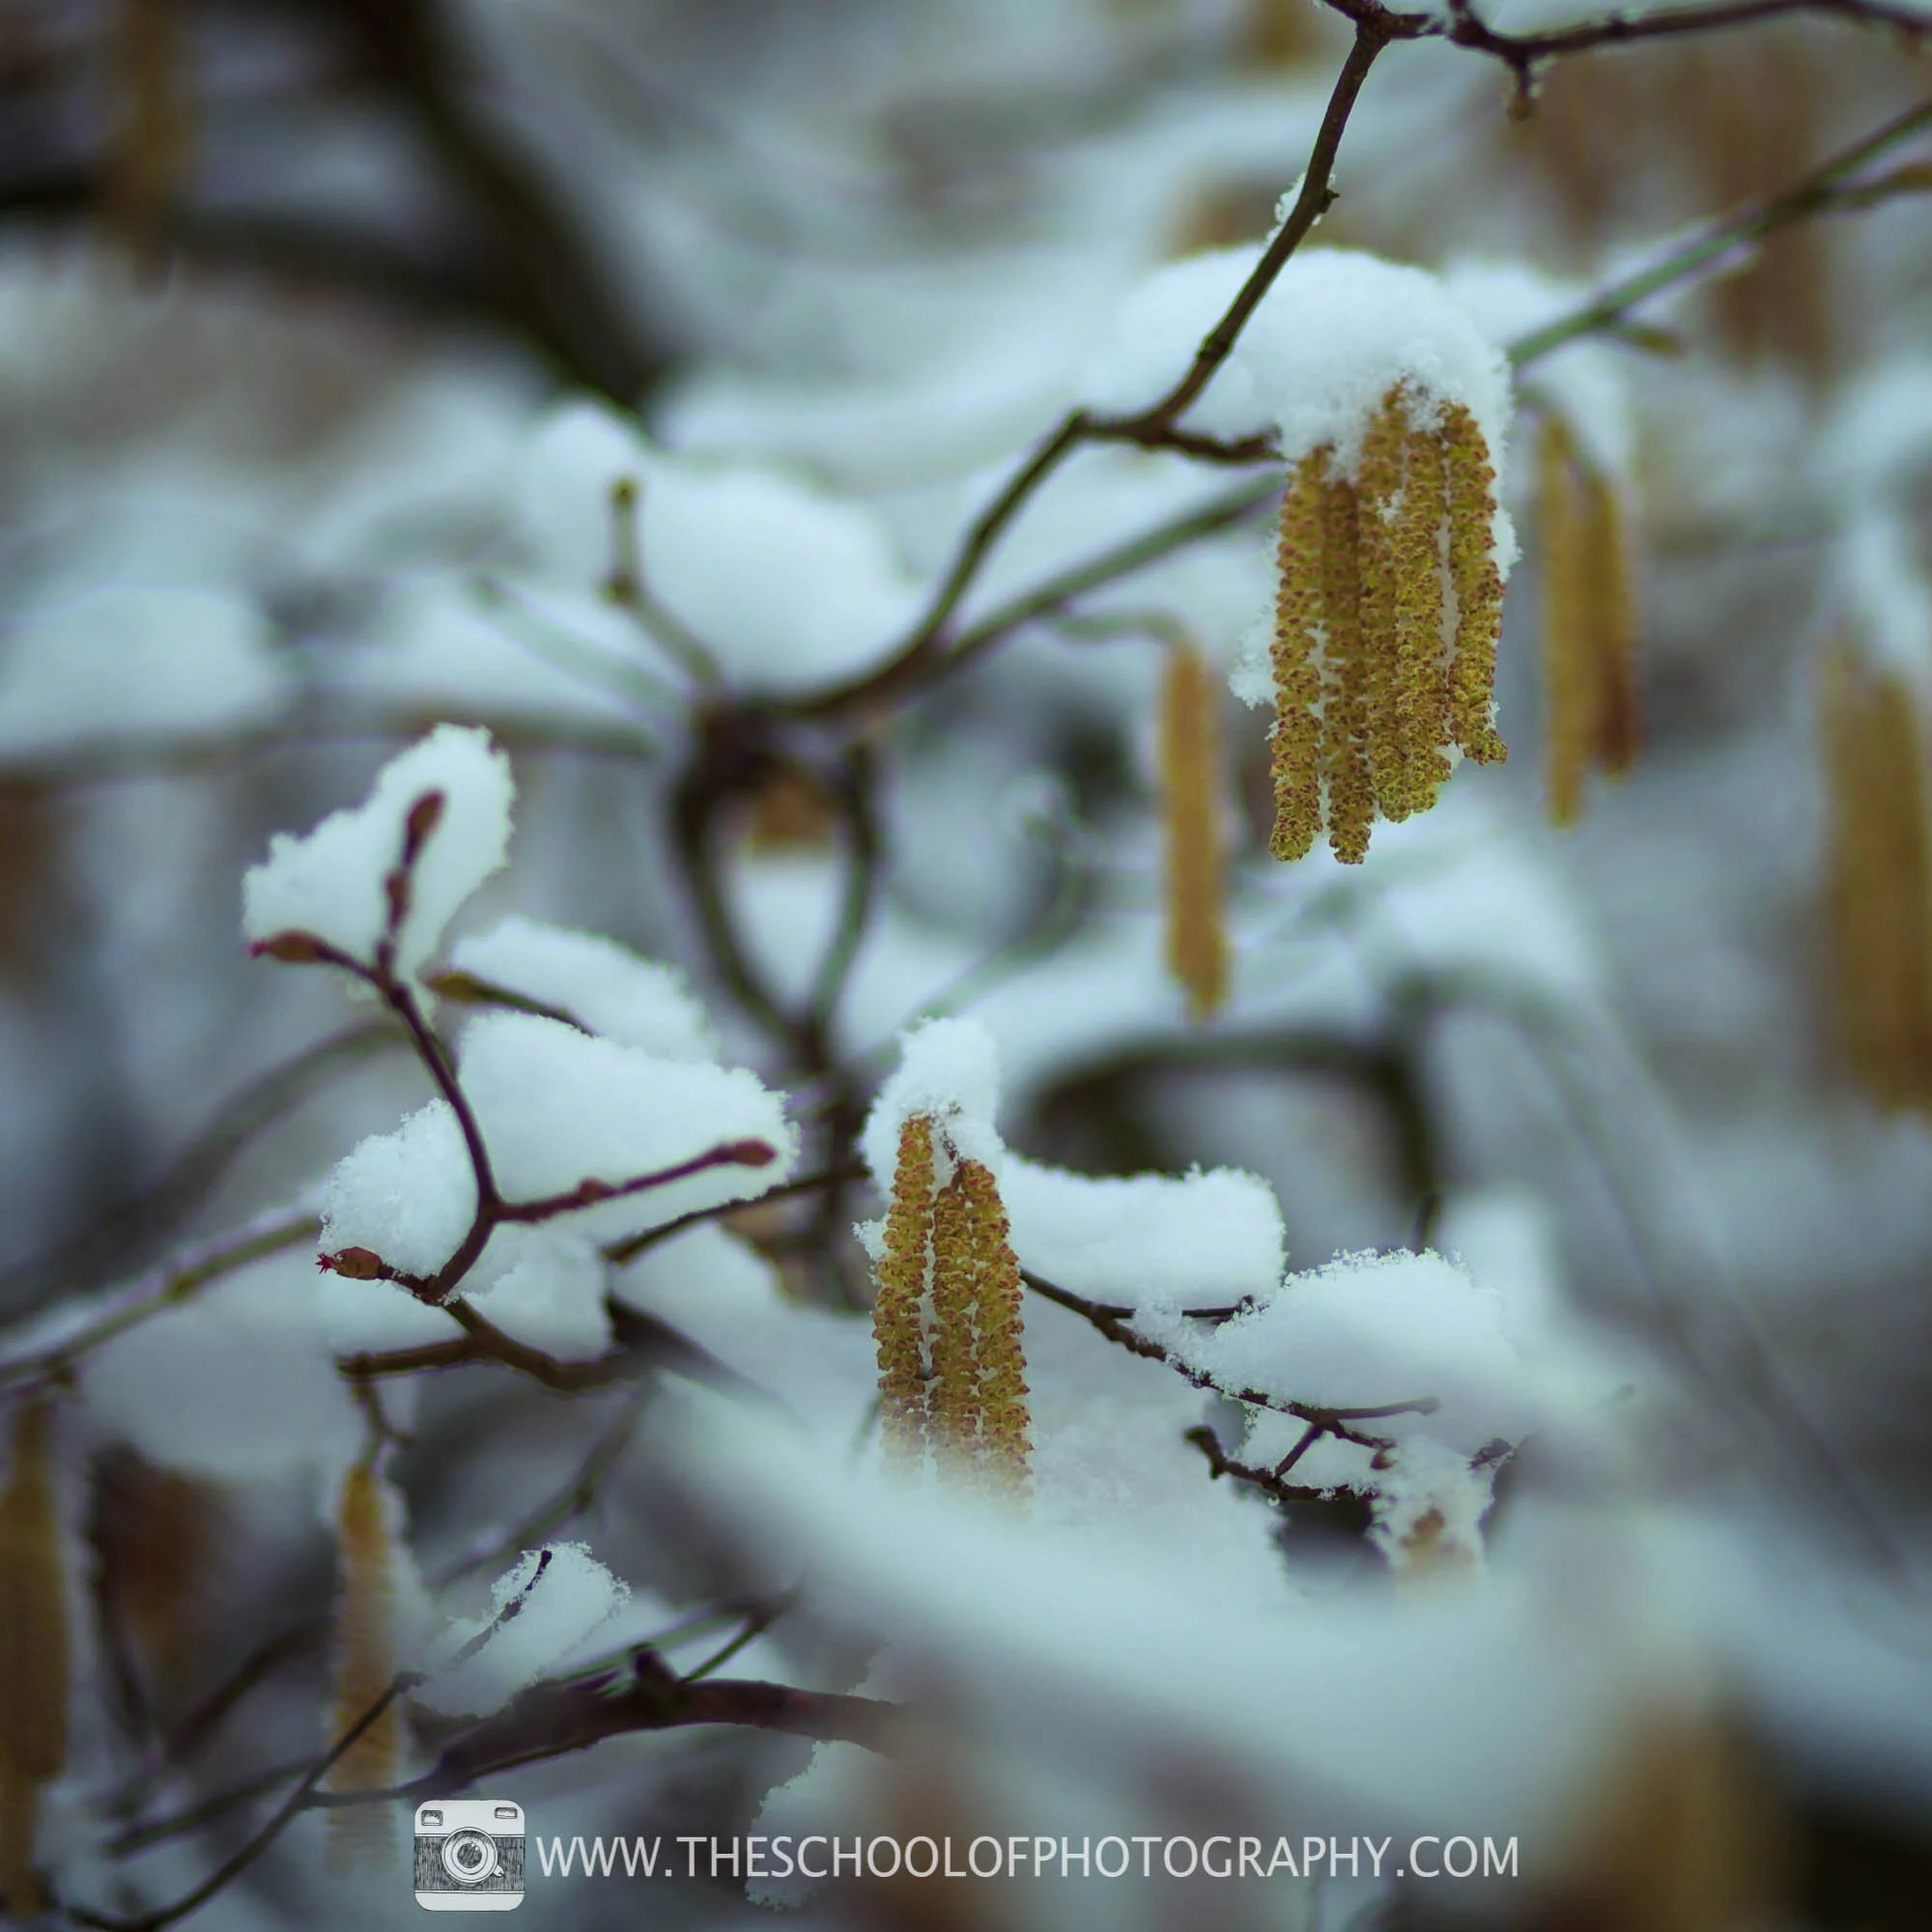
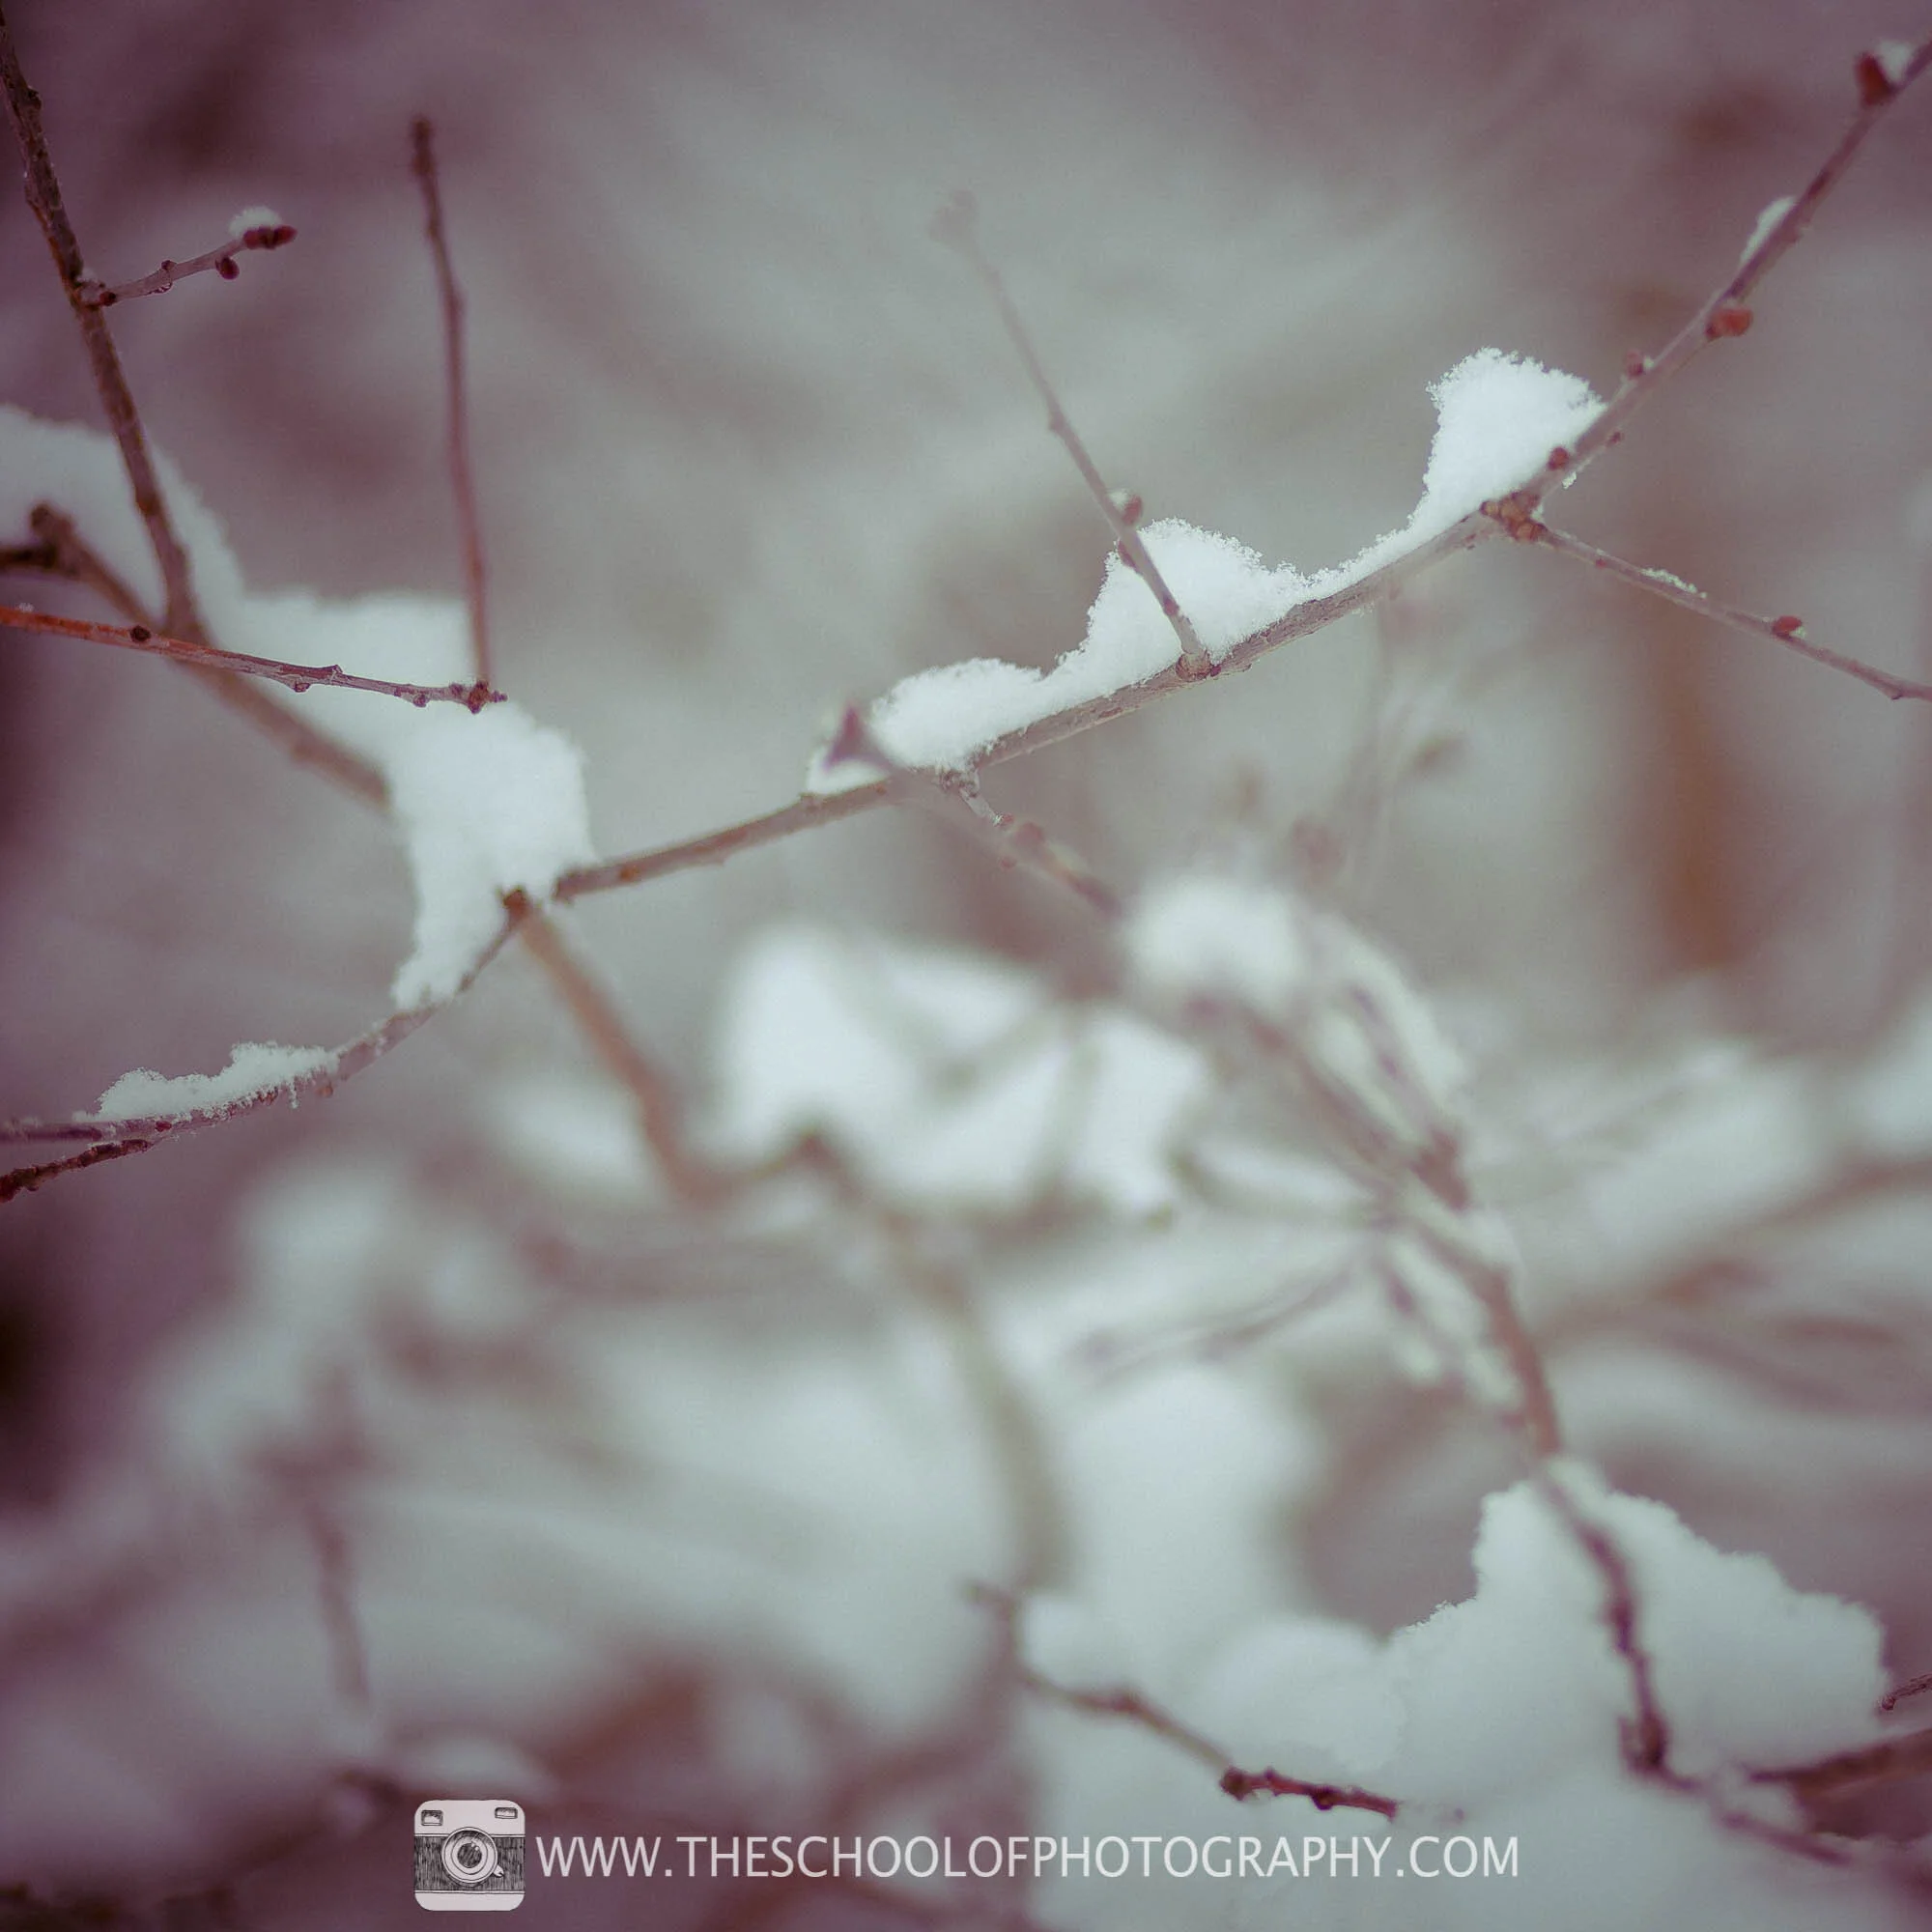
Shot 6
Aperture: f1.8
Shutter Speed: 1/2000th Second
ISO: 100
Focal Length: 85mm (Full Frame Camera)
Camera Mode used: Aperture Priority
Post Production in Lightroom:
General colour and tonal adjustments to increase contrast saturation and vibrancy.
Green added to highlights, Blue added to shadows
Learn how to post process in our Lightroom course
A great idea for snow photography is to crop in on those little details that make the winter landscape special. Here I’ve framed snow covered branches and seedpods to create interesting and somewhat abstract pictures.
Shot 5
Aperture: f1.8
Shutter Speed: 1/4000th Second
ISO: 100
Focal Length: 85mm (Full Frame Camera)
Camera Mode used: Aperture Priority
Post Production in Lightroom:
Our Vintage 5 Preset added, Free with our Complete Guide to Lightroom course.
Summary of our Snow Photography Tips & Techniques
1. Hand hold the camera to get a nice composition before you place the camera onto the tripod.
2. If it snows get up early, get your camera and get out there! This will avoid all those dirty footprints ruining your crisp snow pictures!
3. Use Auto-exposure bracketing with a bracket of at least 1.5 stops. Remember its not as simple as overexposing for all your snow photography.
4. Use an Ultra wide-angle Lens and get low to emphasise big snow-covered trees.
5. Crop in and find those details that make the winter landscape special.
Like this? - Check out similar tutorials below

Get instant access to all our high-quality online courses
I hope this tutorial helps you take better pictures in the snow, if it did, please leave us a comment and support us by sharing it with your friends and subscribe to our newsletter at the bottom of this page for more.
We also have an excellent learning community on social media so please join us there as well.
Thanks for watching and remember – Learn more at The School of Photography.
